


はじめに
今回はAWSのLightsailを利用して構築したアプリに、他社ドメインを設定する手順をまとめした。
ドメインはお名前.comで取得した場合を例に説明していきます。
他社ドメインではなく、Route 53でドメインを取得した場合のやり方は以下にまとめました。


Lightsailでサイト構築
Lightsailを利用すると、例えばWordPressなどを簡単に構築することができます。
以下の記事を参考にしてください。

構築したアプリはSSL化しましょう。

静的IPを設定
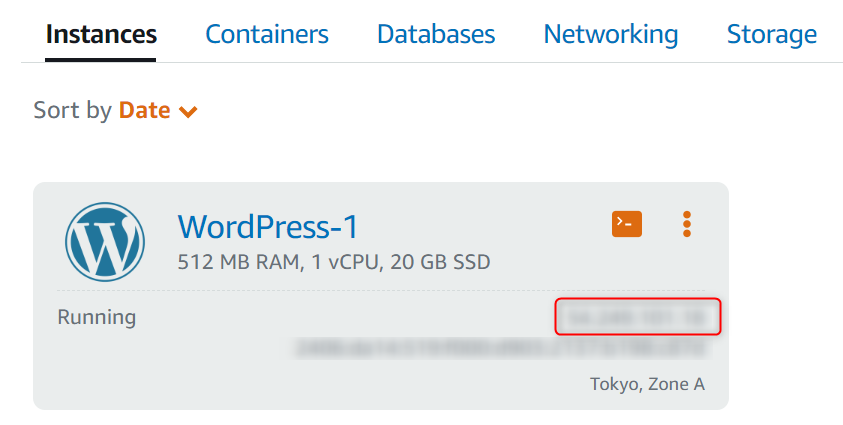
Lightsailで作成したインスタンスは、起動すると一つIPアドレスが設定されます。
ただし、インスタンスを停止し再起動すると、IPアドレスが変わってしまいます。
静的IPについて、インスタンスにアタッチされている場合は、静的IPに対する料金は発生しません。

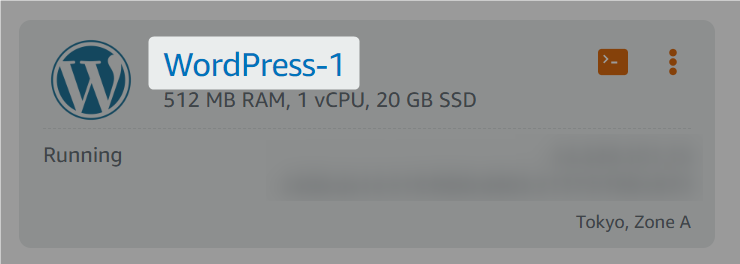
インスタンス名をクリックします。
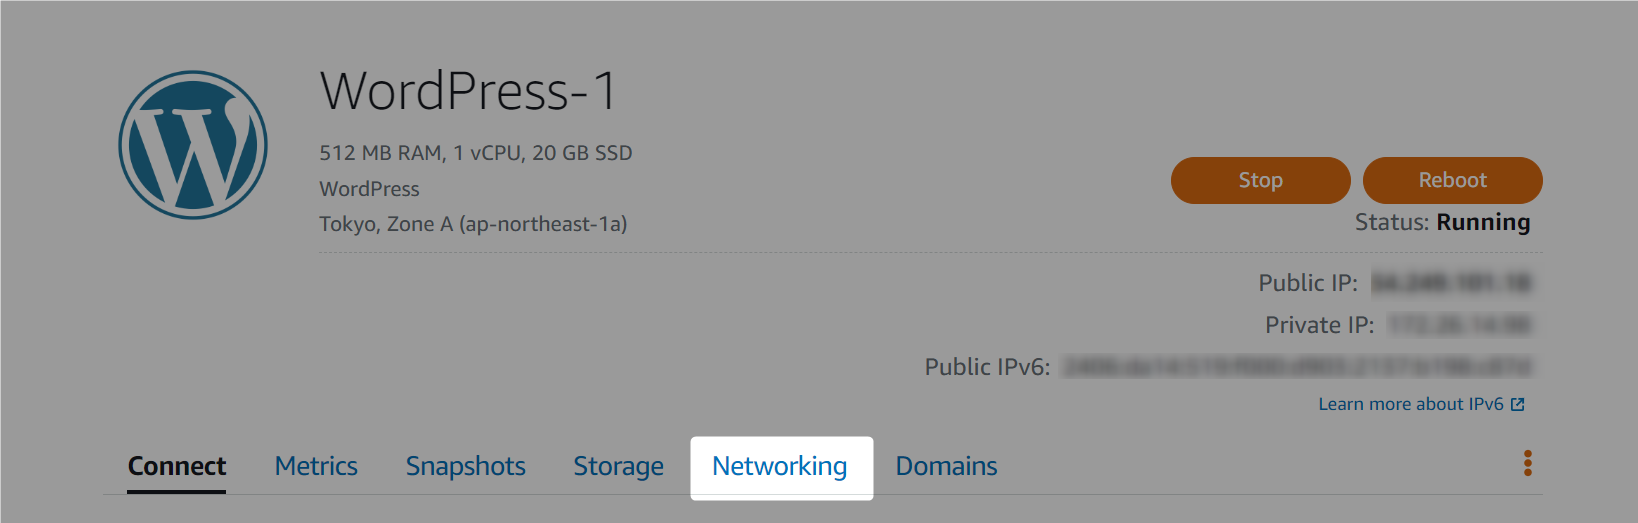
インスタンスの管理画面が表示されます。
「Networking」をクリックします。
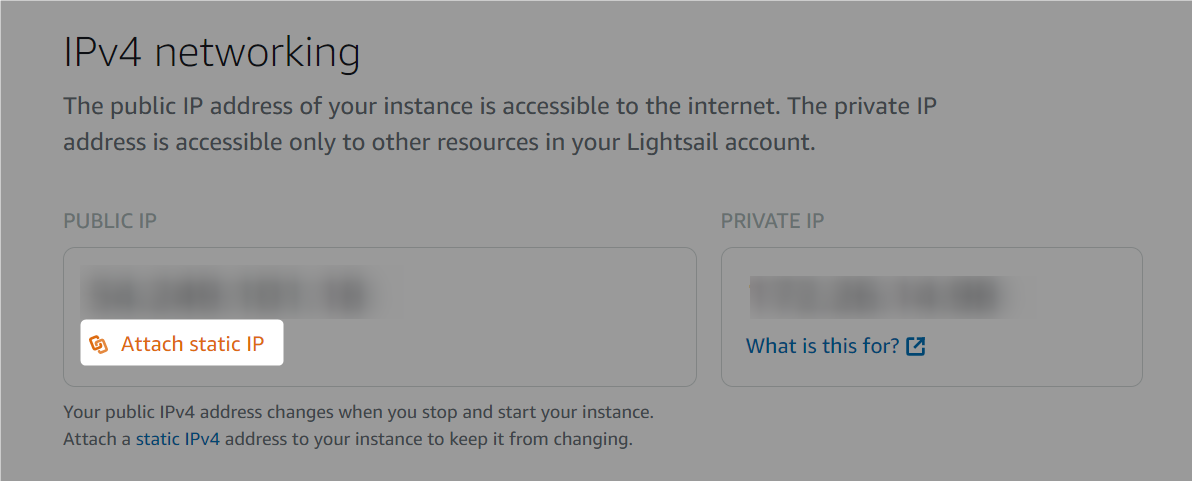
「IPv4 networking」の「Attach static IP」をクリックします。
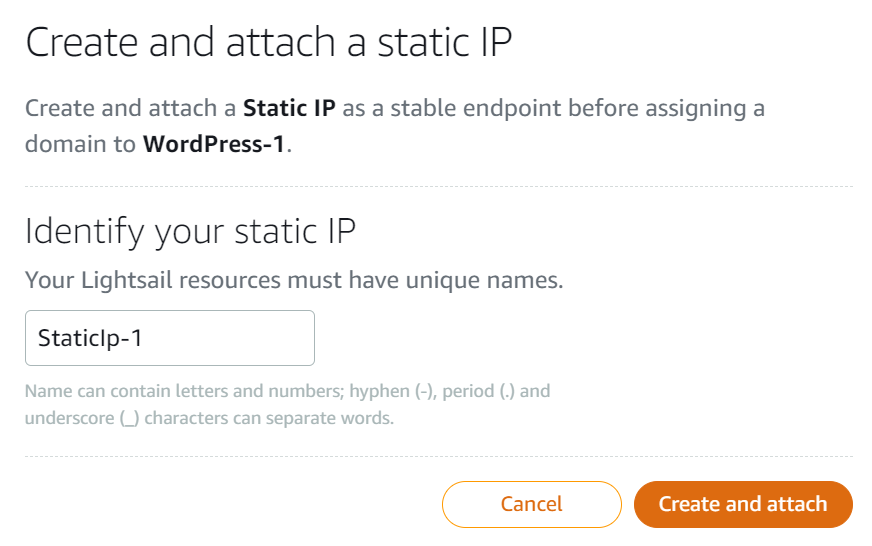
静的IPの名前を任意で設定し、「Create and attach」をクリックします。
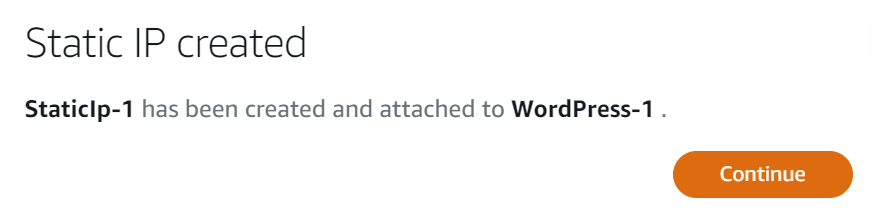
静的IPが作成されました。
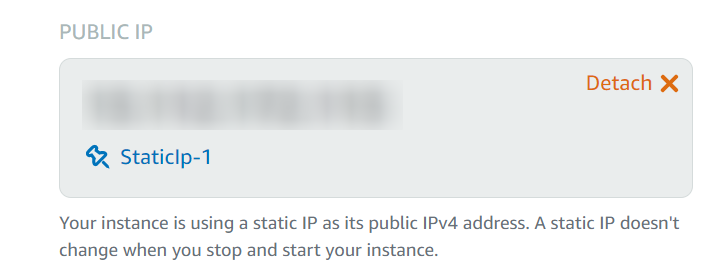
静的IPアドレスがアタッチされました。
表示されているIPアドレスでサイトにアクセスできることと、インスタンスを再起動してもIPアドレスが変わらないことを確認しましょう。
Route 53でドメインの設定
ホストゾーンの作成
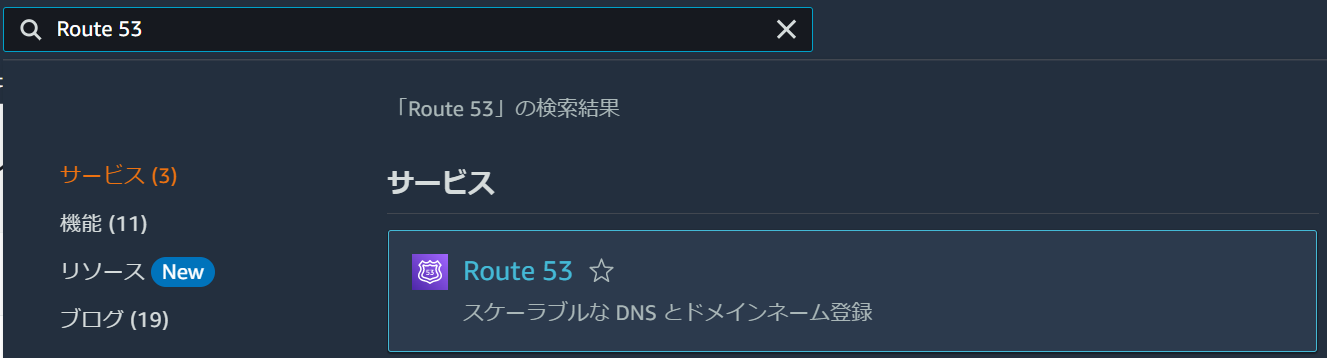
AWSのコンソールを開き、「Route 53」を検索します。
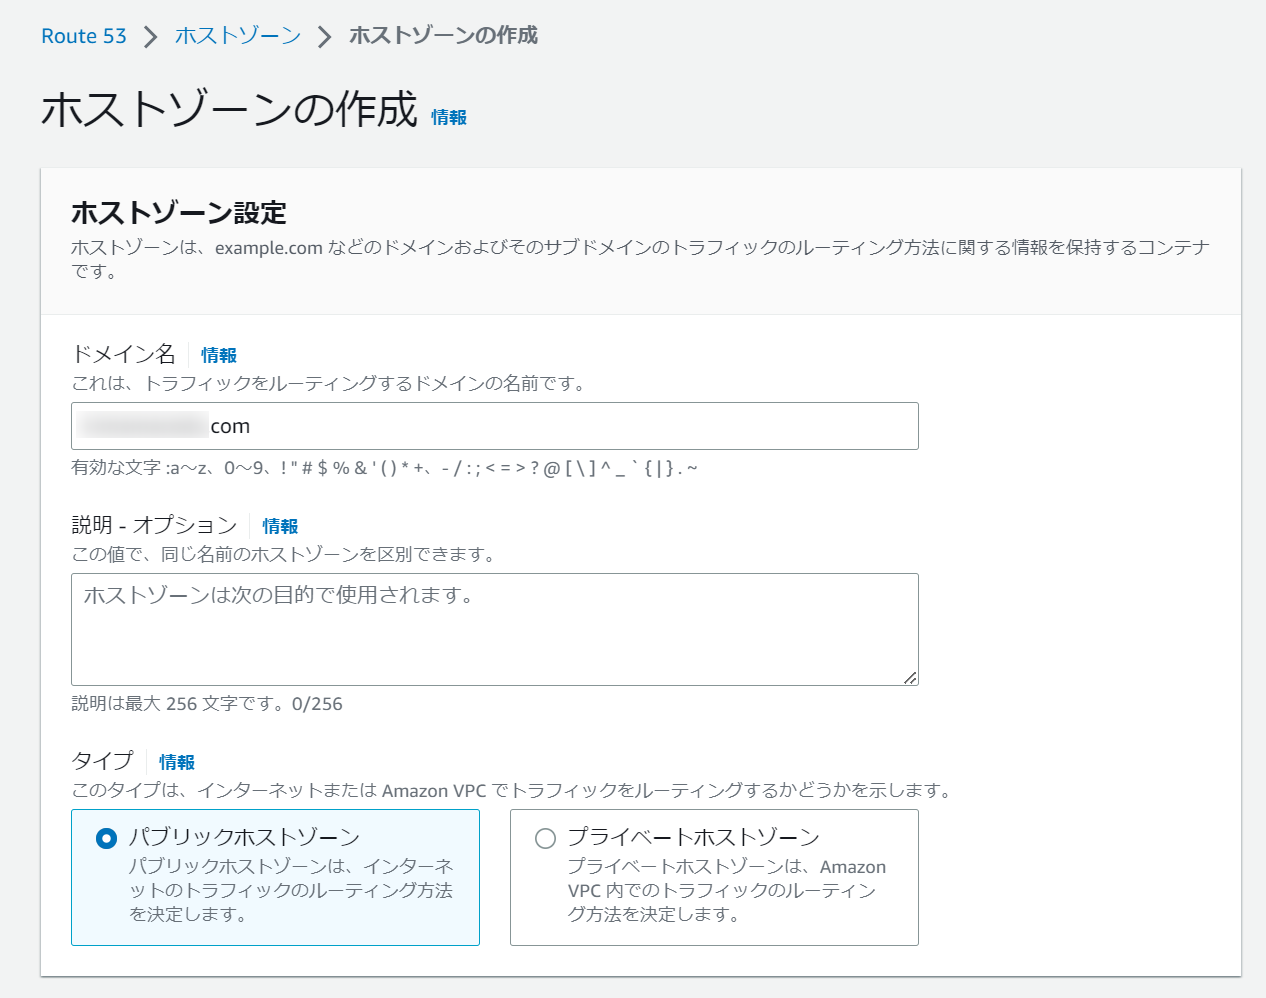
「ホストゾーンの作成」をクリックします。

他社で取得したドメイン名を入力し、ホストゾーンを作成します。
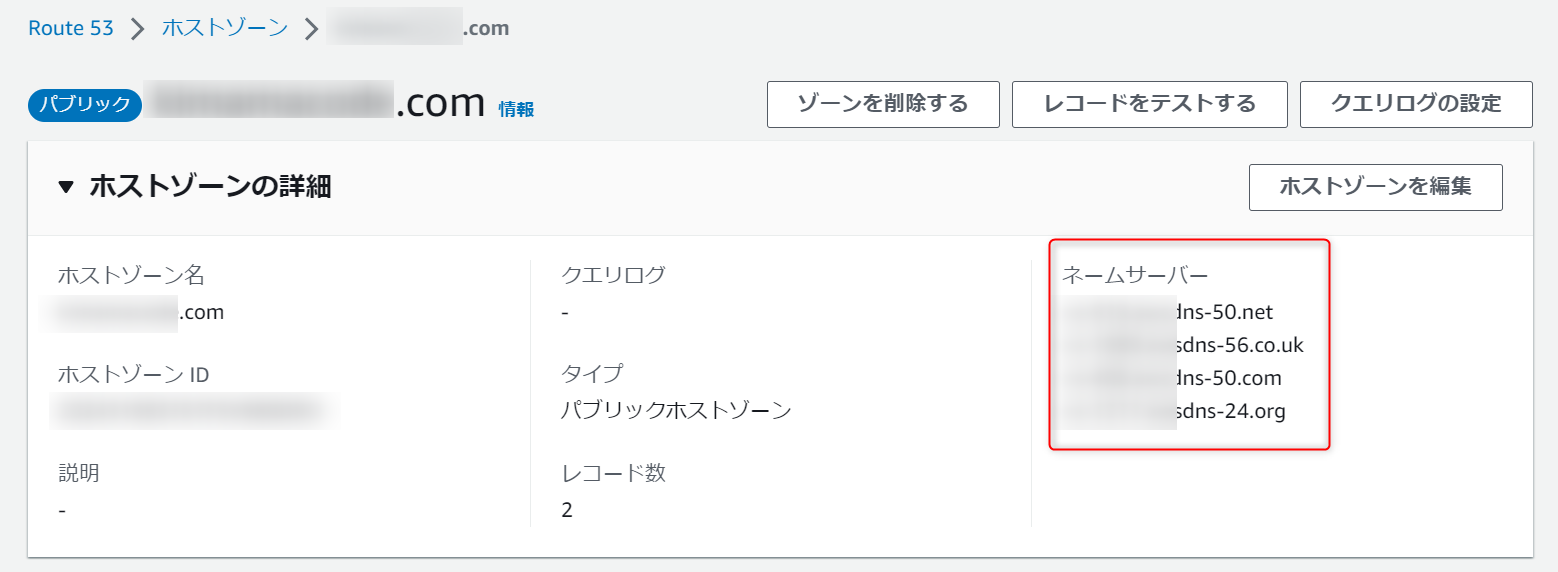
ホストゾーンが作成されました。
ホストゾーンの詳細を開き、ネームサーバーを控えておきます。
他社ドメインにネームサーバーの設定
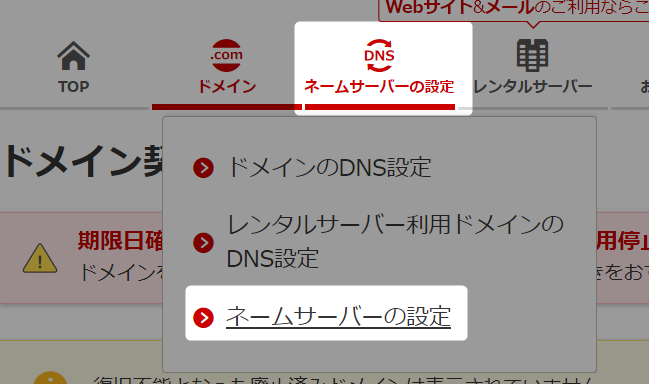
今回はお名前.comを例にしますので、管理画面を開きます。
ネームサーバーの設定を開きます。
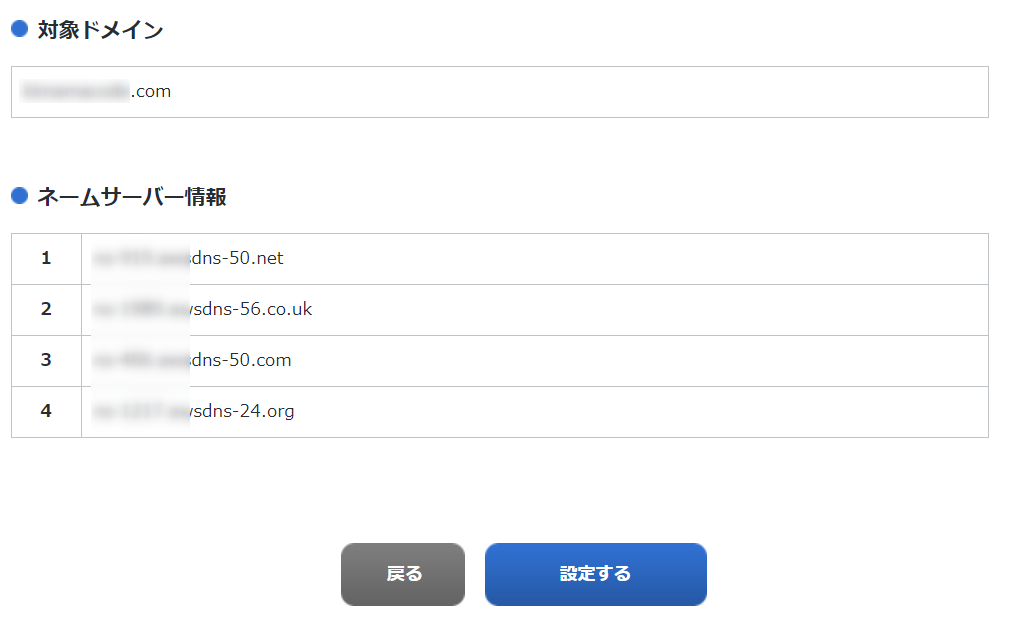
取得したドメイン名にチェックを入れ、「他のネームサーバーを利用」を選択します。
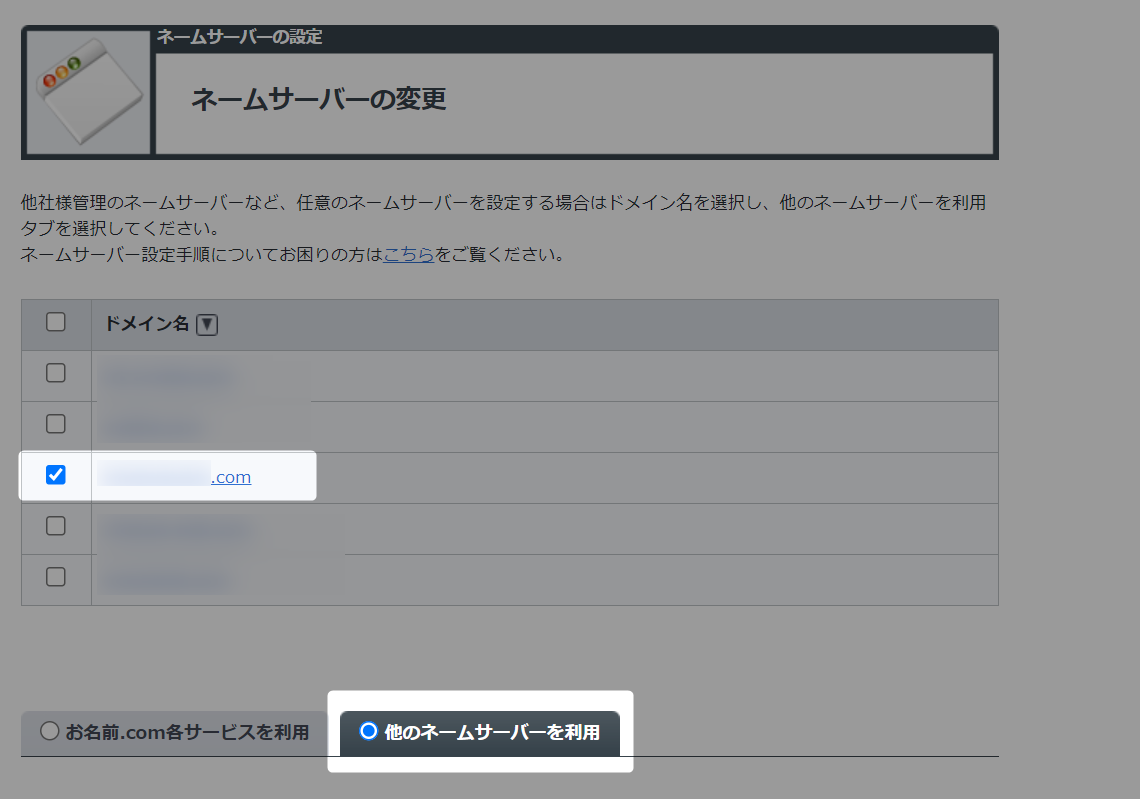
Route 53で作成したホストゾーンのネームサーバーを入力します。

「設定する」をクリックします。
Route 53でレコードの設定
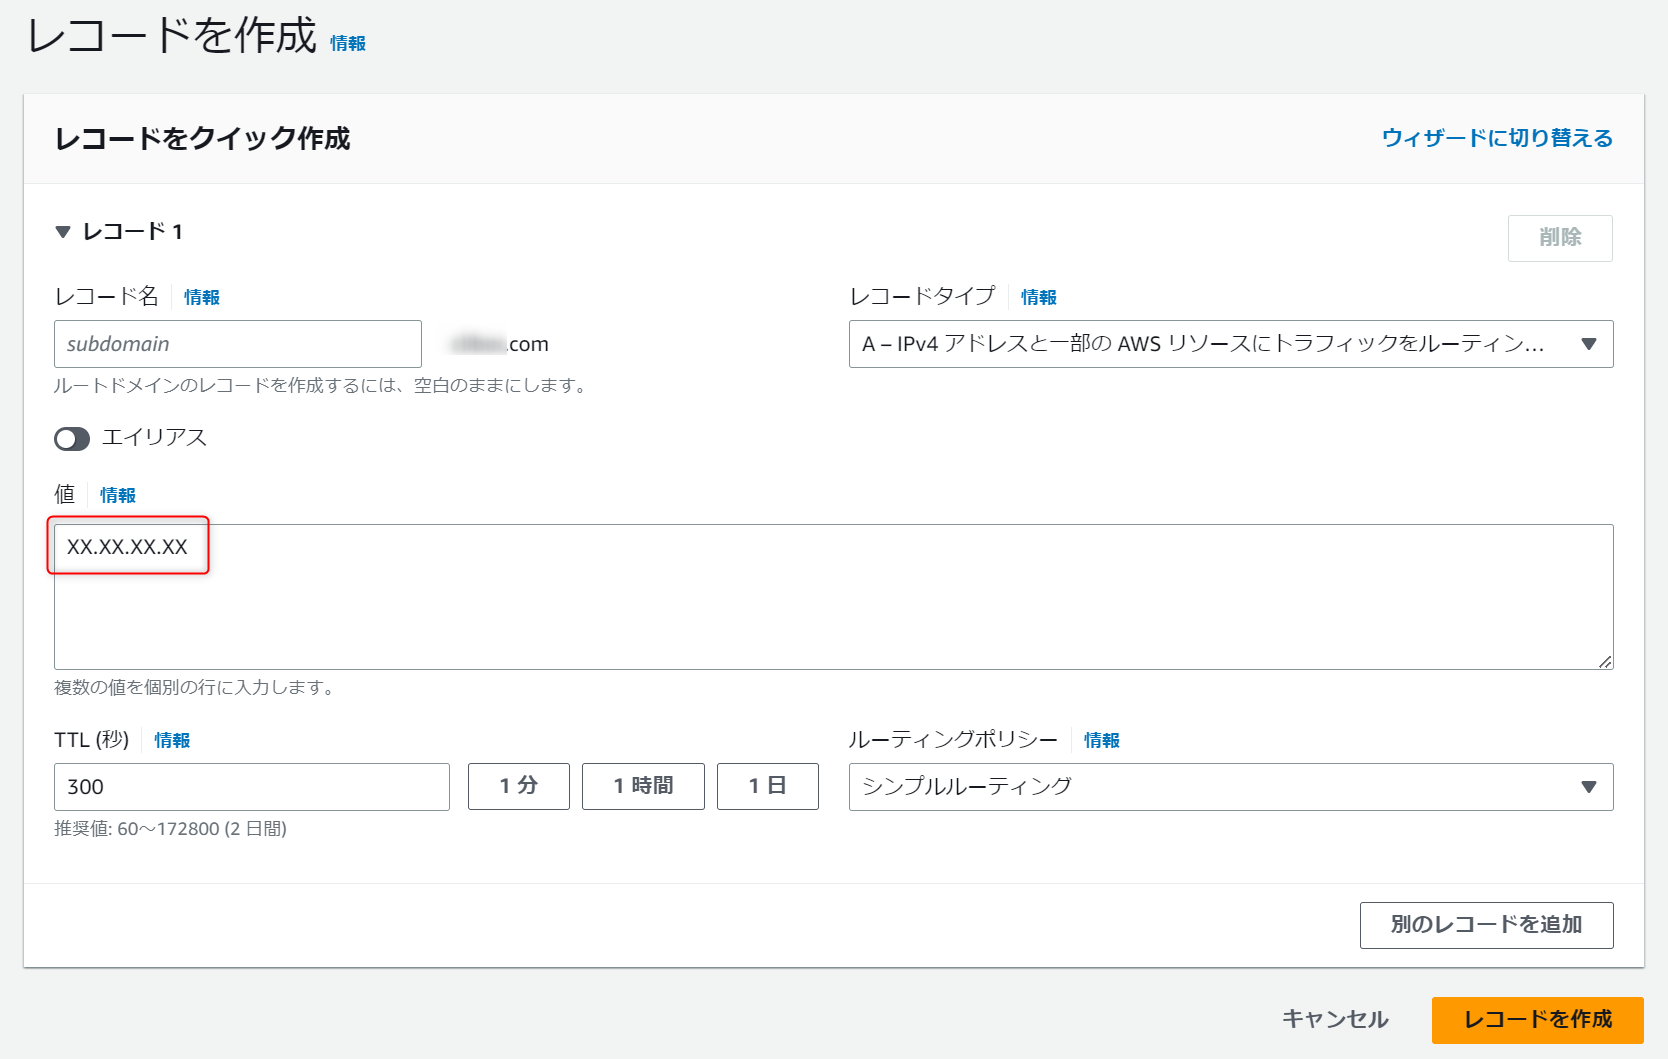
Route 53の設定画面に戻り、作成したホストゾーンの「レコードを作成」をクリックします。

今回はサブドメインを指定しないので、レコード名は空白で大丈夫です。
サブドメインにしたい場合は入力しましょう。
値には既に取得した静的IPアドレスを指定し、「レコードを作成」をクリックします。
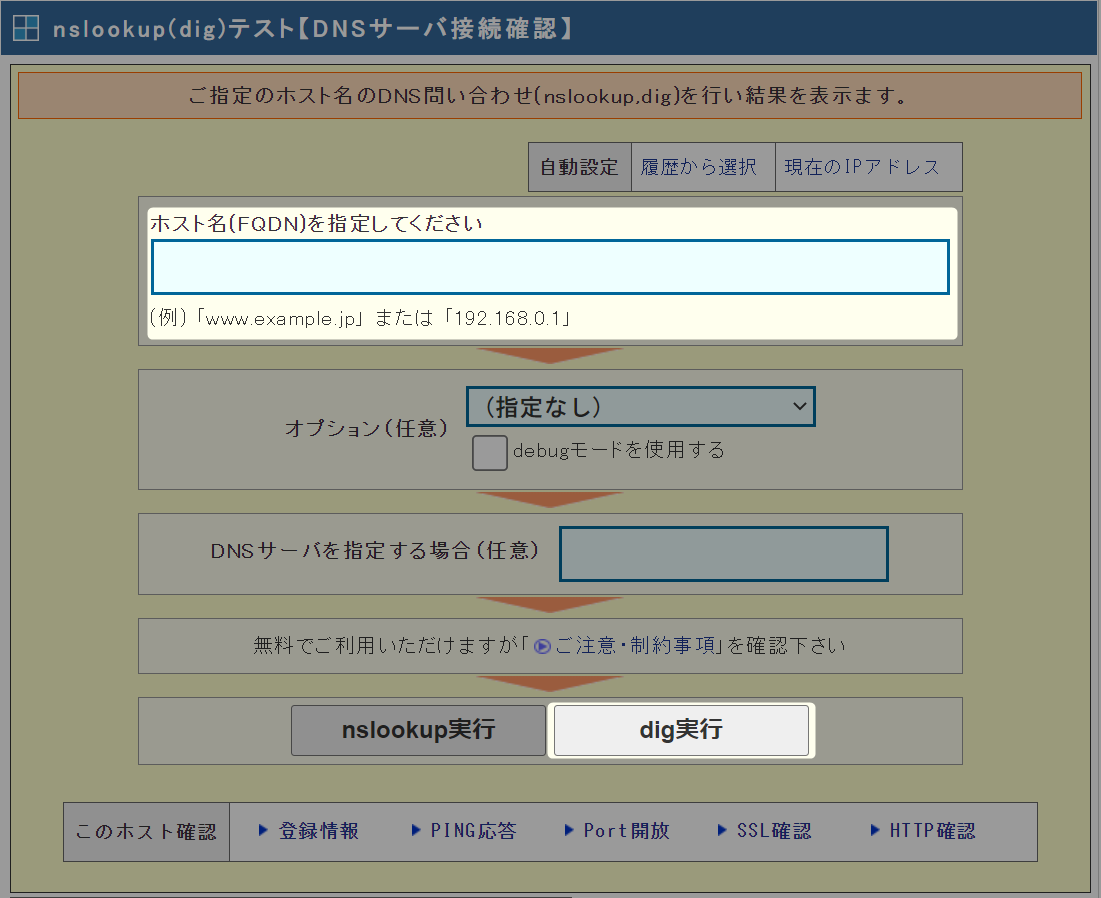
正しく反映されたかどうか確認しましょう。
以下のサイトを利用しました。

取得したドメインを入力し、「dig実行」をクリックします。
以下の赤枠に、静的IPアドレスが表示されたら正常です。
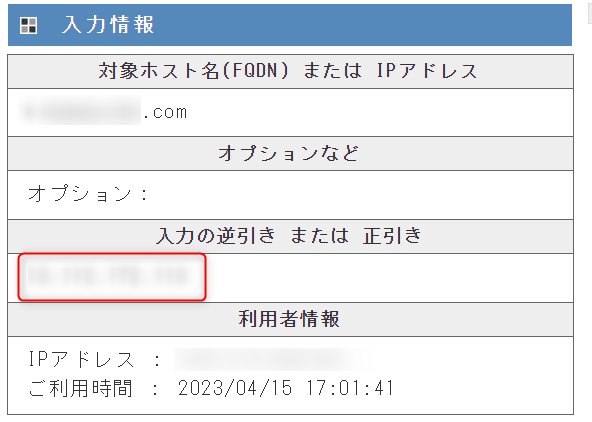
また、下に表示されている「AUTHORITY SECTION」を確認すると、Route 53のネームサーバーが設定されているのが分かります。
;; AUTHORITY SECTION:
XXX.com.		172790	IN	NS	ns-XXX.awsdns-56.co.uk.
XXX.com.		172790	IN	NS	ns-XXX.awsdns-50.net.
XXX.com.		172790	IN	NS	ns-XXX.awsdns-24.org.
XXX.com.		172790	IN	NS	ns-XXX.awsdns-50.com.
設定したドメインにアクセスしてみましょう。
http://ドメイン名Lightsailのサイトが表示されました。(WordPressの場合)

(参考)お名前.comのレコード設定
これまで説明した通り、お名前.comで取得したドメインをRoute 53でレコードの設定を行えるようにしました。
その場合は他社ドメインの方に、Route 53のネームサーバーを指定する必要があります。
Route 53を使用せずとも、他社ドメインの方だけでも設定はできます。
参考までに、もう一つの方法としてその手順を紹介します。
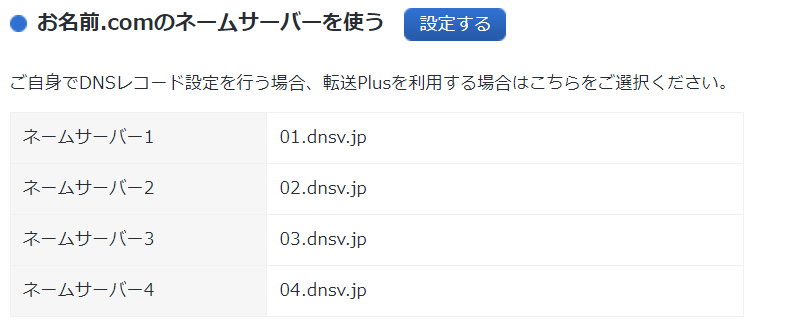
まず、ネームサーバーは初期状態である必要があります。
お名前.comの場合は、以下です。
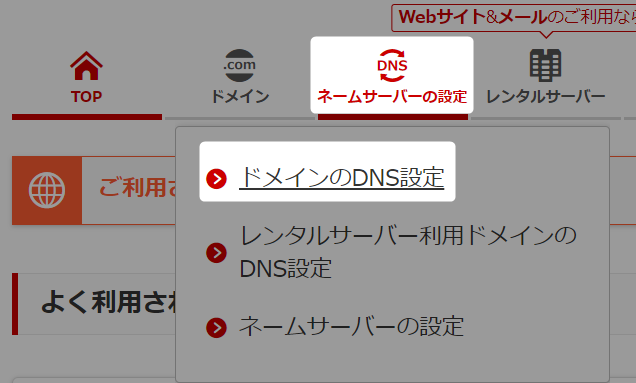
ドメインのDNS設定を開きます。
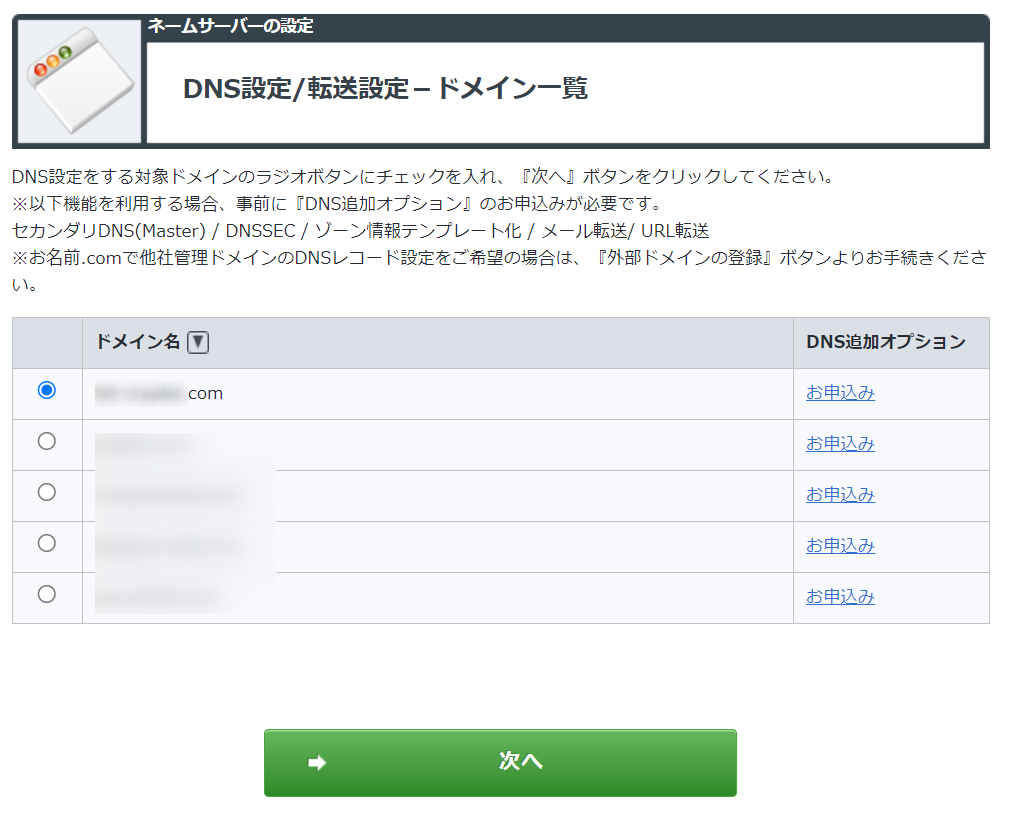
設定したいドメインを選択して次へ進みます。
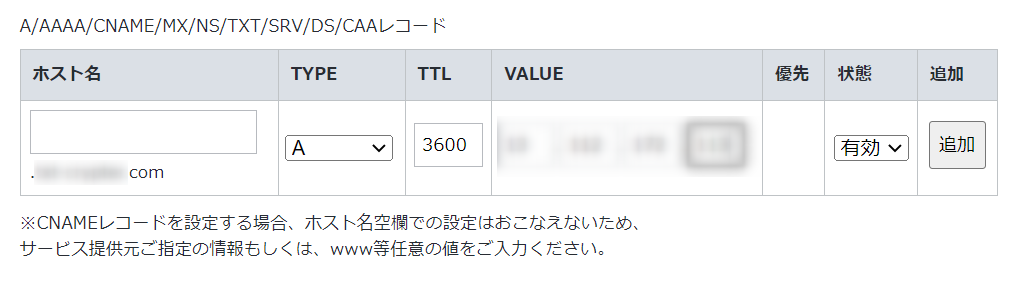
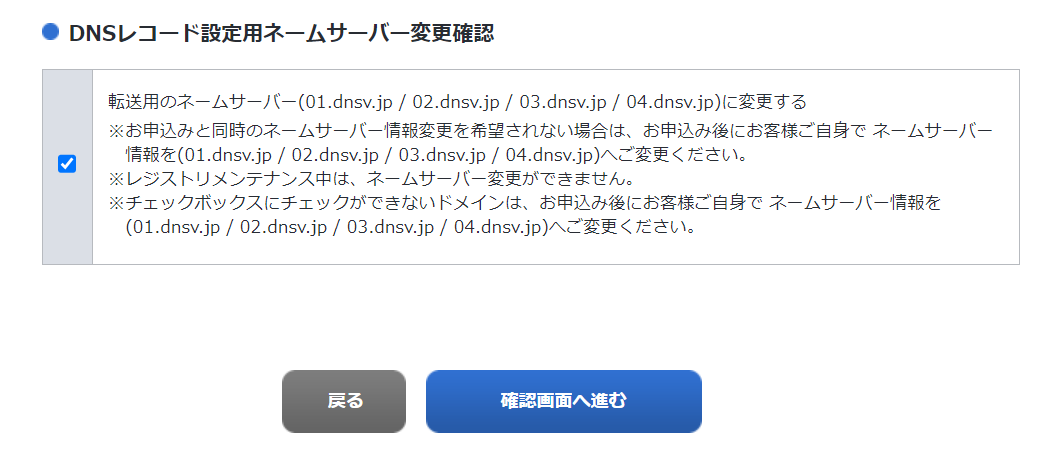
「DNSレコード設定を利用する」の設定をします。

TYPEにAを指定し、VALUEには静的IPを指定し追加ボタンをクリックします。
確認画面へ進み、設定を完了します。
先ほど同様の手順で、ドメインにアクセスしてサイトを開けることを確認しましょう。
さいごに
今回はLightsailを利用して構築したアプリに、他社ドメインを設定する手順をまとめした。
是非、参考にしてみてください。


コメント