
はじめに
今回はLightsailで構築したアプリを、SSL化する手順をまとめました。
HTTPSの場合、データの送受信を暗号化できますので必ず有効にしましょう。
他にも私のブログで、AWSについて解説している記事がありますのでご覧ください。


Lightsailの構築
Lightsailを利用すると、例えばWordPressなどを簡単に構築することができます。
以下の記事を参考にしてください。

事前にドメインを取得し、Lightsailで構築したアプリにドメインを設定する必要があります。
Route 53でドメインの取得方法は以下を参考にしてください。

ドメインの設定方法は以下を参考にしてください。

他社(お名前.comなど)で取得したドメインを設定したい場合は、以下の記事を参考にしてください。

SSL化
Lightsailでアプリを構築した場合は、Bitnamiのbncert-toolを使用して設定できます。
bncert-toolを使用すると、以下の手順が自動で実行されます。
インスタンスのSSHアイコンをクリックします。
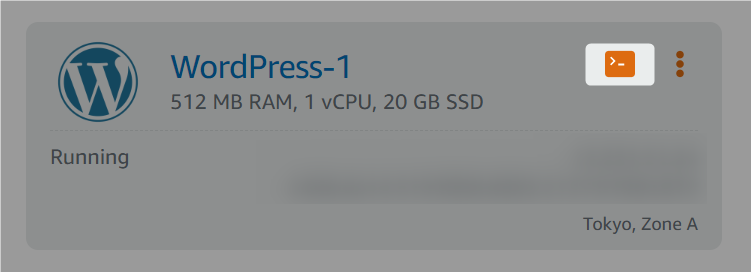
ブラウザ上でSSHクライアントが起動し、コマンドを実行することができます。
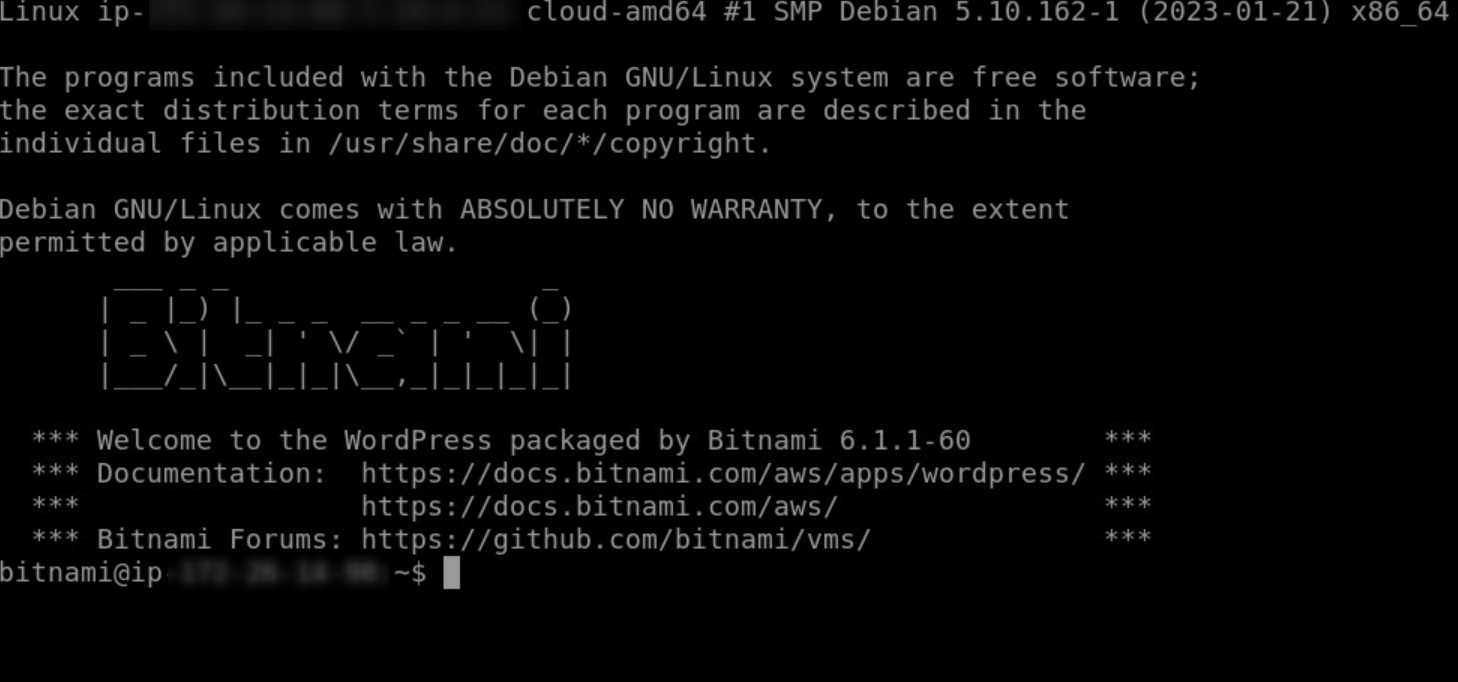
次のコマンドを入力して、bncertツールを実行します。
$ sudo /opt/bitnami/bncert-tool以下の表示になります。
Domain listにはドメイン名を入力し、Enterを押します。
----------------------------------------------------------------------------
Welcome to the Bitnami HTTPS Configuration tool.

----------------------------------------------------------------------------
Domains

Please provide a valid space-separated list of domains for which you wish to
configure your web server.

Domain list []: xxx.com
www有りのドメインを追加するかどうか任意で選択します。
The following domains were not included: www.xxx.com. Do you want to add them? [Y/n]: HTTPでアクセスした場合に、HTTPSへリダイレクトするかどうかを選択します。
Yes(Y)を入力します。
Enable HTTP to HTTPS redirection [Y/n]: 変更時に以下の作業が行われます。
----------------------------------------------------------------------------
Changes to perform

The following changes will be performed to your Bitnami installation:

1. Stop web server
2. Configure web server to use a free Let's Encrypt certificate for the domains: xxx.com
3. Configure a cron job to automatically renew the certificate each month
4. Configure web server name to: xxx.com
5. Enable HTTP to HTTPS redirection (example: redirect http://xxx.com to https://xxx.com)
6. Start web server once all changes have been performed

訳:
Bitnamiのインストールに対して、以下の変更が行われます:

1. ウェブサーバーを停止する
2. ドメインに無料のLet's Encrypt証明書を使用するよう、Webサーバーを設定する: xxx.com
3. 毎月、証明書を自動更新するcronジョブを設定する。
4. ウェブサーバー名を「xxx.com」に設定します。
5. HTTP から HTTPS へのリダイレクトを有効にする(例: http://xxx.com から https://xxx.com)
6. すべての変更が完了したら、Webサーバーを起動する
Yes(Y)を入力し変更を行います。
Do you agree to these changes? [Y/n]: ここからはLet’s Encryptの証明書の設定を行います。
メールアドレスを入力します。
----------------------------------------------------------------------------
Create a free HTTPS certificate with Let's Encrypt

Please provide a valid e-mail address for which to associate your Let's Encrypt
certificate.

Domain list: xxx.com

Server name: xxx.com

E-mail address []: xxx@xxxx.xxx
同意する場合、Yes(Y)を入力します。
The Let's Encrypt Subscriber Agreement can be found at:

https://letsencrypt.org/documents/LE-SA-v1.3-September-21-2022.pdf

Do you agree to the Let's Encrypt Subscriber Agreement? [Y/n]:
以下のメッセージが表示されインストールが始まります。
----------------------------------------------------------------------------
Performing changes to your installation

The Bitnami HTTPS Configuration Tool will perform any necessary actions to your
Bitnami installation. This may take some time, please be patient.
完了すると以下のように表示されます。
Enterキーを押して終了です。
----------------------------------------------------------------------------
Success

The Bitnami HTTPS Configuration Tool succeeded in modifying your installation.

The configuration report is shown below.

Backup files:
* /opt/bitnami/apache/conf/httpd.conf.back.202304151149
* /opt/bitnami/apache/conf/bitnami/bitnami.conf.back.202304151149
* /opt/bitnami/apache/conf/bitnami/bitnami-ssl.conf.back.202304151149
* /opt/bitnami/apache/conf/vhosts/wordpress-https-vhost.conf.back.202304151149
* /opt/bitnami/apache/conf/vhosts/wordpress-vhost.conf.back.202304151149

Find more details in the log file:

/tmp/bncert-202304151149.log

If you find any issues, please check Bitnami Support forums at:

https://github.com/bitnami/vms

Press [Enter] to continue:
以下のURLにアクセスしましょう。
https://ドメイン名WordPressの画面が表示されました。

さいごに
今回はLightsailで構築したアプリを、SSL化する手順をまとめました。
Lightsailでアプリを構築した場合は、必ずSSLを有効にしましょう。
他にも私のブログで、AWSについて解説している記事がありますのでご覧ください。


コメント