
はじめに
Herokuを使って、Laravelプロジェクトを公開する手順をまとめました。
個人で開発したアプリケーションを手軽に公開することができます。
Herokuの新規登録方法は、以下の記事にまとめました。

Djangoで作成したアプリもHerokuで公開できます。
詳しくは以下の記事をご覧ください。

他にも私のブログで、Laravelについて解説している記事がありますのでご覧ください。


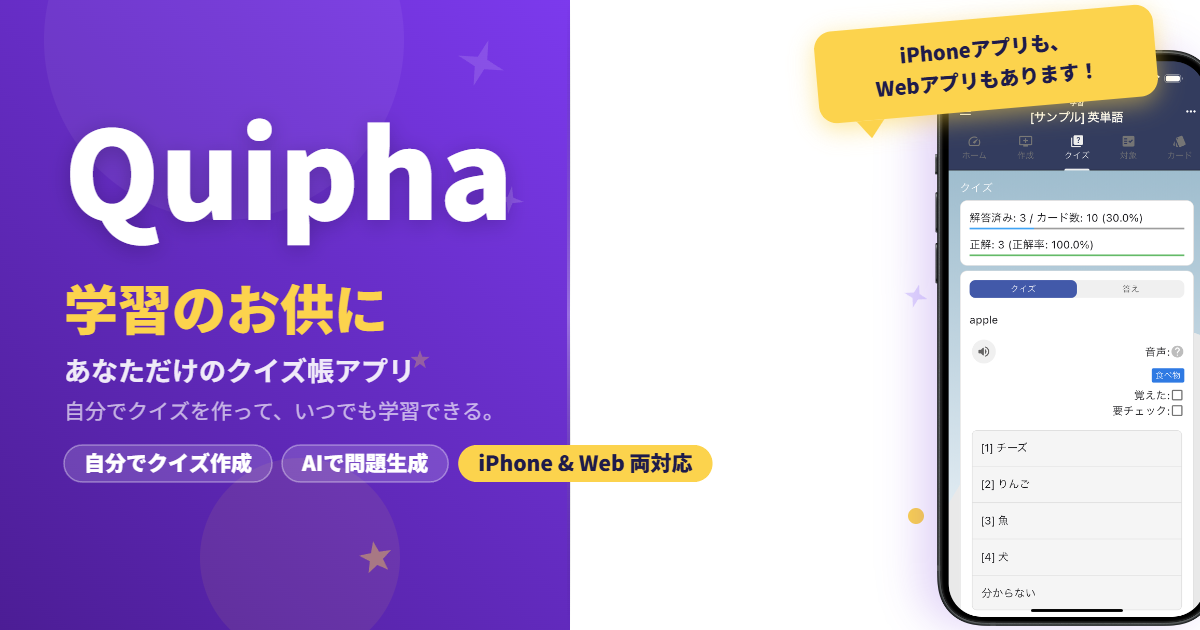
【紹介】個人開発
私の個人開発ですがQuiphaというサービスを開発しました。(Laravel, Vue3など)
良かったら、会員登録して動作を試してみて下さい。
また、Laravel 9 実践入門という書籍を出版しました。
Kindle Unlimitedを契約している方であれば、読み放題で無料でご覧いただくことができます。

2022/08/27 追記:無料プラン廃止について
Herokuは、以下の無料プランを廃止すると発表しました。
- Heroku Dynos
- Heroku Postgres
- Heroku Data for Redis
プランにつきましては公式サイトをご確認ください。
Heroku CLIのインストール
WindowsとMacのそれぞれで、インストール方法を解説します。
Windows
Windowsで作業を行う場合ですが、今回はWSL2のUbuntuを使用しました。
導入は簡単にできますので、以下の記事を参考にしてください。

以下のページにアクセスします。

それぞれのOSごとにインストール方法が記載されています。
今回はWSL2のUbuntuにインストールしますが、以下のコマンドでした。

以降はWSL2のUbuntuからコマンドを実行していきます。

以下のコマンドを実行します。
$ curl https://cli-assets.heroku.com/install-ubuntu.sh | shインストールが完了しました。バージョンを確認しましょう。
$ heroku --version

heroku/7.59.2 linux-x64 node-v12.21.0ついでにGitのバージョンも確認しましょう。
Ubuntuには最初からインストールされていました。
$ git --version

git version 2.25.1
Git は、ほとんどの Linux 用 Windows サブシステムのディストリビューションと一緒に既にインストールされていますが、最新バージョンに更新したほうがよい場合があります。 また、git 構成ファイルを設定する必要もあります。
https://docs.microsoft.com/ja-jp/windows/wsl/tutorials/wsl-git
これでHeroku CLIを使う準備ができました。
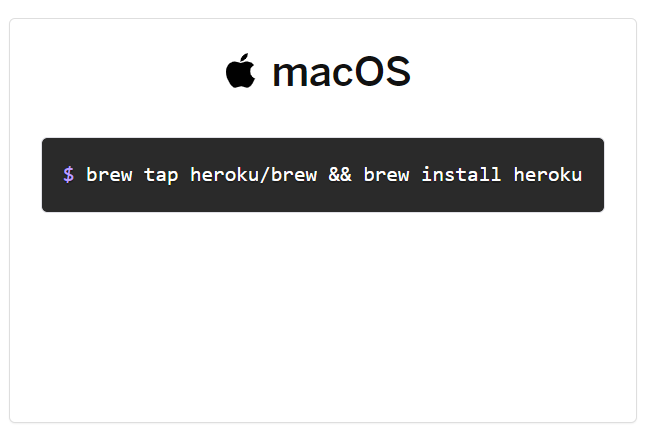
Mac
Macで作業を行うために、Heroku CLIをインストールします。
以下のページにアクセスします。
それぞれのOSごとにインストール方法が記載されています。
Homebrewをインストールしていない場合は、以下の記事を参考にしてください。

ターミナルを起動し、以下のコマンドを実行します。
% brew tap heroku/brew && brew install herokuインストールが完了しました。バージョンを確認しましょう。
% heroku --version

heroku/7.60.1 darwin-x64 node-v14.19.0
Gitのインストールも行いましょう。
インストールされているかどうか、以下のコマンドを実行します。
% git --version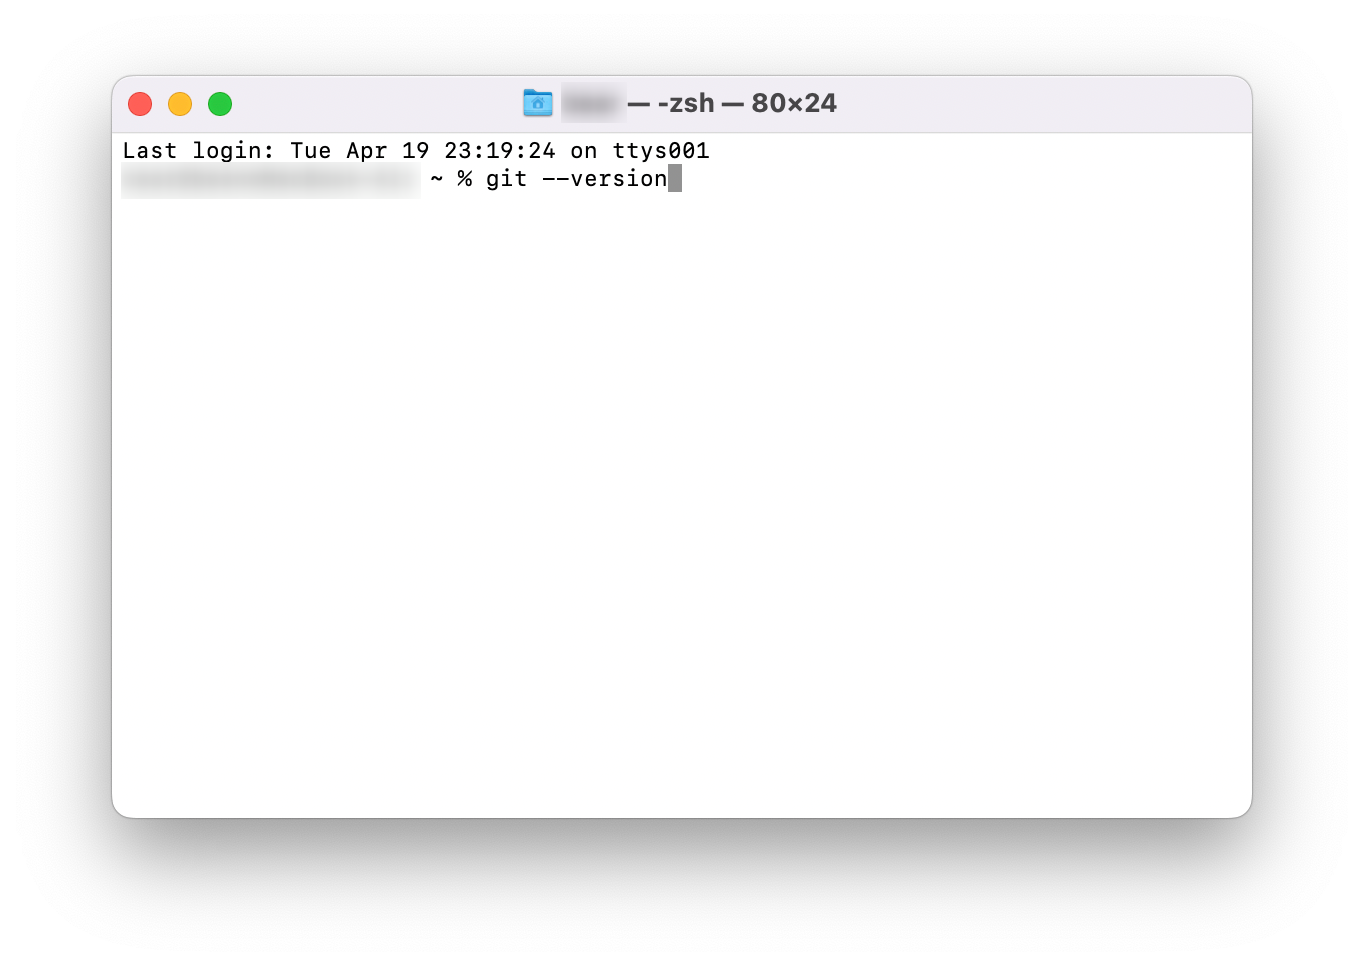
Gitがインストールされていない場合は、以下のダイアログが表示されますのでインストールを選択します。
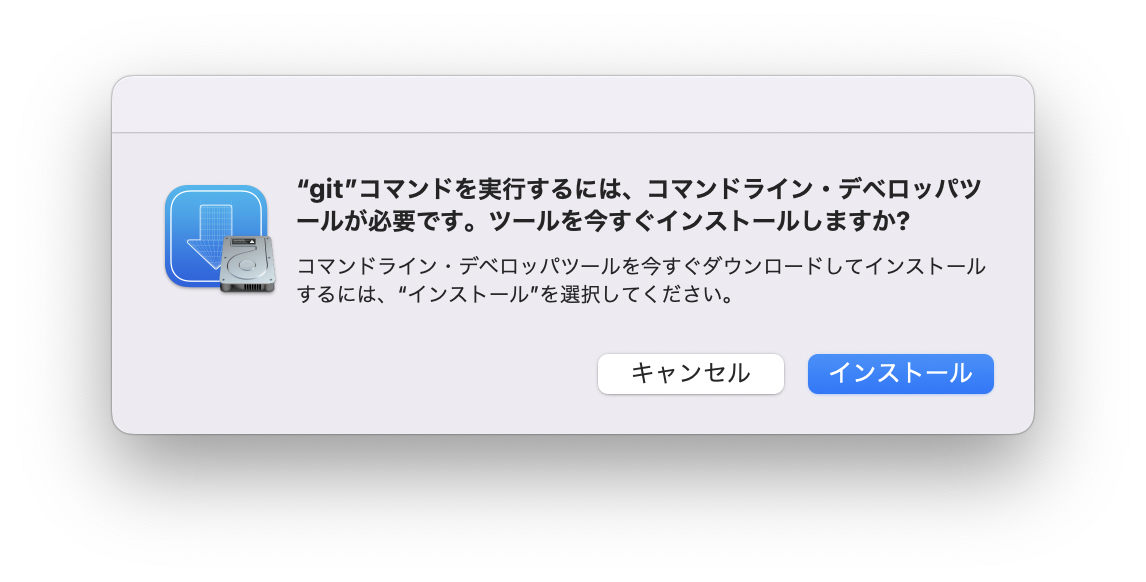
“git”コマンドを実行するには、コマンドライン・デベロッパツールが必要です。ツールを今すぐインストールしますか?
コマンドライン・デベロッパツールを今すぐダウンロードしてインストールするには、”インストール”を選択してください。
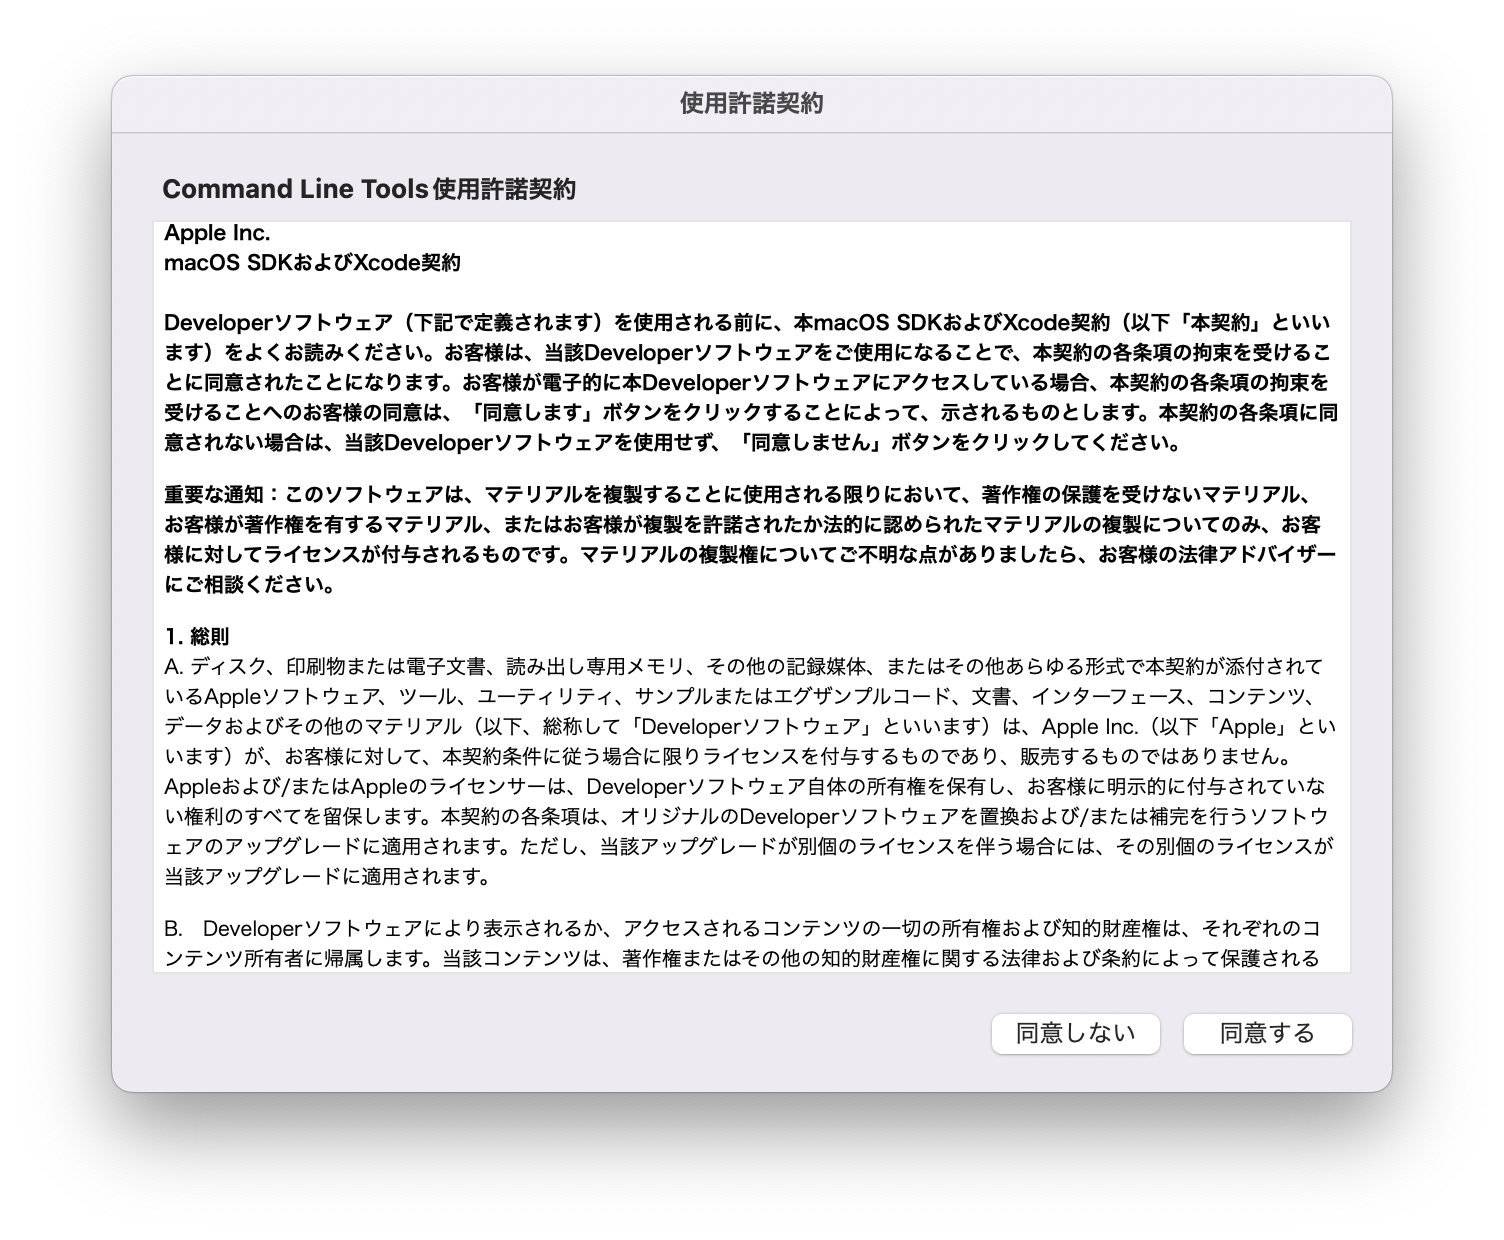
規約を確認します。
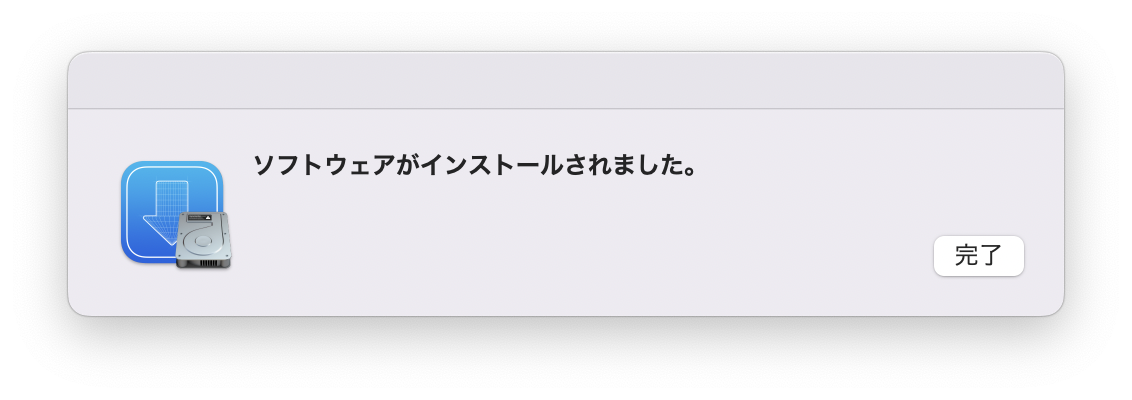
完了しました。
インストール完了後、以下のコマンドでGitのバージョンが確認できます。
% git --version

git version 2.30.1 (Apple Git-130)
Git用のメールアドレスと名前を設定しておきましょう。
% git config --global user.email "you@example.com"
% git config --global user.name "Your Name"
Heroku CLIを使う準備ができました。
Laravelプロジェクトの用意
HerokuにデプロイするためのLaravelプロジェクトを作成します。
Laravel Sailを使って構築しますが、詳細は以下の記事をご覧ください。


任意のディレクトリを作成しましょう。
ホームディレクトリにプロジェクトフォルダを作成しました。
$ cd ~
$ mkdir Laravel-Project
$ cd Laravel-Project
任意のプロジェクト名でLaravelプロジェクトを作成します。
$ curl -s https://laravel.build/example-app-heroku | bashGitリポジトリを作成しコミットしましょう。
$ cd example-app-heroku
$ git init
$ git add .
$ git commit -m "new laravel project"
Herokuにデプロイ
Procfileファイルを作成
Procfileファイルを作成し、Laravelの公開ディレクトリの設定を行います。
Procfileもコミットします。
$ echo "web: vendor/bin/heroku-php-apache2 public/" > Procfile
$ git add .
$ git commit -m "Procfile for Heroku"
ログイン
Herokuへログインします。
q以外のキーを押すとブラウザが開きます。
$ heroku login

heroku: Press any key to open up the browser to login or q to exit:
ブラウザでログインページが開き、ログインを行うことができます。
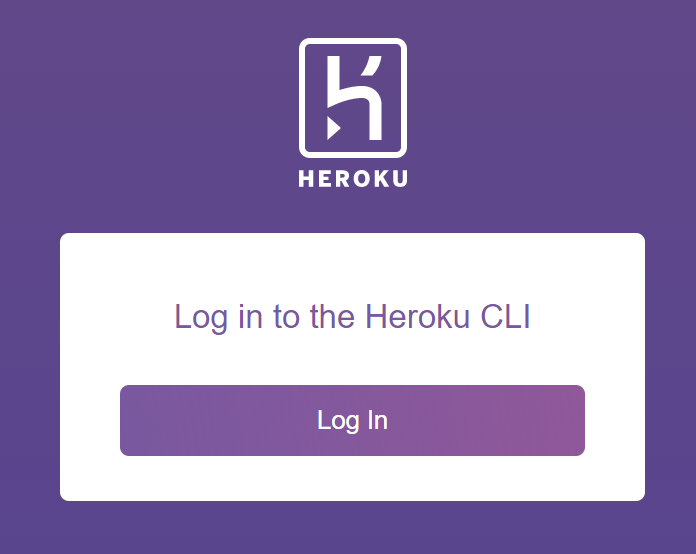
「Log in」ボタンクリックでCLIの方でログインが完了します。
Logging in... done
Logged in as xxx@xxxx
アプリケーション作成
Herokuアプリケーションを作成します。
$ heroku create

Creating app... done, ⬢ xxx-xxx-xxxx
https://xxx-xxx-xxxx.herokuapp.com/ | https://git.heroku.com/xxx-xxx-xxxx.gitこの時点でWebのダッシュボードを確認すると、作成されたアプリケーションが確認できます。

LaravelプロジェクトのAPP_KEYを設定します。
まずはキーを生成します。今回はSailを使用しますので起動します。
$ sail up -d
$ sail artisan key:generate --show

base64:xxxxx生成されたキーを指定し、Herokuのconfigに設定します。
$ heroku config:set APP_KEY=base64:xxxxxWebのダッシュボード上からConfigの値を確認することができます。

もちろんコマンドで確認することもできます。
$ heroku config

=== xxx-xxx-xxxx Config Vars
APP_KEY: base64:xxxxxHerokuのGitリモートリポジトリにプッシュします。
リモート先を確認してみましょう。
「heroku」というリモート先が追加されているのが分かります。
$ git remote -v

heroku  https://git.heroku.com/xxx-xxx-xxxx.git (fetch)
heroku https://git.heroku.com/xxx-xxx-xxxx.git (push)プッシュを行いデプロイします。
$ git push heroku masterプッシュ時に自動でPHPを認識してビルドされるようです。composer installなどのコマンドを実行せずとも構築されるようです。
remote: Compressing source files... done.
remote: Building source:
remote:
remote: -----> Building on the Heroku-20 stack
remote: -----> Determining which buildpack to use for this app
remote:  !     Warning: Multiple default buildpacks reported the ability to handle this app. The first buildpack in the list below will be used.
remote:                         Detected buildpacks: PHP,Node.js
remote:                         See https://devcenter.heroku.com/articles/buildpacks#buildpack-detect-order
remote: -----> PHP app detected
remote: -----> Bootstrapping...
remote: -----> Installing platform packages...
remote:        - php (8.1.1)
remote:        - ext-mbstring (bundled with php)
remote:        - composer (2.2.3)
remote:        - apache (2.4.51)
remote:        - nginx (1.20.2)
remote: -----> Installing dependencies...
remote:        Composer version 2.2.3 2021-12-31 12:18:53
remote:        Installing dependencies from lock file
remote:        Verifying lock file contents can be installed on current platform.
remote:        Package operations: 70 installs, 0 updates, 0 removals
remote:          - Downloading doctrine/inflector (2.0.4)
remote:          - Downloading doctrine/lexer (1.2.2)
...
それではデプロイされたサイトにアクセスしてみましょう。
$ heroku openデータベースの設定はしていませんが、とりあえずいつものLaravelの画面が表示されました。

ちなみにdynoコンテナ上のコマンドを実行する場合は、heroku runを使用します。
$ heroku run php -v

PHP 8.1.1 (cli) (built: Dec 17 2021 15:27:15) (NTS)
Copyright (c) The PHP Group
Zend Engine v4.1.1, Copyright (c) Zend Technologies
with Zend OPcache v8.1.1, Copyright (c), by Zend Technologies他にも本番用のLaravelの設定をしておきましょう。
$ heroku config:set APP_ENV=production
$ heroku config:set APP_DEBUG=false
$ heroku config:set APP_URL=https://xxx-xxx-xxxx.herokuapp.com/
MySQLの設定
ClearDBアドオンを追加します。

以下のコマンドで追加します。
$ heroku addons:add cleardb:ignite

Creating cleardb:ignite on ⬢ xxx-xxx-xxx... free
Created cleardb-concave-xxxx as CLEARDB_DATABASE_URL
Use heroku addons:docs cleardb to view documentationアカウント認証が済んでいない状態で、ClearDBを追加しようとすると以下のエラーが表示されます。
Creating cleardb:ignite on ⬢ xxx-xxx-xxx... !
 ▸    Please verify your account to install this add-on plan (please enter a
 ▸    credit card) For more information, see
 ▸    https://devcenter.heroku.com/categories/billing Verify now at
 ▸    https://heroku.com/verify
正常に追加されると、ダッシュボードからも確認できます。

MySQLの接続情報を確認しましょう。
$ heroku config

=== xxx-xxx-xxx Config Vars
APP_KEY:              base64:xxx
CLEARDB_DATABASE_URL: mysql://xxx:xxx@xxx/heroku_xxx?reconnect=trueCLEARDB_DATABASE_URLのフォーマットは以下のようになっています。
mysql://(DB_USERNAME):(DB_PASSWORD)@(DB_HOST)/(DB_DATABASE)?reconnect=trueherokuにデータベースの設定を追加します。(CLEARDB_DATABASE_URLの内容を設定)
$ heroku config:set DB_CONNECTION=mysql
$ heroku config:set DB_HOST=(DB_HOST)
$ heroku config:set DB_PORT=3306
$ heroku config:set DB_DATABASE=(DB_DATABASE)
$ heroku config:set DB_USERNAME=(DB_USERNAME)
$ heroku config:set DB_PASSWORD=(DB_PASSWORD)Laravelのテーブルを作成しましょう。
APP_ENVをproductionに変更していたため確認メッセージが表示されますがyesで進めます。
$ heroku run php artisan migrate

Running php artisan migrate on ⬢ xxx-xxx-xxx... up, run.3610 (Free)
**************************************
*     Application In Production!     *
**************************************

 Do you really wish to run this command? (yes/no) [no]:
 >
以下のエラーが表示されました。
In Connection.php line 712:

  SQLSTATE[42000]: Syntax error or access violation: 1071 Specified key was too long; max key length is 767 bytes (SQL: alter table `users` add unique `users_email_unique`(`email`))


In Connection.php line 501:

  SQLSTATE[42000]: Syntax error or access violation: 1071 Specified key was too long; max key length is 767 bytes
これはLaravelとMySQLの問題ですので、以下のように修正します。
<?php

namespace App\Providers;

use Illuminate\Support\ServiceProvider;
use Illuminate\Support\Facades\Schema;

class AppServiceProvider extends ServiceProvider
{
    /**
     * Register any application services.
     *
     * @return void
     */
    public function register()
    {
        //
    }

    /**
     * Bootstrap any application services.
     *
     * @return void
     */
    public function boot()
    {
        Schema::defaultStringLength(191);
    }
}
修正したファイルをHerokuにプッシュしてデプロイしましょう。
$ git add .
$ git commit -m "Fix for MySQL"
$ git push heroku master
先程中途半端にテーブルが作られたため、再構築を行います。
$ heroku run php artisan migrate:fresh今度は正常にテーブルが作成されました。
Dropped all tables successfully.
Migration table created successfully.
Migrating: 2014_10_12_000000_create_users_table
Migrated:  2014_10_12_000000_create_users_table (59.87ms)
Migrating: 2014_10_12_100000_create_password_resets_table
Migrated:  2014_10_12_100000_create_password_resets_table (63.82ms)
Migrating: 2019_08_19_000000_create_failed_jobs_table
Migrated:  2019_08_19_000000_create_failed_jobs_table (68.19ms)
Migrating: 2019_12_14_000001_create_personal_access_tokens_table
Migrated:  2019_12_14_000001_create_personal_access_tokens_table (88.77ms)
MySQLのデータベース確認
MySQLのデータの確認方法につきましては、以下の記事にまとめましたので参考にしてください。

ログの出力
Laravelのログの内容を、Herokuに出力できるように修正してみます。
適当にログを出力するように修正してみました。
Route::get('/', function () {

    // ログを出力する
    \Log::info("Laravel Log TEST!");

    return view('welcome');
});
ロガーの設定を変更します。
        // 'single' => [
        //     'driver' => 'single',
        //     'path' => storage_path('logs/laravel.log'),
        //     'level' => env('LOG_LEVEL', 'debug'),
        // ],
        'single' => [
            'driver' => 'errorlog',
            'level' => 'debug',
        ],
Herokuにデプロイします。
$ git add .
$ git commit -m "Log Test"
$ git push heroku master
デプロイされたサイトにアクセスしてみましょう。
$ heroku openHerokuのログを確認するには、以下のコマンドでできます。
$ heroku logsログの中に、Laravelのログの内容も出力されていることが確認できます。
...
 [22-Jan-2022 14:53:15 UTC] [2022-01-22 14:53:15] production.INFO: Laravel Log TEST!
...
NPMの実行
Herokuへデプロイ時にNPMコマンドの実行を行うこともできます。
Laravelプロジェクトでは以下のように、js/cssなどをビルドするでしょう。
$ npm run prodHerokuでも設定は可能ですが、今回はローカルの開発環境でビルドを行い、トランスパイルされたファイルをプッシュする運用にしようと思いますので、この手順は割愛します。
さいごに
Herokuを使って、Laravelプロジェクトを公開する手順をまとめました。
個人開発でとりあえず公開して使ってもらいたい、と言う場合に手軽に公開できます。
是非活用してみましょう。
他にも私のブログで、Laravelについて解説している記事がありますのでご覧ください。


コメント