


はじめに
今回は、ConoHa WINGにSFTP・SSH接続する手順をまとめました。
ConoHa WINGに申し込む方法は以下の記事を参考にしてください。

他にも私のブログで、サーバーについて解説している記事がありますのでご覧ください。


ConoHa WINGについて
ConoHa WINGは高性能レンタルサーバーサービスで、初期費用無料、最低利用期間無しで月額968円から利用できます。
大量同時アクセスなどの高負荷にも強く、サイトのパフォーマンスに安定性を求める方にも最適です。
ConoHa WINGへの申し込みは以下からできます。特徴的なのは料金体系で、WINGパック(月額固定)と通常プラン(時間単位)があります。

無料期間はありませんが、後からプラン変更もできます。
ConoHa WING導入事例もありますので、確認してみましょう。
SSHアカウント作成
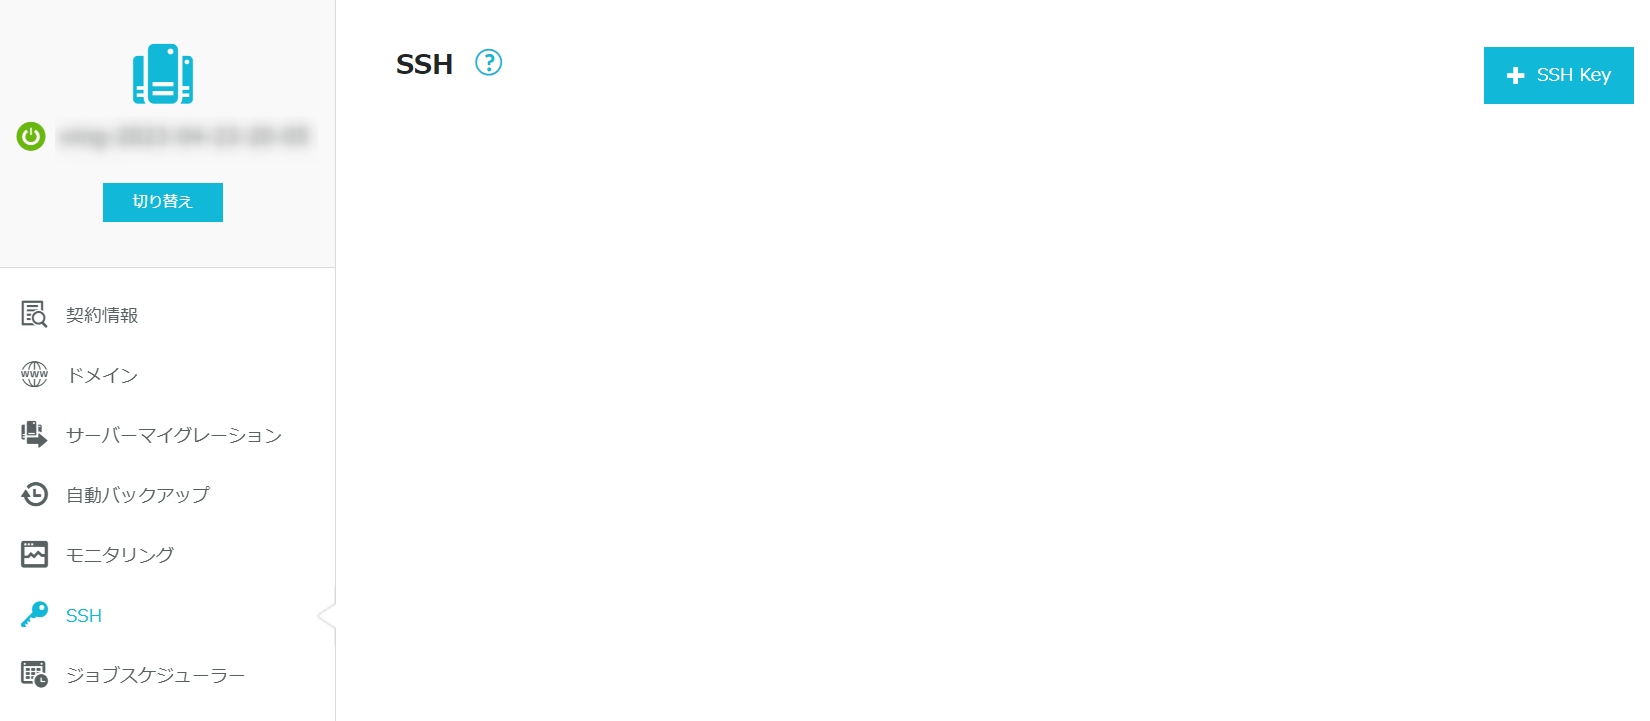
サーバー管理のSSHを開きます。
SSH key追加ボタンをクリックします。
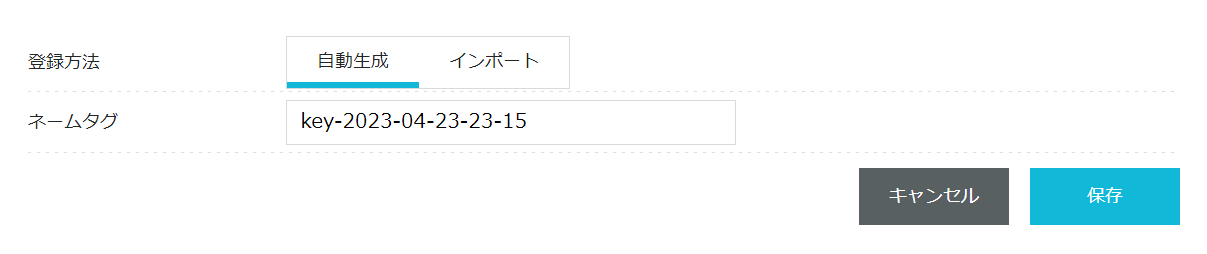
自動生成を選択し、保存します。
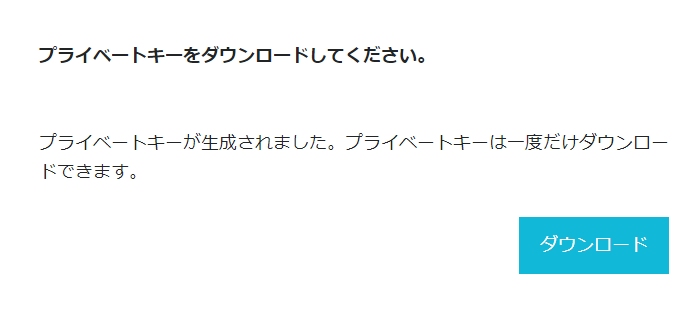
プライベートキーのダウンロードは生成時のみ可能となりますので、必ずダウンロードし大切に保管しましょう。
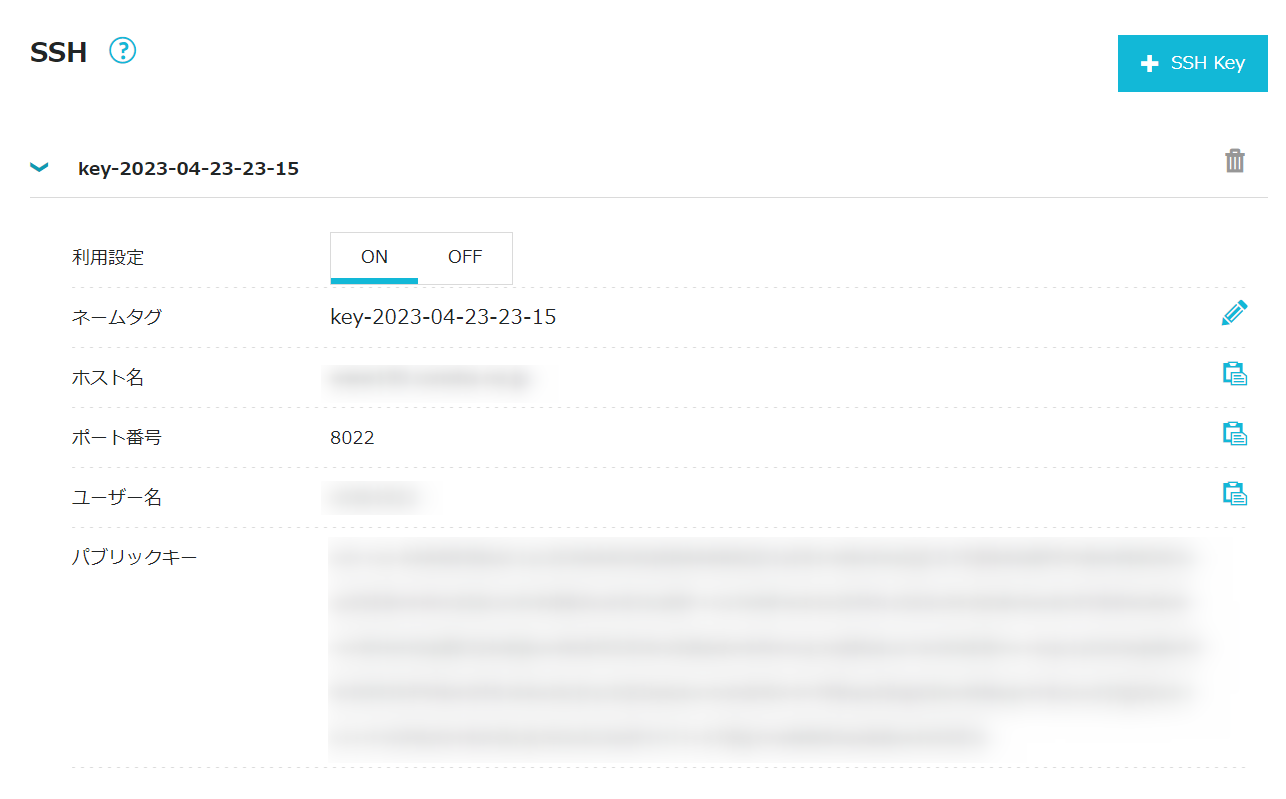
SSHアカウントが作成されました。
後ほどこの情報は使用しますので、控えておきましょう。
SSHクライアントソフトの設定
PuTTYのインストール
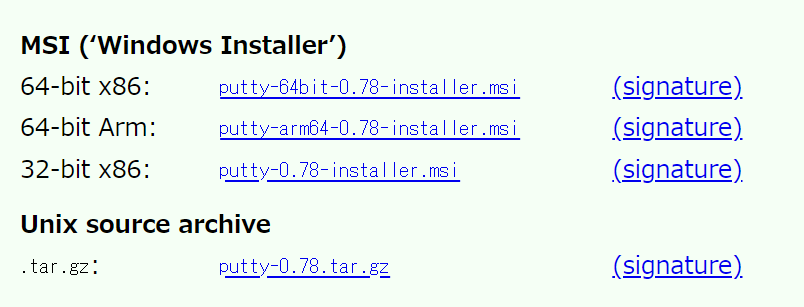
以下のURLからPuTTYのサイトにアクセスします。

「putty-64bit-0.78-installer.msi」をダウンロードしました。
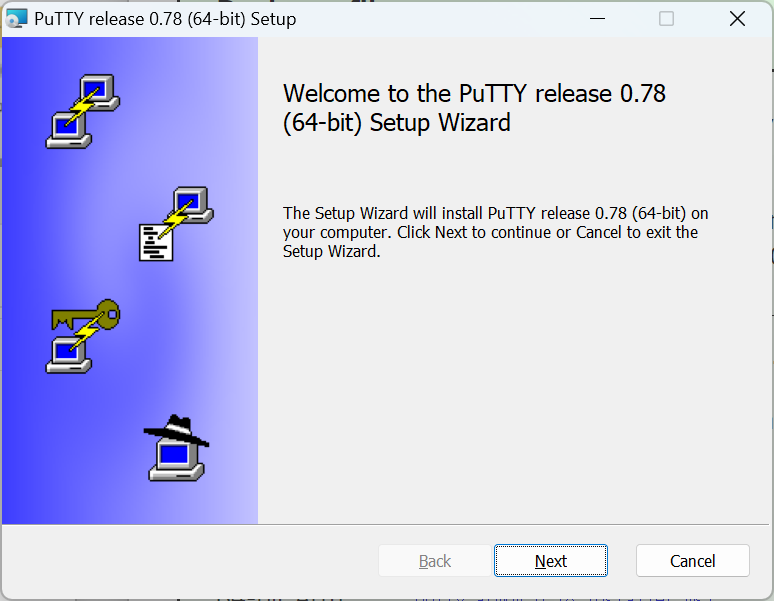
PuTTYをインストールします。
秘密鍵の作成
ppkファイル(秘密鍵)を作成します。
PuTTYgenを起動し、「Load」ボタンをクリックします。
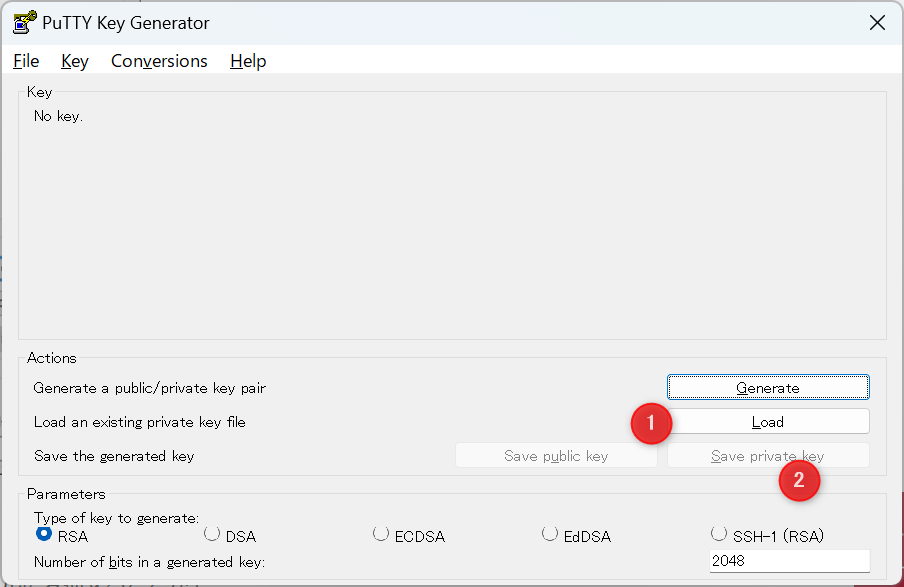
「All Files」を選択し、先ほどダウンロードした「xxx.pem」を選択します。

読み込むと以下のメッセージが表示されました。
---------------------------
PuTTYgen Notice
---------------------------
Successfully imported foreign key
(OpenSSH SSH-2 private key (old PEM format)).
To use this key with PuTTY, you need to
use the "Save private key" command to
save it in PuTTY's own format.
---------------------------
OK
---------------------------
「Save private key」をクリックし、ppkファイル(秘密鍵)を保存します。
PuTTYでSSH接続
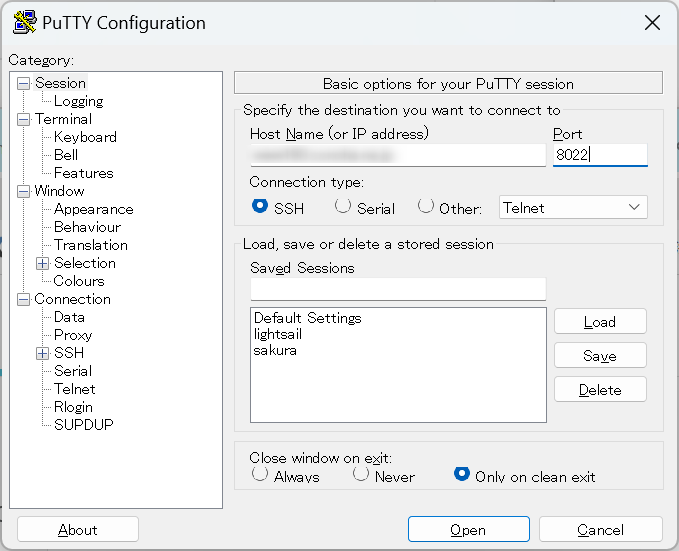
PuTTYを起動します。
Host Nameに、SSHアカウントのホスト名、Portはポート番号を指定します。
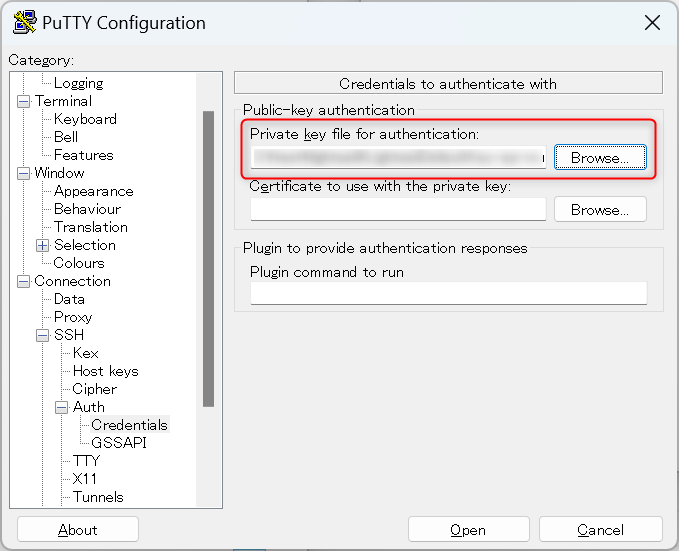
Connection→SSH→Auth→Credentialsを開き「Private key file for authentication」に、先ほど作成したppkファイルを選択します。
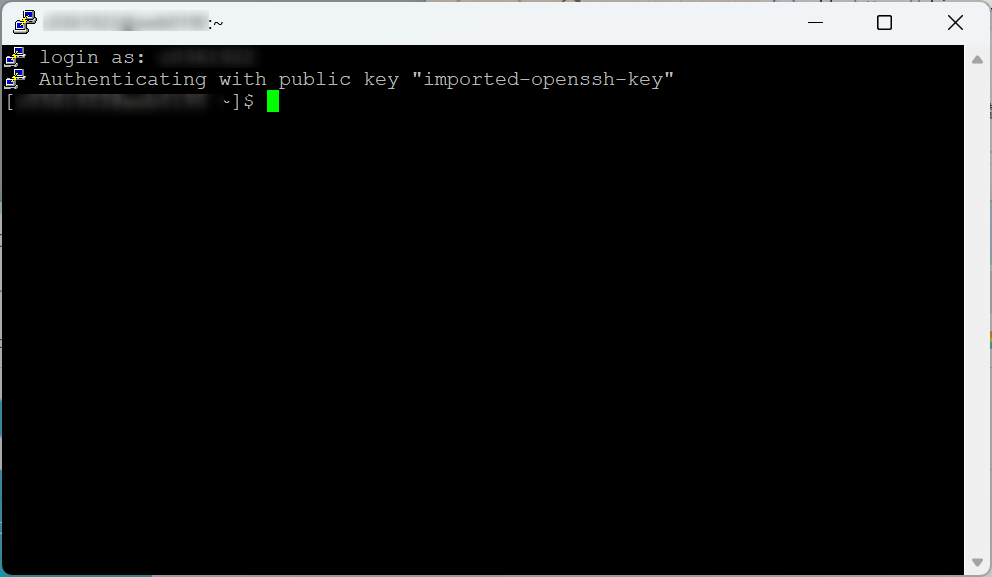
SSH接続できました。
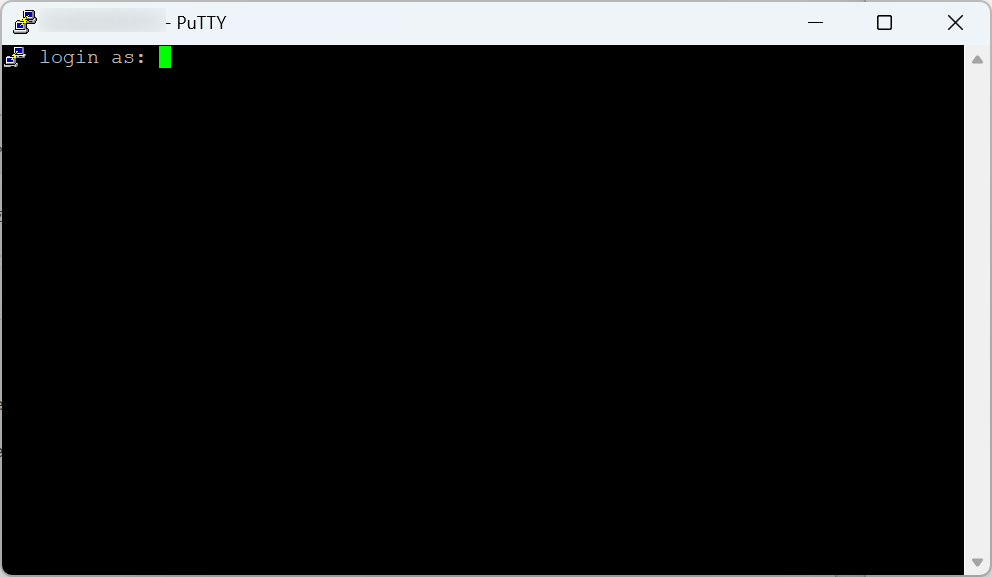
ログインユーザにSSHアカウントのユーザ名を入力するとログインができます。
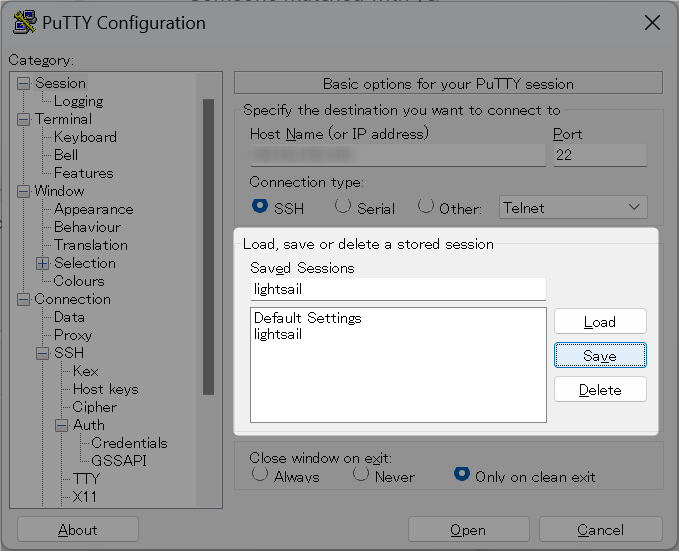
次回も接続するため、セッションの設定を保存しておくと便利です。
SFTP接続
FTPでも可能ですが、今回はSFTPでファイル転送してみましょう。
クライアントアプリは何でもいいですが、今回はWinSCPを利用します。
以下からWinSCPをダウンロードします。
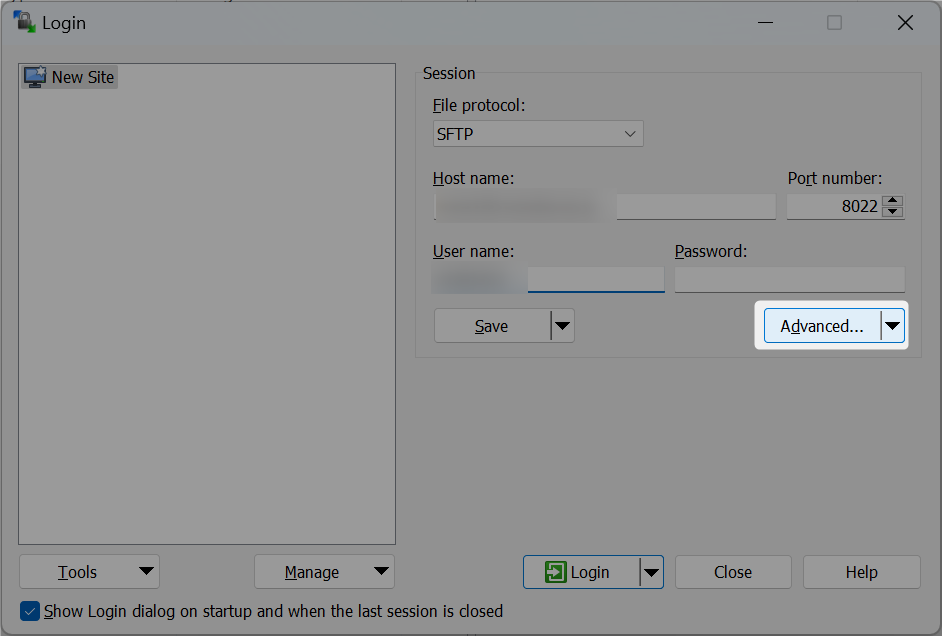
WinSCPを起動し、以下の情報を入力します。
SSH 認証keyを選択するため、「Advanced…」をクリックします。
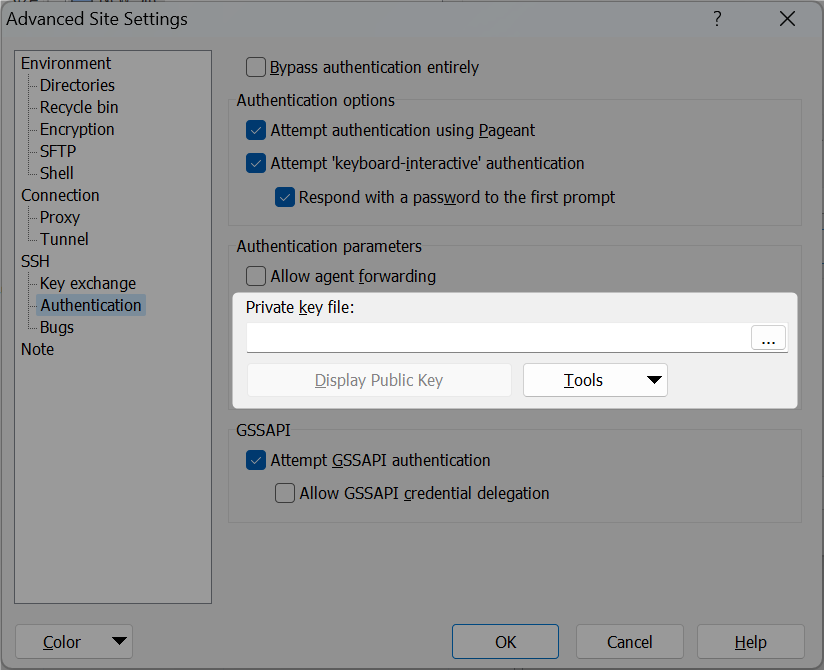
AdvancedボタンをクリックしSSH→Authenticationを開き、「Private key file」に作成したppkファイルを選択します。
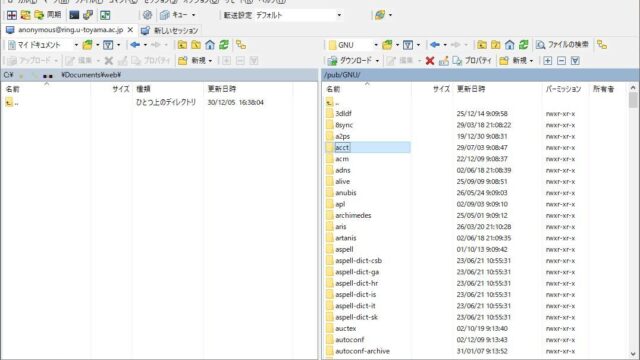
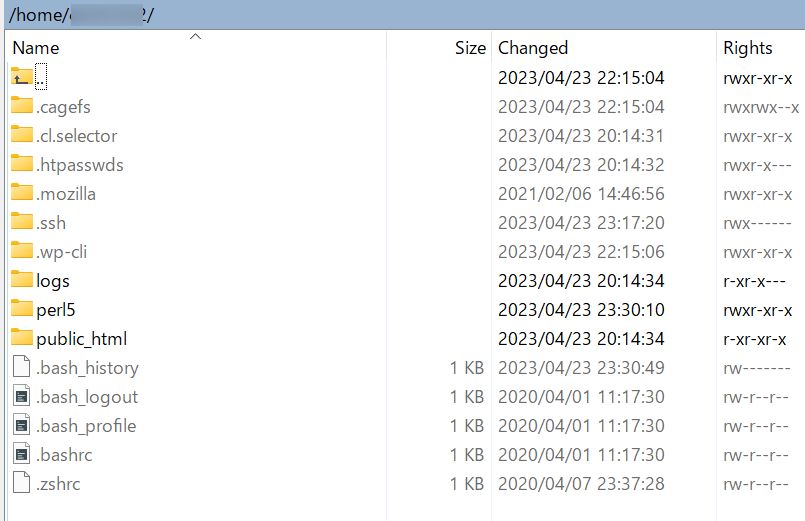
サーバーにログインできました。
ファイルの転送を行うことができます。
今回は行いませんが、アカウントを作成しFTPで接続することも可能です。
さいごに
今回は、ConoHa WINGにSFTP・SSH接続する手順をまとめました。
是非試してみてください。
他にも私のブログで、サーバーについて解説している記事がありますのでご覧ください。


コメント