


はじめに
今回はAWSのLightsailを利用して構築したアプリに、ドメインを設定する手順をまとめした。
ドメインの取得は例えばお名前.comなどでもできますが、AWSのRoute 53で取得したドメインで設定します。
他社(お名前.comなど)で取得したドメインを設定するやり方は、以下の記事を参考にしてください。


Lightsailでサイト構築
Lightsailを利用すると、例えばWordPressなどを簡単に構築することができます。
以下の記事を参考にしてください。

構築したアプリはSSL化しましょう。

Route 53でドメイン取得
今回はRoute 53でドメインを取得し設定していきます。
Route 53でドメインの取得方法は以下の記事を参考にしてください。
静的IPを設定
Lightsailで作成したインスタンスは、起動すると一つIPアドレスが設定されます。
ただし、インスタンスを停止し再起動すると、IPアドレスが変わってしまいます。
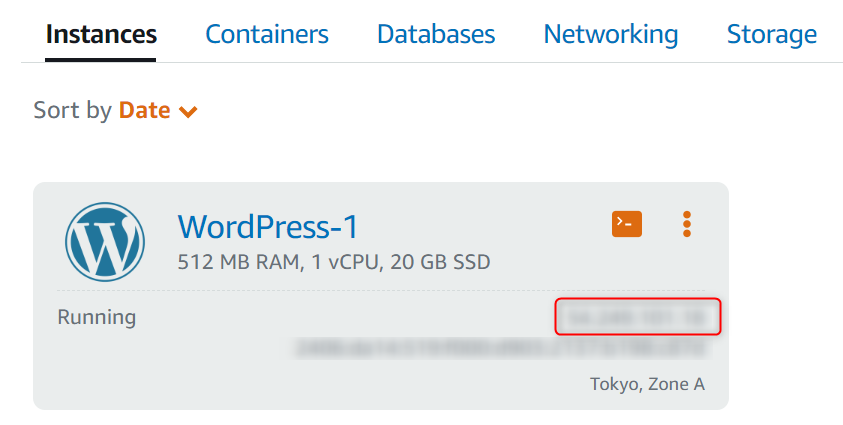
静的IPについて、インスタンスにアタッチされている場合は、静的IPに対する料金は発生しません。

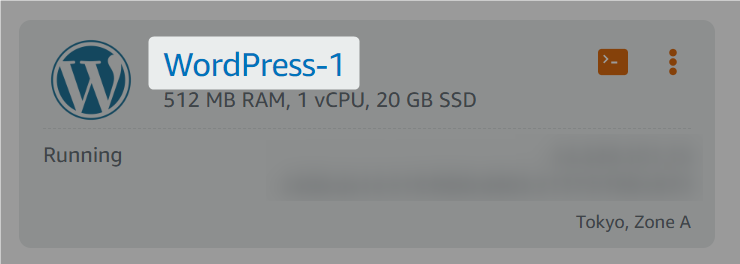
インスタンス名をクリックします。
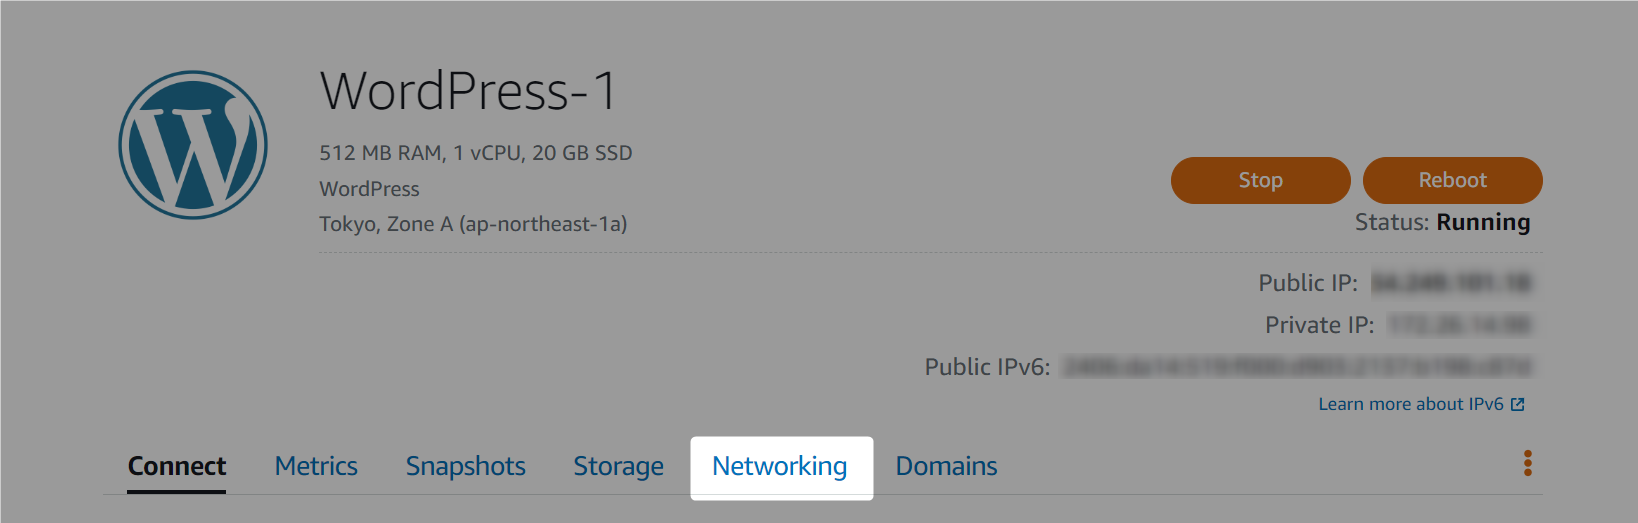
インスタンスの管理画面が表示されます。
「Networking」をクリックします。
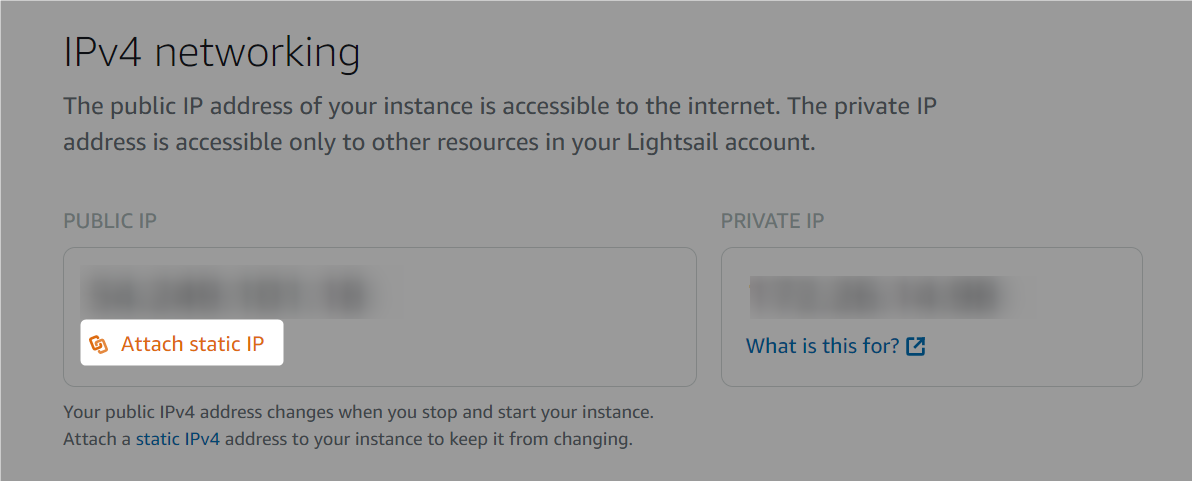
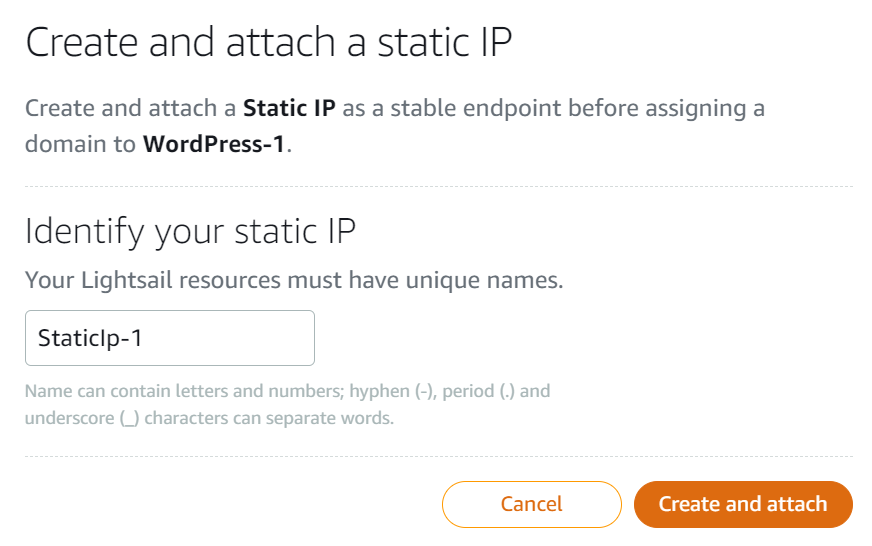
「IPv4 networking」の「Attach static IP」をクリックします。
静的IPの名前を任意で設定し、「Create and attach」をクリックします。
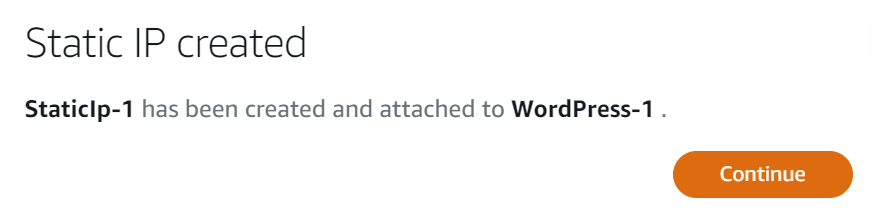
静的IPが作成されました。
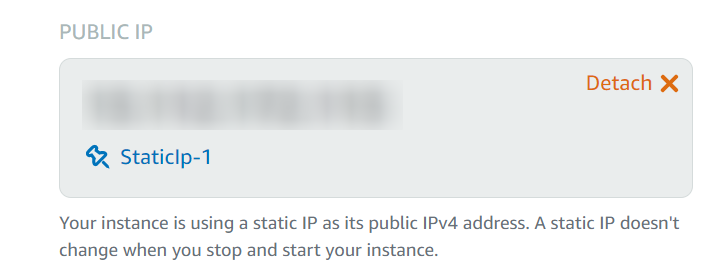
静的IPアドレスがアタッチされました。
表示されているIPアドレスでサイトにアクセスできることと、インスタンスを再起動してもIPアドレスが変わらないことを確認しましょう。
ドメインの設定
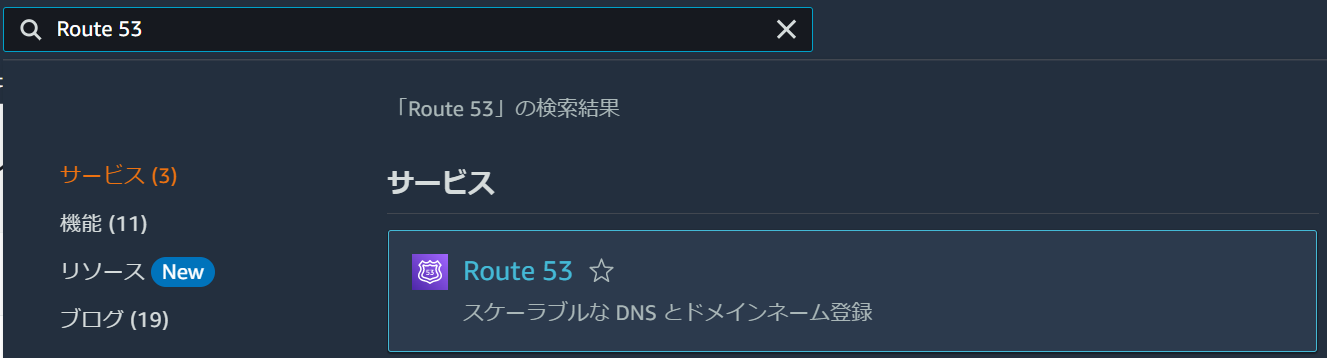
AWSのコンソールを開き、「Route 53」を検索します。
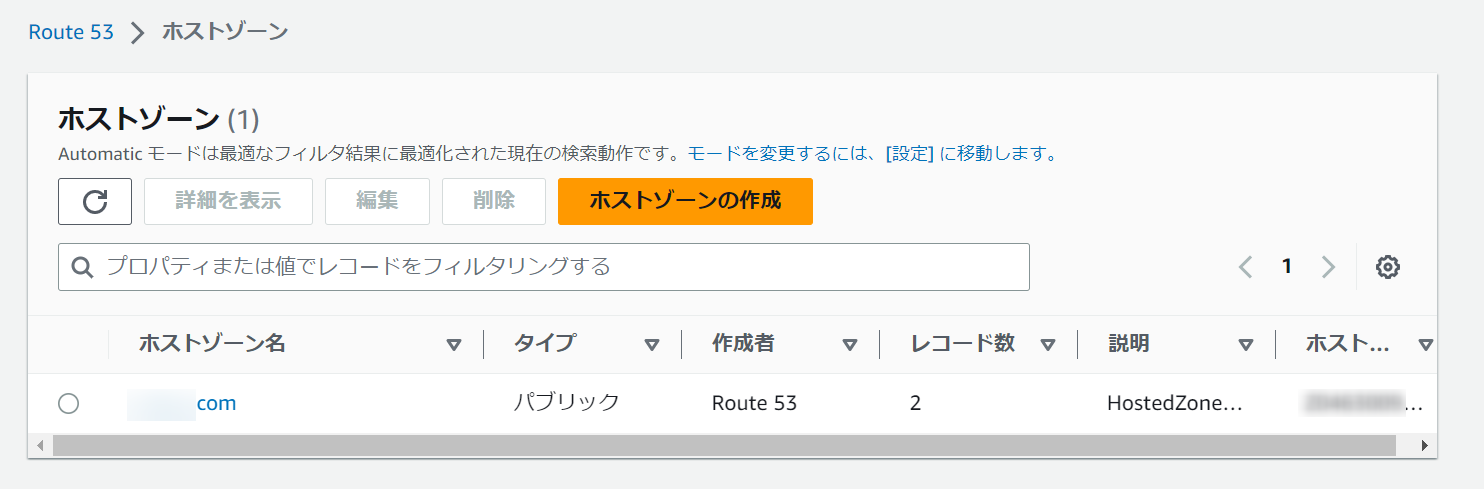
ホストゾーンを開きます。
既に取得したドメイン(ホストゾーン名)をクリックします。
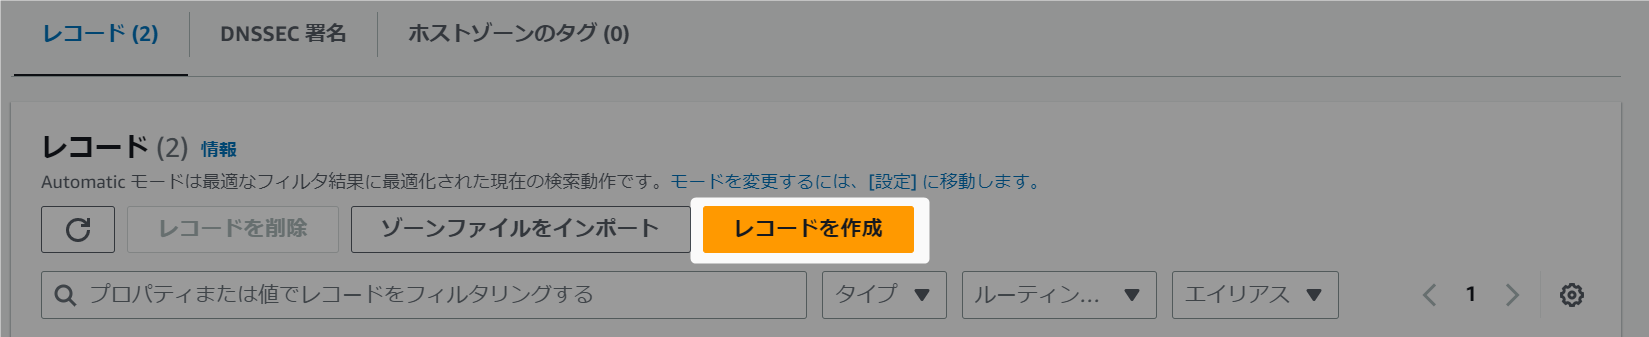
レコードを編集することができます。
「レコードを作成」をクリックします。
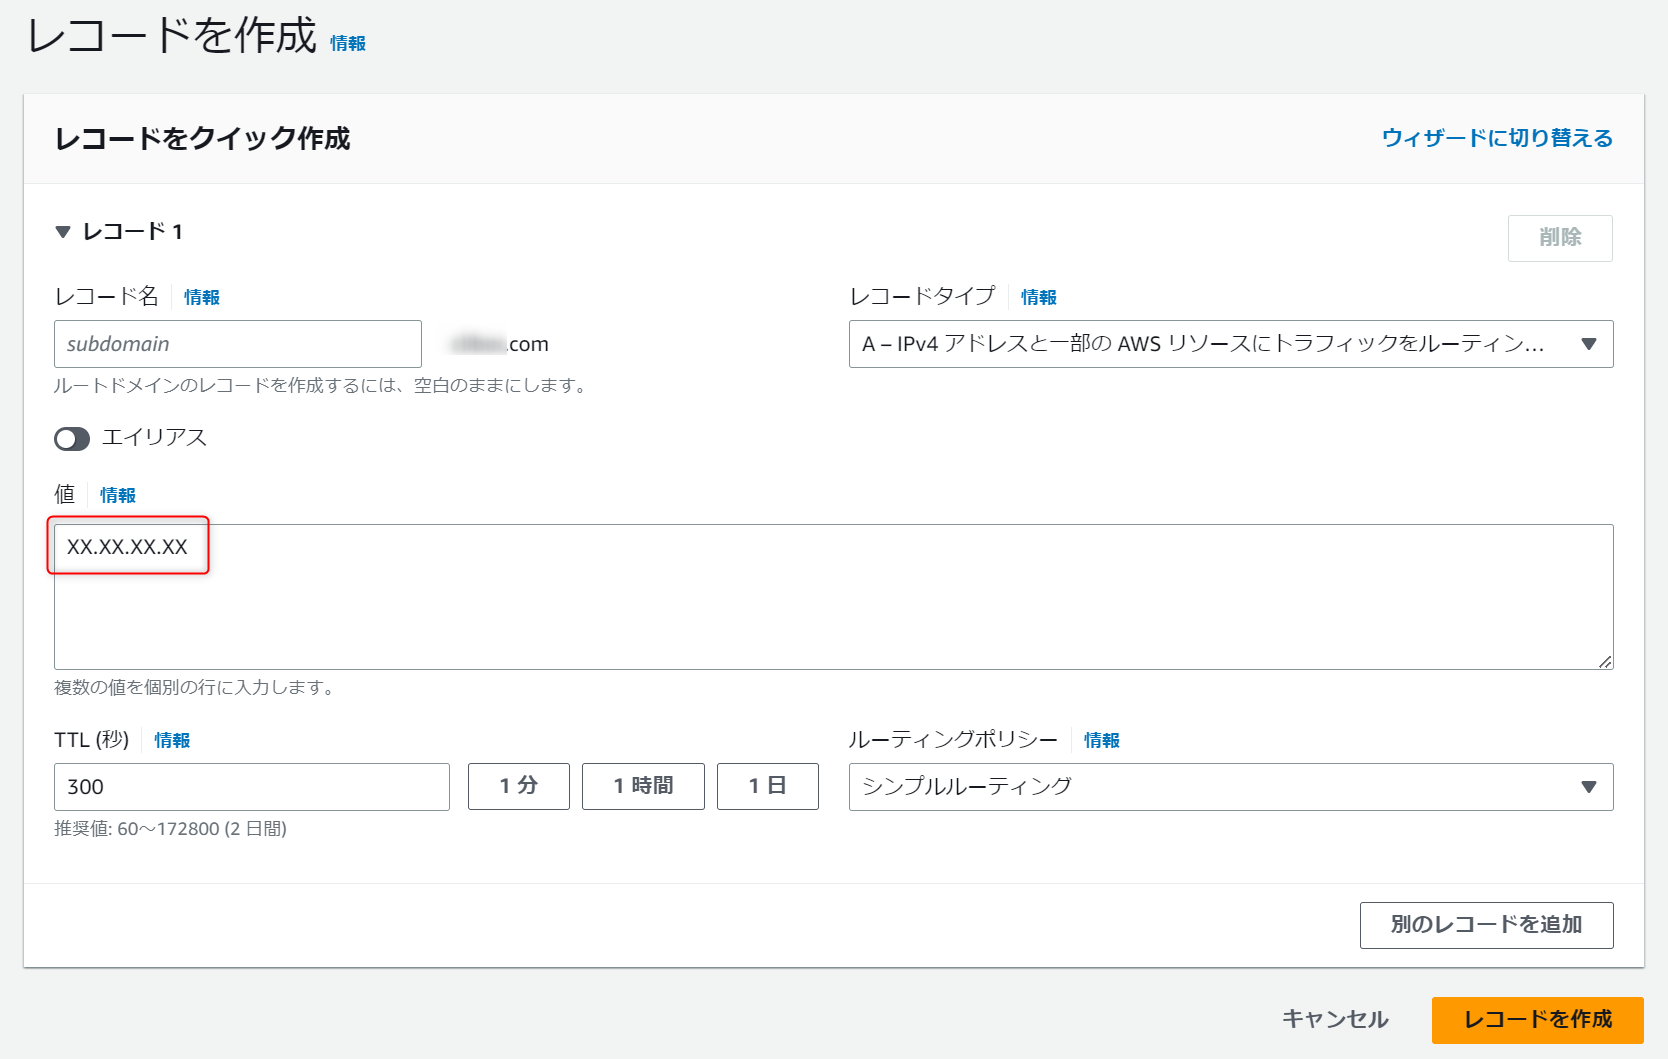
今回はサブドメインを指定しないので、レコード名は空白で大丈夫です。
サブドメインにしたい場合は入力しましょう。
値には既に取得した静的IPアドレスを指定し、「レコードを作成」をクリックします。
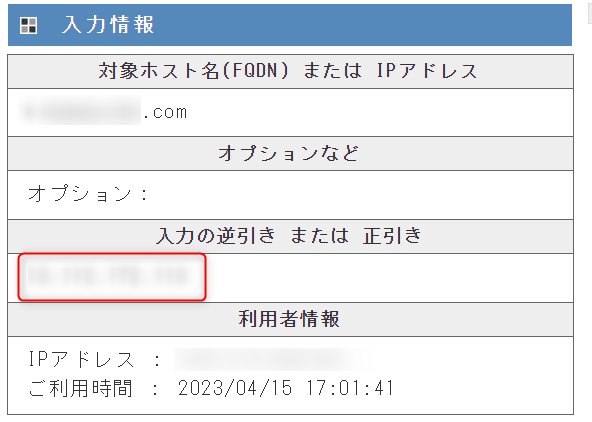
正しく反映されたかどうか確認しましょう。
以下のサイトを利用しました。

取得したドメインを入力し、「dig実行」をクリックします。
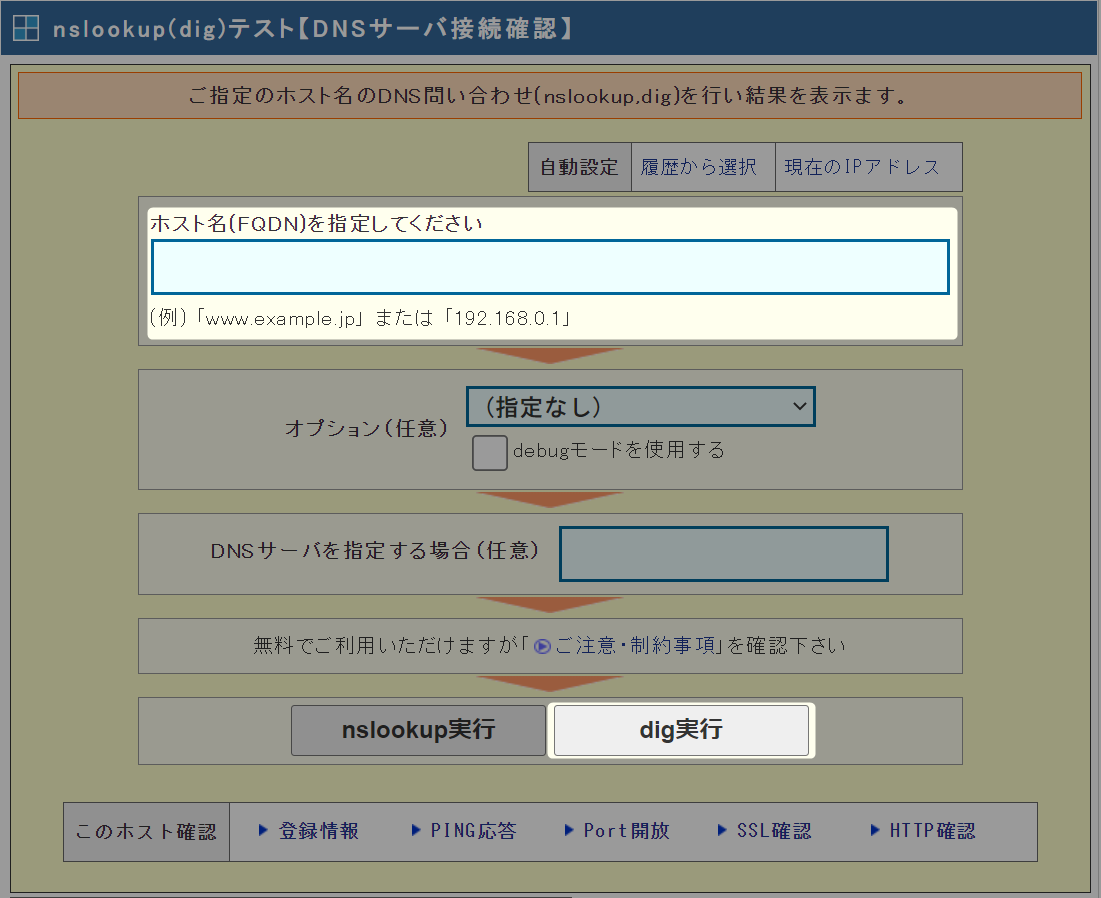
以下の赤枠に、静的IPアドレスが表示されたら正常です。
設定したドメインにアクセスしてみましょう。
http://ドメイン名Lightsailのサイトが表示されました。(WordPressの場合)

さいごに
今回はLightsailを利用して構築したアプリに、ドメインを設定する手順をまとめした。
是非、参考にしてみてください。


コメント