


新規登録
新規登録画面を作成します。
リクエストクラスを作成します。
$ sail artisan make:request ProductRequestauthorize 関数の戻り値を true に変更し、rules 関数にはリクエストパラメータのバリデーションルールを指定します。
/**
 * Determine if the user is authorized to make this request.
 *
 * @return bool
 */
public function authorize()
{
    return true;
}

/**
 * Get the validation rules that apply to the request.
 *
 * @return array
 */
public function rules()
{
    // バリデーションルール
    return [
        // 商品名。最大値は64文字
        'name' => 'required|string|max:64',
        // 価格
        'price' => 'required|integer'
    ];
}
コントローラを修正します。
新規登録画面の表示と、登録処理を実装します。
use App\Http\Requests\ProductRequest;
...
/**
 * Show the form for creating a new resource.
 *
 * @return \Illuminate\Http\Response
 */
public function create()
{
    return view('product.create');
}

/**
 * Store a newly created resource in storage.
 *
 * @param  \Illuminate\Http\Request  $request
 * @return \Illuminate\Http\Response
 */
public function store(ProductRequest $request)
{

    $product = new Product;

    // fillを使用する場合は、必ずモデルのfillableを指定する
    $product->fill($request->all())->save();

    // 一覧へ戻り完了メッセージを表示
    return redirect()->route('product.index')->with('message', '登録しました');
}fill でリクエストの内容をモデルに一括でセットしています。
そのためにはモデルを修正します。
/**
 * fillable
 *
 * @var array
 */
protected $fillable = [
    'name',
    'price',
];
テンプレートファイルを作成します。
バリデーションのエラー結果を表示したり、入力フォームを実装します。
@extends('adminlte::page')

@section('title', '商品登録')

@section('content_header')
    <h1>商品登録</h1>
@stop

@section('content')
    @if ($errors->any())
        <div class="alert alert-warning alert-dismissible">
            {{-- エラーの表示 --}}
            <ul>
                @foreach ($errors->all() as $error)
                    <li>{{ $error }}</li>
                @endforeach
            </ul>
        </div>
    @endif

    {{-- 登録画面 --}}
    <div class="card">
        <form action="{{ route('product.store') }}" method="post">
            @csrf
            <div class="card-body">
                {{-- 商品名入力 --}}
                <div class="form-group">
                    <label for="name">商品名</label>
                    <input type="text" class="form-control" id="name" name="name" value="{{ old('name') }}"
                        placeholder="商品名" />
                </div>
                {{-- 価格入力 --}}
                <div class="form-group">
                    <label for="price">価格</label>
                    <input type="text" class="form-control" id="price" name="price" value="{{ old('price') }}"
                        placeholder="価格" />
                </div>
            </div>
            <div class="card-footer">
                <div class="row">
                    <a class="btn btn-default" href="{{ route('product.index') }}" role="button">戻る</a>
                    <div class="ml-auto">
                        <button type="submit" class="btn btn-primary">登録</button>
                    </div>
                </div>
            </div>
        </form>
    </div>
@stop
編集
編集画面を作成します。
コントローラを修正します。
編集画面の表示と、編集処理を実装します。
/**
 * Show the form for editing the specified resource.
 *
 * @param  int  $id
 * @return \Illuminate\Http\Response
 */
public function edit($id)
{
    $product = Product::find($id);

    return view('product.edit', [
        'product' => $product
    ]);
}

/**
 * Update the specified resource in storage.
 *
 * @param  \Illuminate\Http\Request  $request
 * @param  int  $id
 * @return \Illuminate\Http\Response
 */
public function update(ProductRequest $request, $id)
{
    $product = Product::find($id);
    $product->fill($request->all())->save();

    // 一覧へ戻り完了メッセージを表示
    return redirect()->route('product.index')->with('message', '編集しました');
}テンプレートファイルを作成します。
バリデーションのエラー結果を表示したり、編集フォームを実装します。
@extends('adminlte::page')

@section('title', '商品編集')

@section('content_header')
    <h1>商品編集</h1>
@stop

@section('content')
    @if ($errors->any())
        <div class="alert alert-warning alert-dismissible">
            {{-- エラーの表示 --}}
            <ul>
                @foreach ($errors->all() as $error)
                    <li>{{ $error }}</li>
                @endforeach
            </ul>
        </div>
    @endif

    {{-- 編集画面 --}}
    <div class="card">
        <form action="{{ route('product.update', $product->id) }}" method="post">
            @csrf @method('PUT')
            <div class="card-body">
                {{-- 商品名入力 --}}
                <div class="form-group">
                    <label for="name">商品名</label>
                    <input type="text" class="form-control" id="name" name="name"
                        value="{{ old('name', $product->name) }}" placeholder="商品名" />
                </div>
                {{-- 価格入力 --}}
                <div class="form-group">
                    <label for="price">価格</label>
                    <input type="text" class="form-control" id="price" name="price"
                        value="{{ old('price', $product->price) }}" placeholder="価格" />
                </div>
            </div>
            <div class="card-footer">
                <div class="row">
                    <a class="btn btn-default" href="{{ route('product.index') }}" role="button">戻る</a>
                    <div class="ml-auto">
                        <button type="submit" class="btn btn-primary">編集</button>
                    </div>
                </div>
            </div>
        </form>
    </div>
@stop削除
削除処理を作成します。
コントローラを修正します。
削除処理を実装します。
  /**
   * Remove the specified resource from storage.
   *
   * @param  int  $id
   * @return \Illuminate\Http\Response
   */
  public function destroy($id)
  {

      Product::where('id', $id)->delete();

      // 完了メッセージを表示
      return redirect()->route('product.index')->with('message', '削除しました');
  }
AdminLTE の設定
AdminLTE の設定は以下のファイルを修正します。
今回は、左メニューの表示を修正します。
もともと記載されている値は削除し、以下に置き換えます。
  'menu' => [
      [
          'text' => '商品マスタ',
          'route'  => 'product.index',
          'icon' => 'fas fa-shopping-cart',
          'active' => ['product/*'],
      ],
  ],
ここまでで一通りの動作確認をしてみましょう。
もし動かない場合は、もう一度コードを確認してみてください。
ページネーション
ページネーションを実装します。
一覧の表示件数が多くなった場合、全件を一度に表示するのはスマートではありません。
Laravel にはページネーション機能が提供されているため、簡単に導入できます。
コントローラを修正します。
ページネーション機能を使いデータの取得を行います。
(一覧の件数は 5 件)
  /**
   * Display a listing of the resource.
   *
   * @return \Illuminate\Http\Response
   */
  public function index()
  {
      // 商品一覧
      //$products = Product::all();
      // ページネーション
      $products = Product::paginate(5);

      return view(
          'product.index',
          ['products' => $products]
      );
  }
テンプレートファイルの最後の方に、ページネーションを追加します。
...
        {{-- ページネーション --}}
        @if ($products->hasPages())
            <div class="card-footer clearfix">
                {{ $products->links() }}
            </div>
        @endif
    </div>
@stop
AdminLTE を使用しているため、デザインを Bootsrap に変更します。
use Illuminate\Pagination\Paginator;

/**
 * Bootstrap any application services.
*
 * @return void
 */
public function boot()
{
   Paginator::useBootstrap();
}
動作確認
一通り動作確認を行いましょう。
以下のURLにアクセスしましょう。
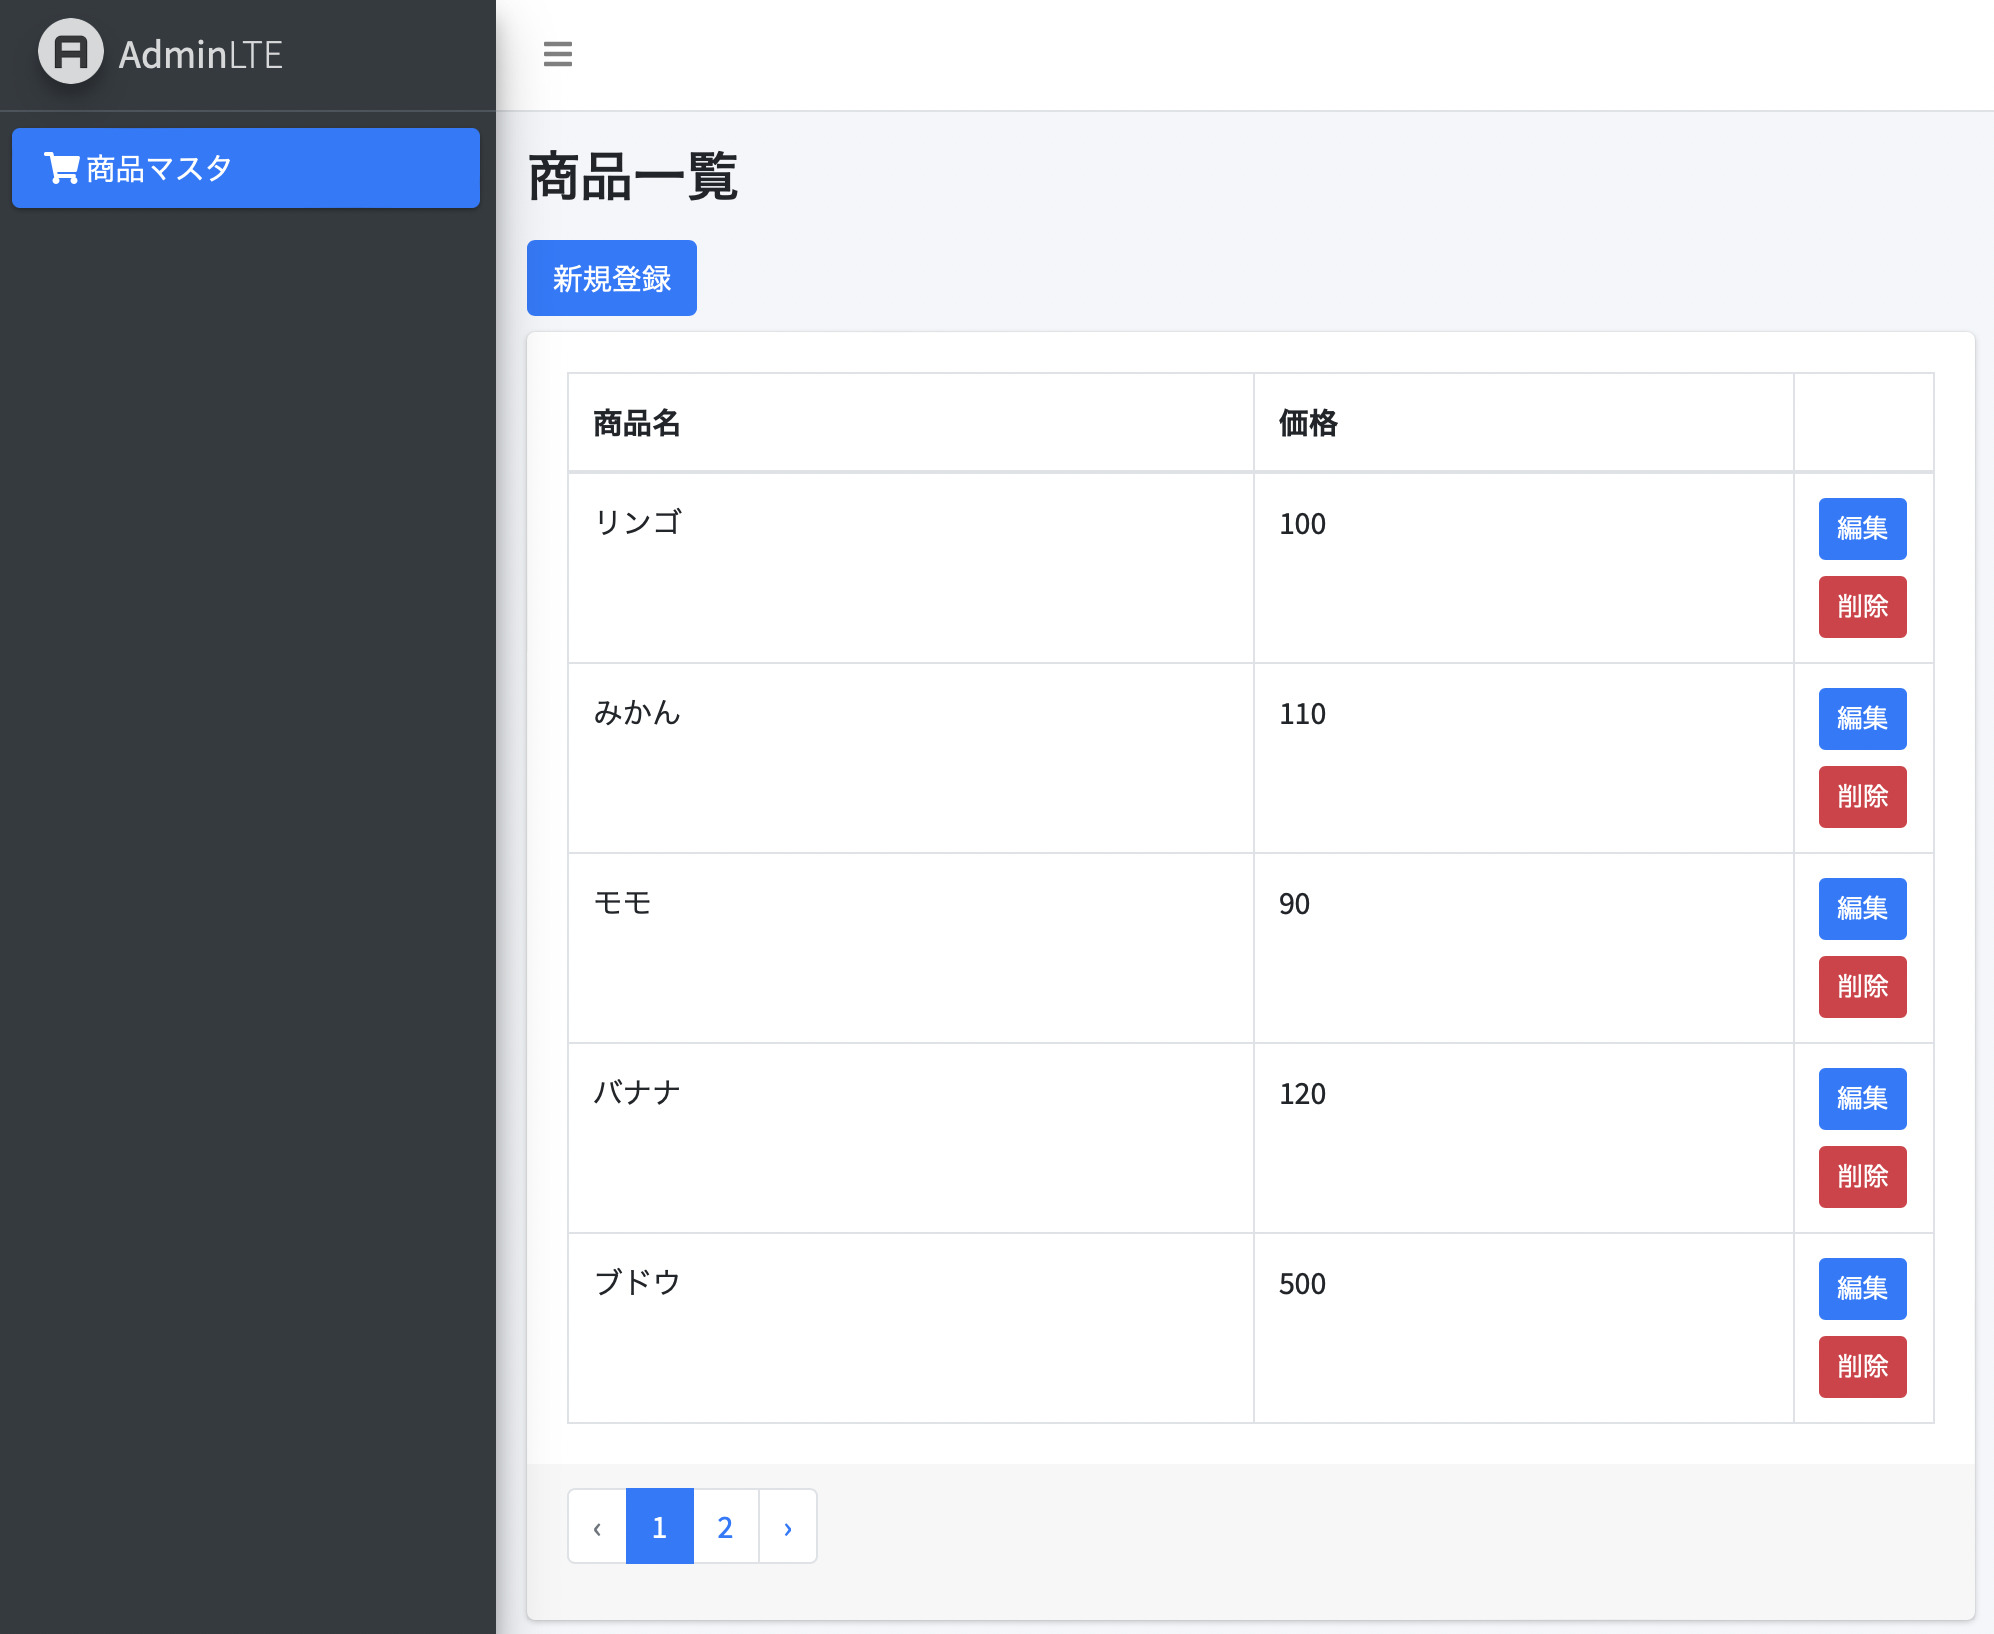
http://localhost/product一覧画面の表示です。
データ件数が多くなれば、ページネーションが表示されます。
登録時に、入力内容に問題があれば、バリデーションエラーが表示されます。

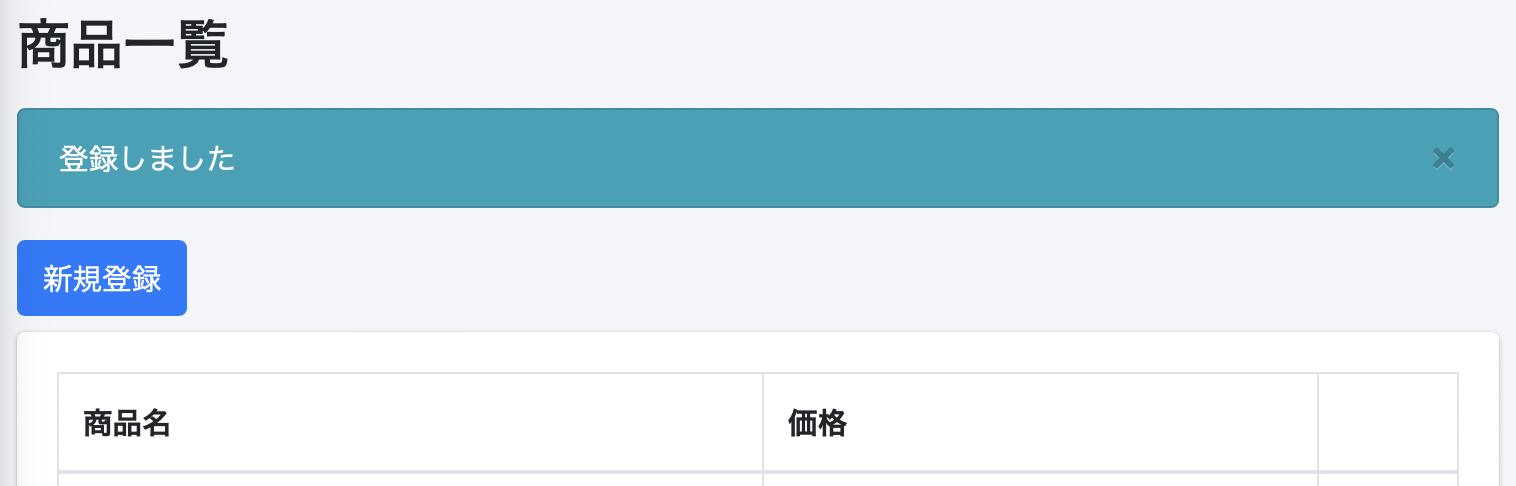
登録・編集・削除完了後は一覧画面に戻り、完了メッセージが表示されます。
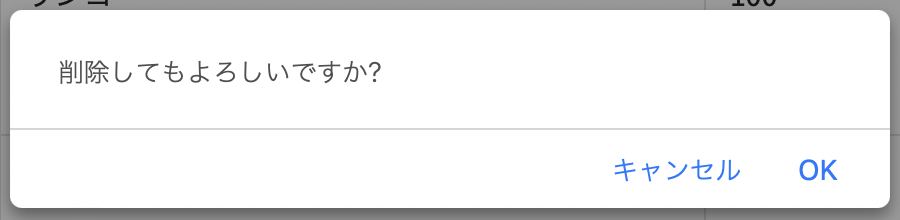
削除ボタンクリック時は、確認ダイアログを表示するようにしました。
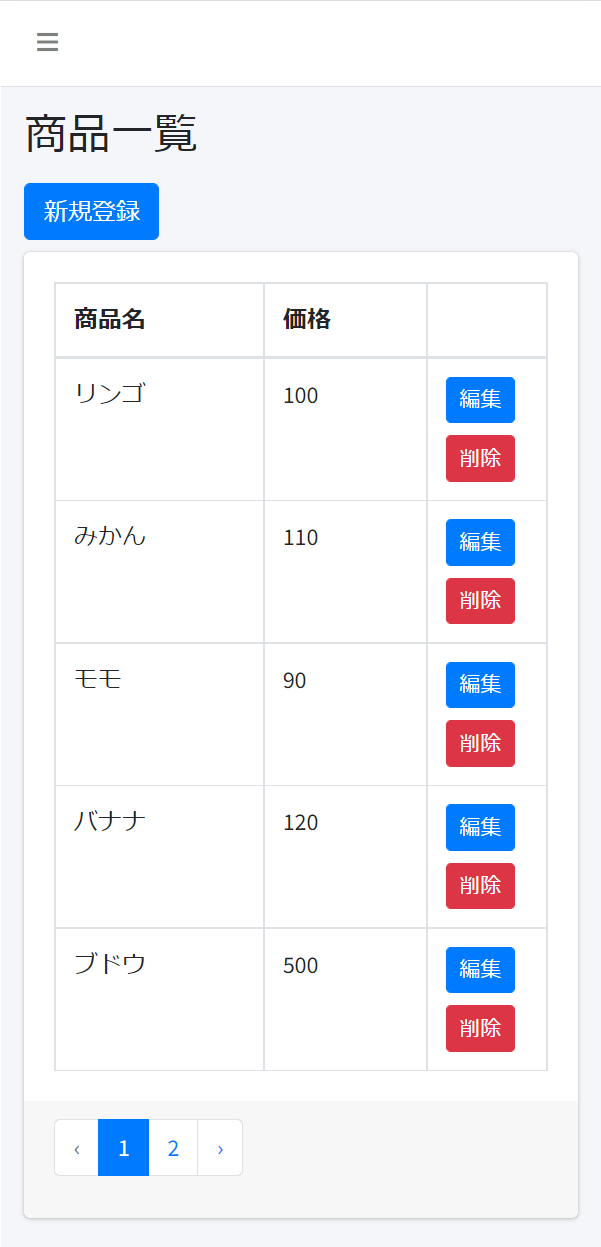
レスポンシブデザインですので、スマートフォンの表示も対応しています。
その他
初学者へ
Laravelを初めて触る方へ向け、手順やアドバイスをまとめました。

外部サーバーへ公開
作成したアプリは公開して使ってもらいましょう!
Laravelアプリケーションを外部公開する方法をまとめました。


脆弱性対策
脆弱性を抱えたアプリケーションの場合、攻撃を受ける可能性があり大変危険です。
作成したアプリケーションは、脆弱性対策も意識しましょう。


GitHubと連携
GitHubと連携する方法を解説しました。
プロジェクトの管理はGitHubを活用しましょう。


GitHub Copilot
GitHub Copilotを導入し、AIにコーディングをサポートしてもらうこともできます。

さいごに
Laravelでマスタメンテナンス機能を実装してみました。
細かいことを言えば、テンプレートを共通化したり JavaScript コードは app.js に書いたり、多言語対応など、もっとリファクタリングはできます。
最低限の実装ですが、CRUD はアプリケーションの基本ですので、押さえておきましょう。
他にも私のブログで、Laravelについて解説している記事がありますのでご覧ください。


コメント
テキストと本ページの手順通りに実装してみたのですが、作成物を確認するページが分かりません。
localhost/login ではないのでしょうか?
画面にアクセスするためのURLは、以下になります。
(routes\web.phpに定義しています)
URLは本記事にも追記しました。
sail artisan migrateでエラーとなってしまいました。mysqlにはrootでログインすることができ、そのパスワードを.envファイルに記述しています。
DB接続先は.envに記述してあるものを参照するものだろうと思っているのですが、もしかして別の設定が適用されるパターンとかありますか?
DB接続先は.envに記述しているものです。
「Connection refused」となっておりますので、.envの「DB_HOST」が以下のようになっていないでしょうか。
Sailを使用しているのであれば、コンテナ名を指定する必要があります。
初期状態では以下のようになっております。
こちらで改めて本記事の手順で試しましたが問題ありませんでした。
解決しない場合は、本記事以外に行った手順、.envの接続情報など、詳細をお知らせ下さい。