


はじめに
今回はラズパイで温度を取得してみたいと思います。
温度センサーはADT7310を搭載した温度センサモジュールを用意しました。
そのままブレッドボードで使用できます。
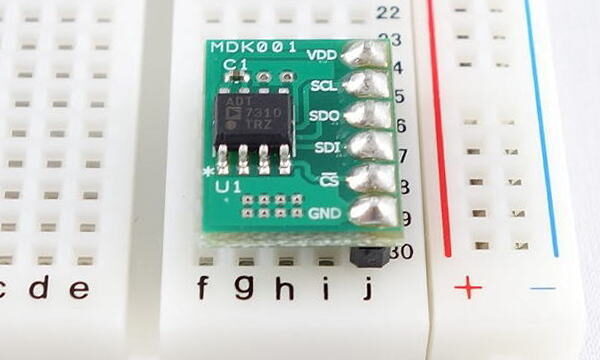
デジタル温度センサー ADT7310 DIP化モジュール MDK001 マルツエレック製|電子部品・半導体通販のマルツ
【MDK001】 デジタル温度センサー ADT7310 DIP化モジュール 794.00円 在庫数:113個 納期:本日出荷在庫品 マルツエレック製|16:00までのご注文を翌日お届け、3,000円以上購入で送料無料。デジタル温度センサーA...
www.marutsu.co.jp
他にも私のブログで、Raspberry Piについて解説している記事がありますのでご覧ください。


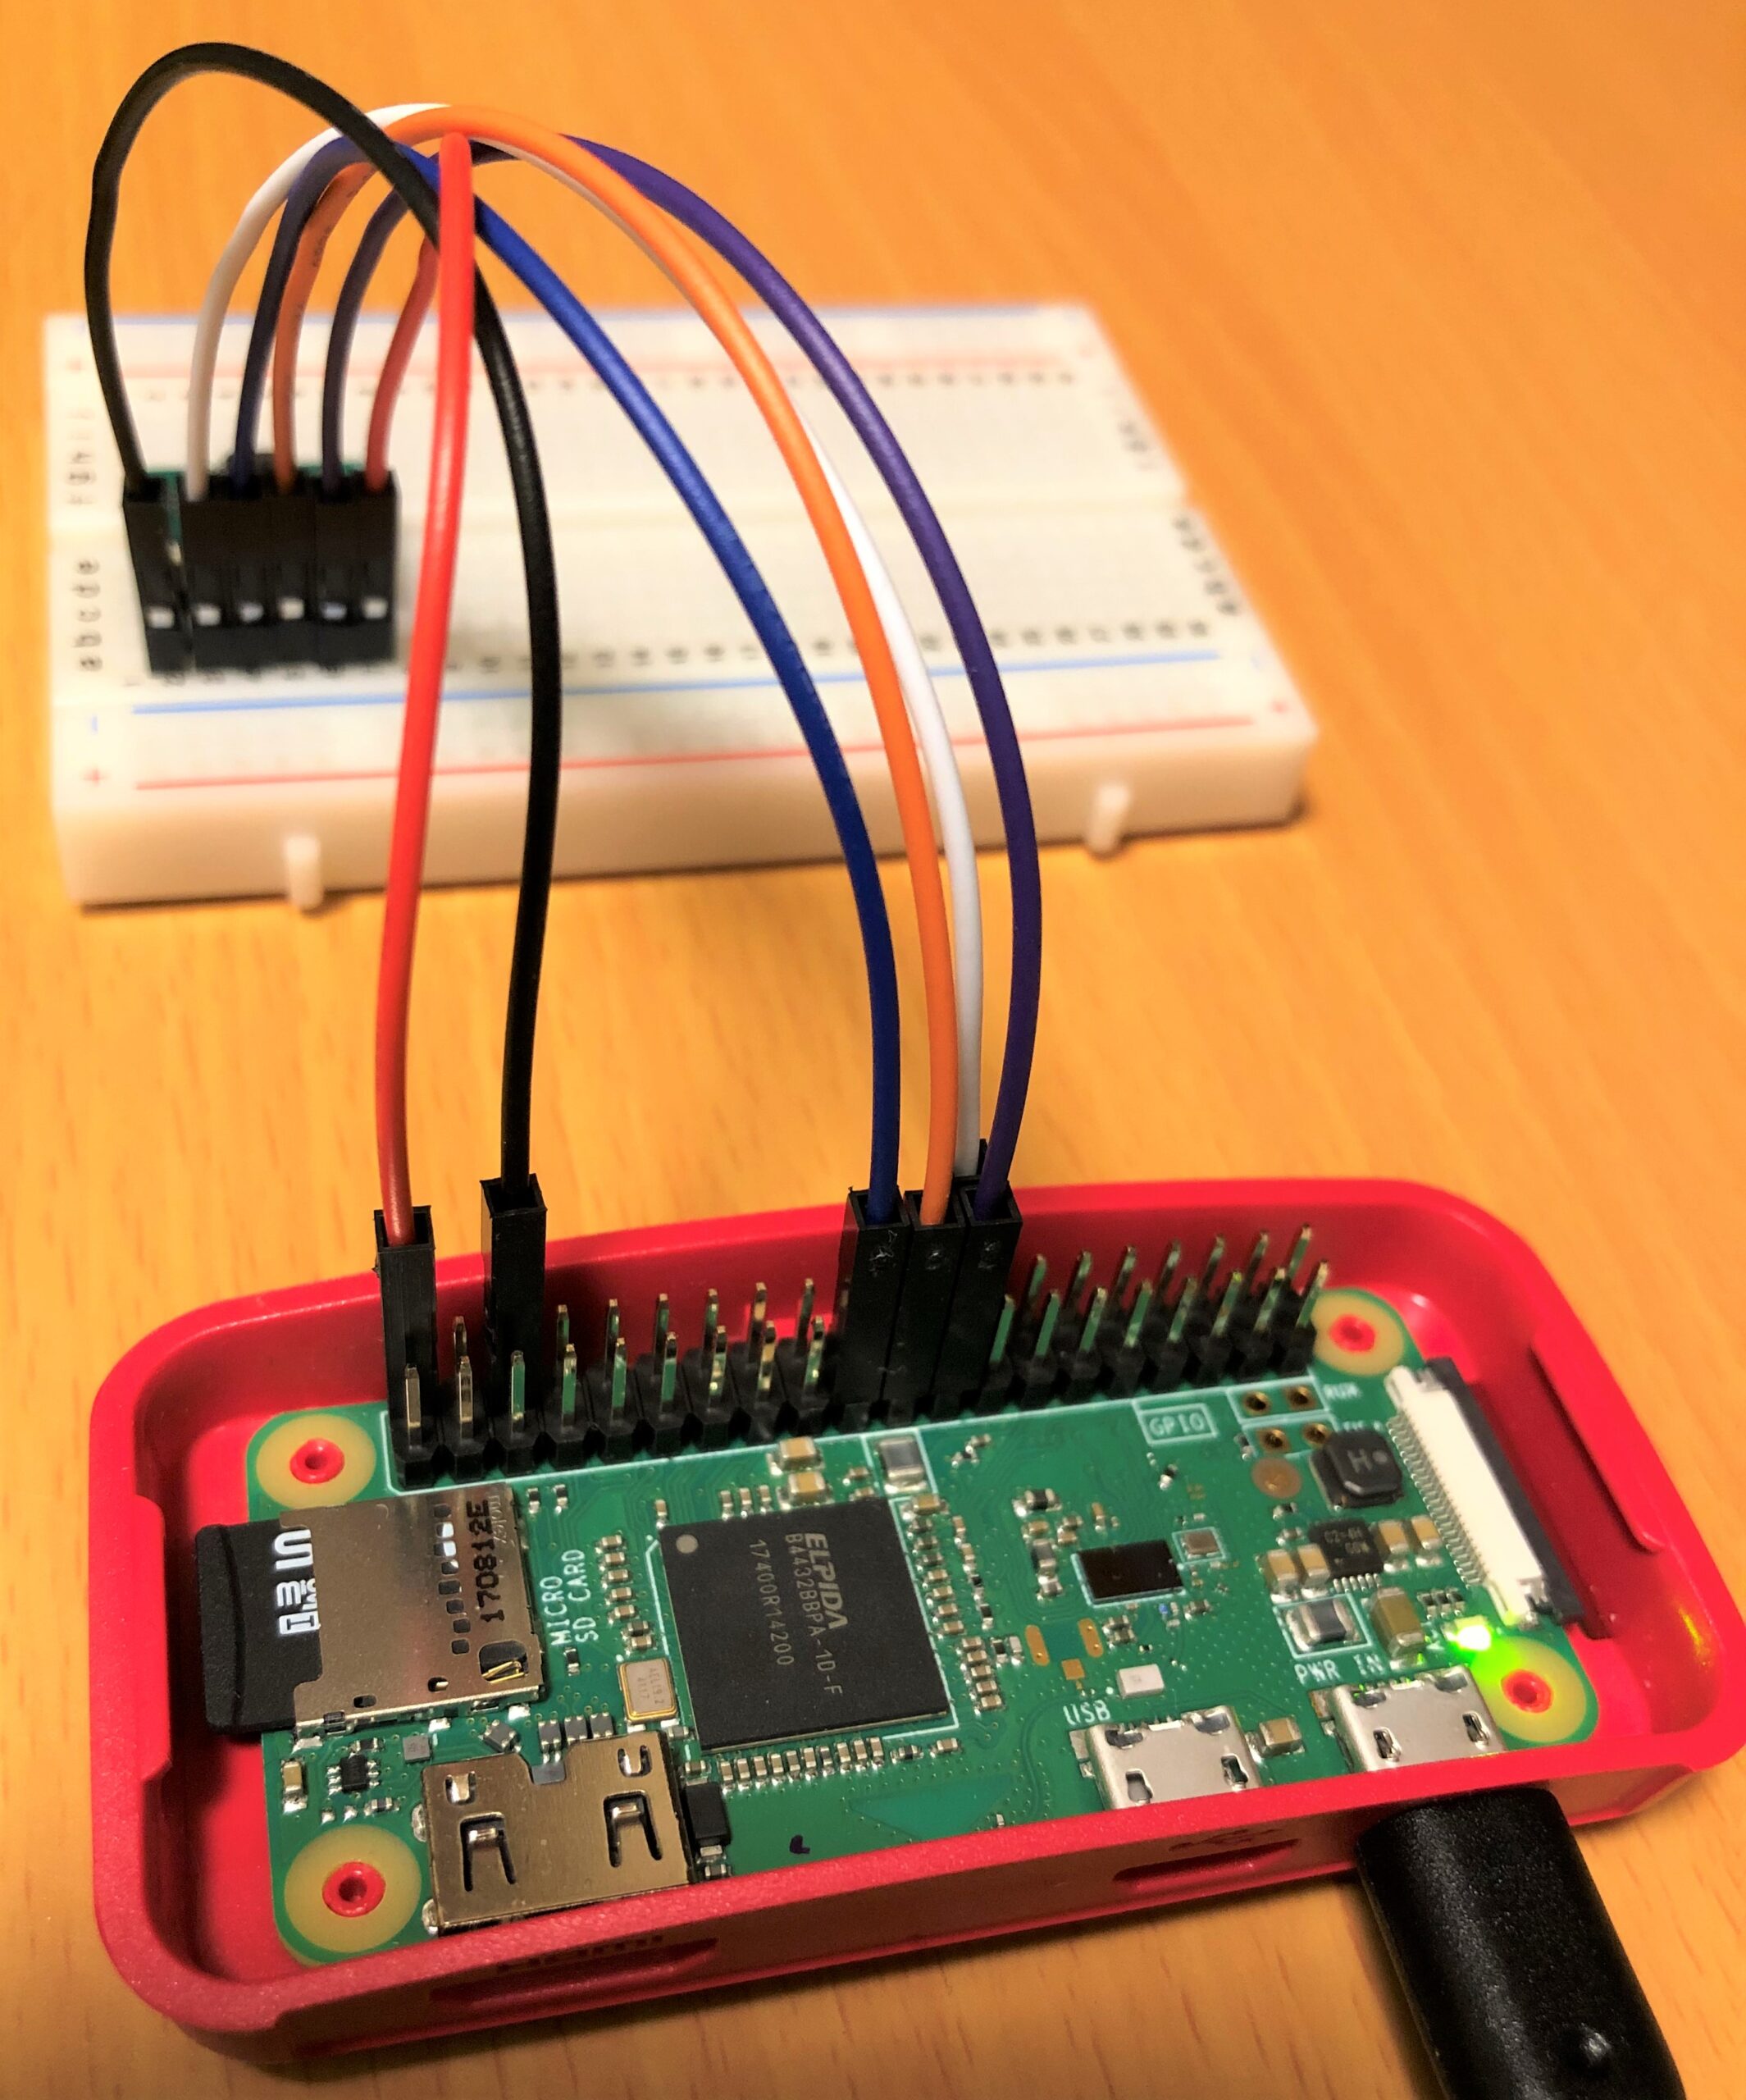
温度センサーを配線
以下を使用しました。
配線は以下のようにしました。
| MDK001 | ラズパイ |
|---|---|
| VDD | 5V |
| SCL | GPIO11 SCLK |
| SDO | GPIO9 MISO |
| SDI | GPIO10 MOSI |
| CSx | GPIO8 SPI_CE0 |
| GND | GND |

ラズパイのSPIを有効にする
この温度センサーはSPIを使用しますので、有効にします。
sshでリモート接続し実行します。
sudo raspi-config以下のように画面が表示されますので、「5 Interfacing Options」を選択します。

「P4 SPI」を選択します。

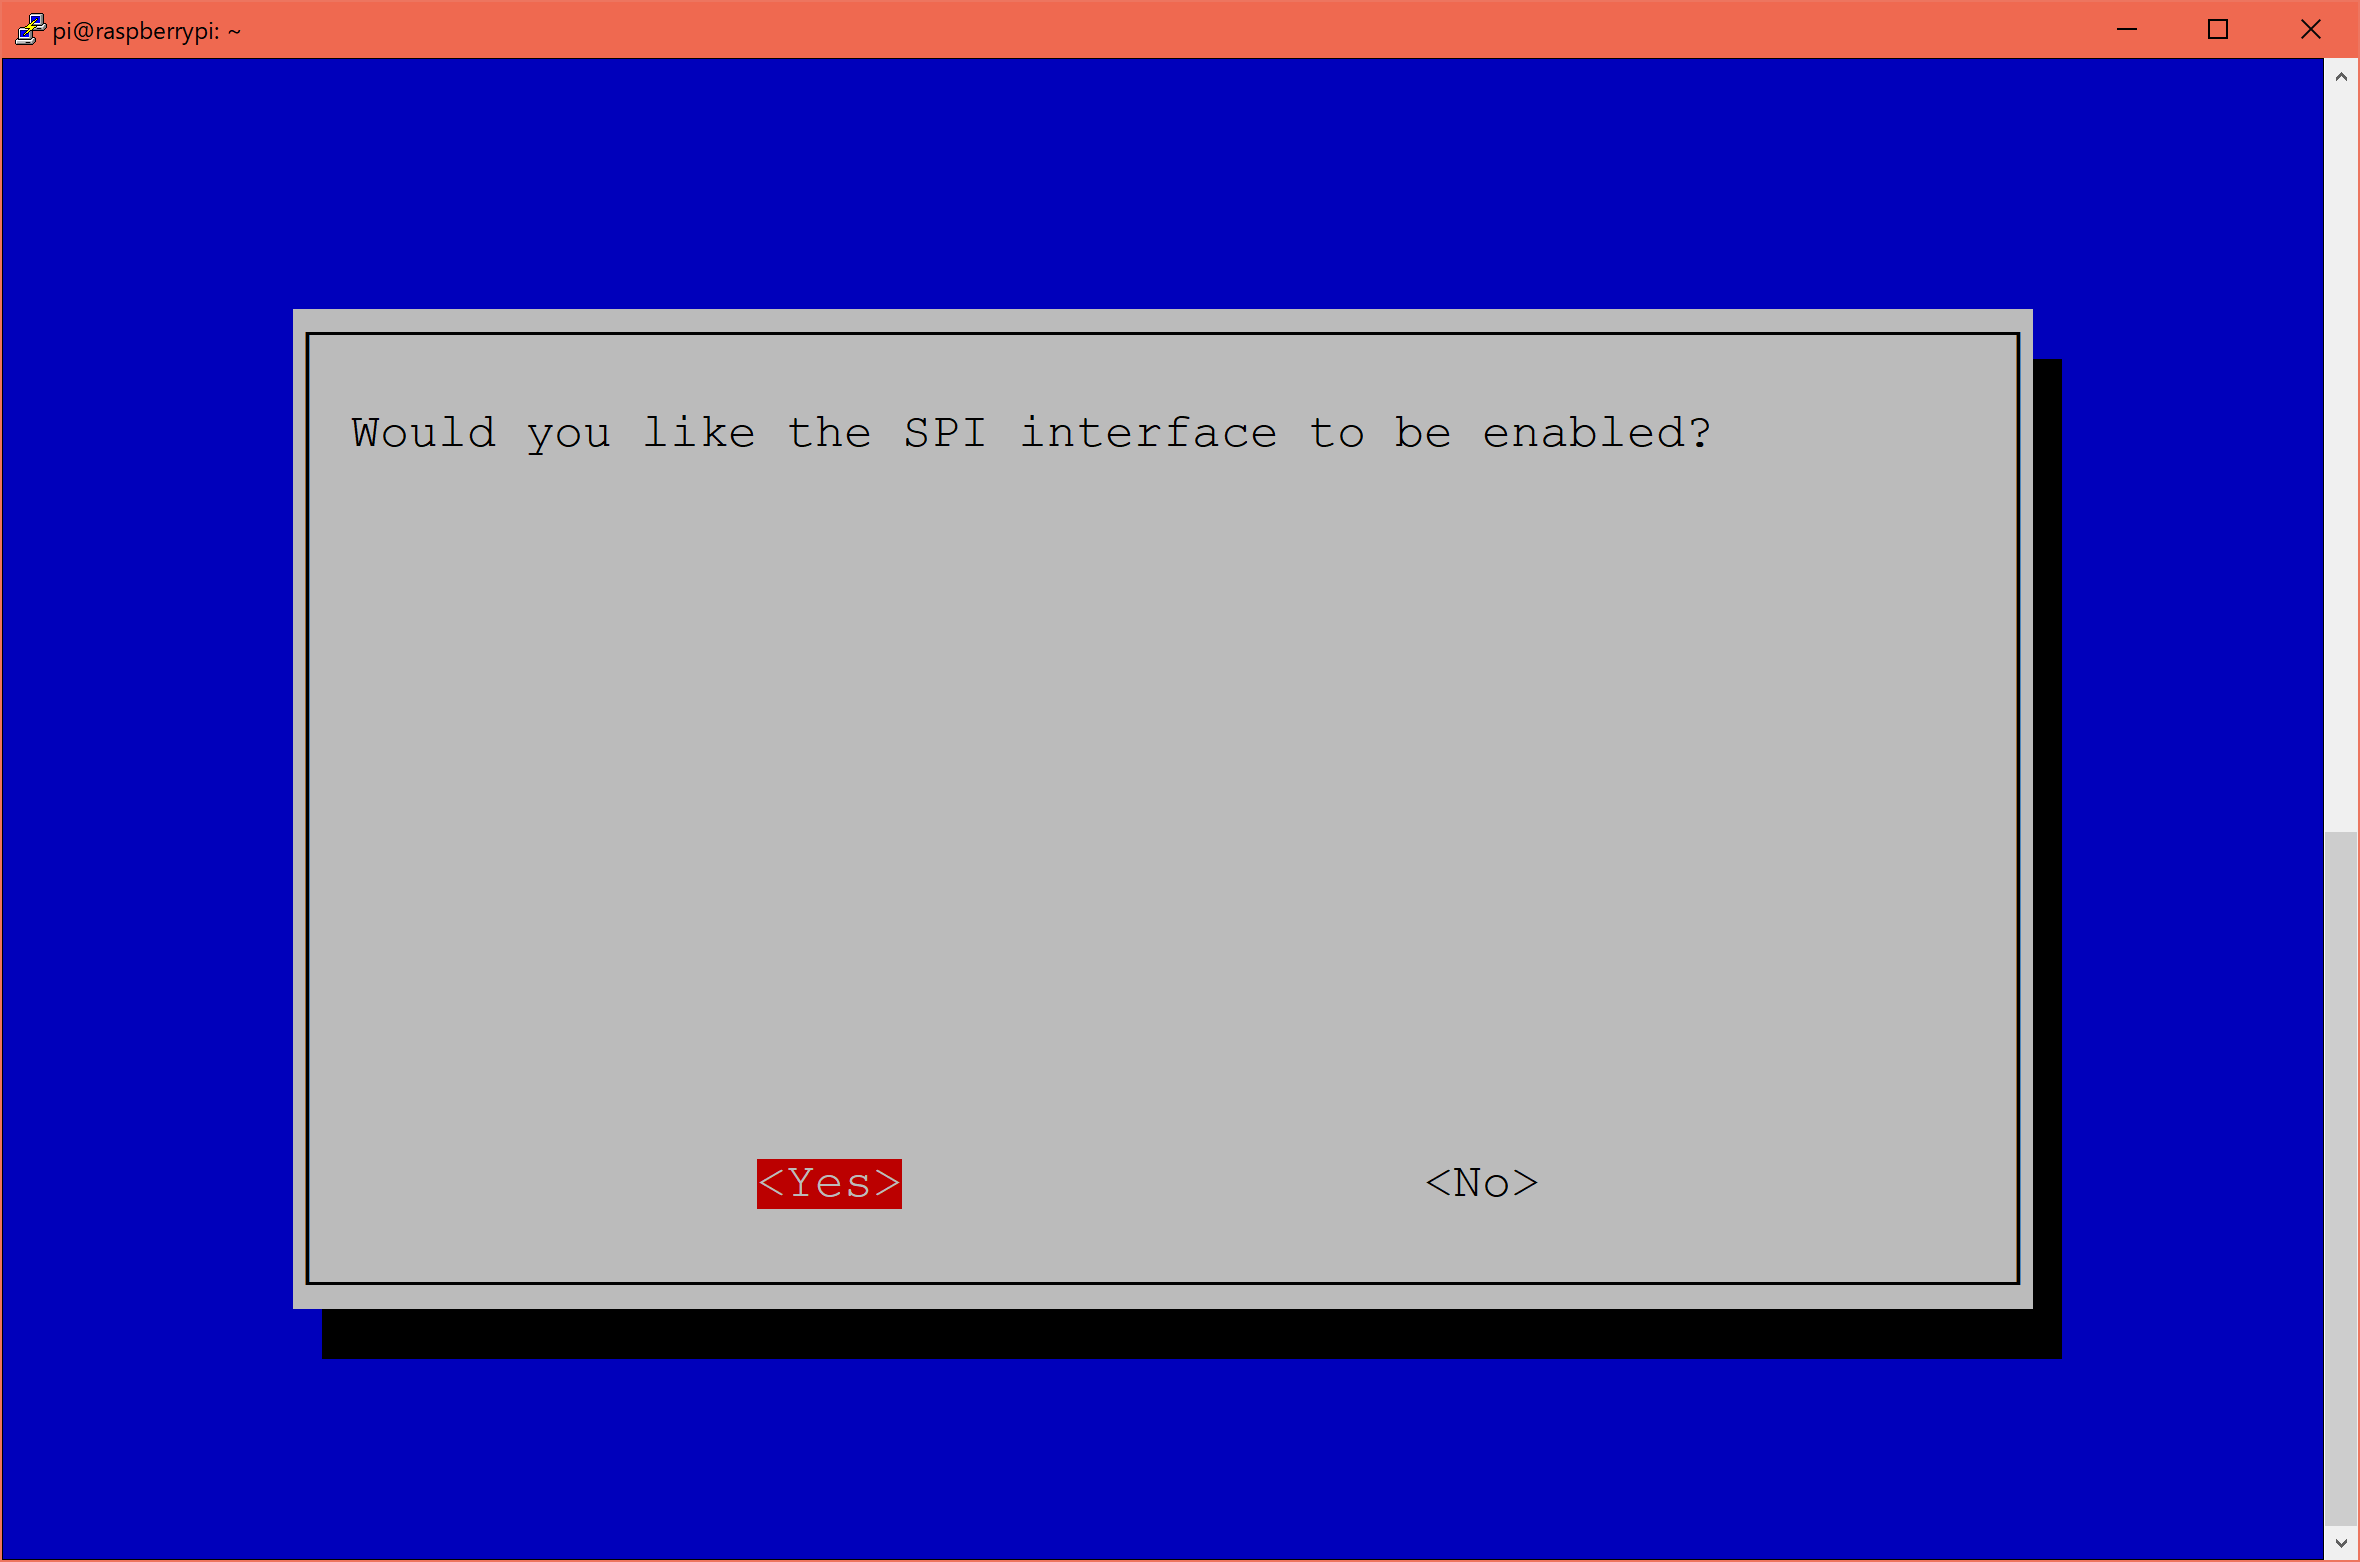
「Would you like the SPI interface to be enabled?」に対して、「Yes」を選択します。
「The SPI interface is enabled」と表示されSPIが有効になりました。
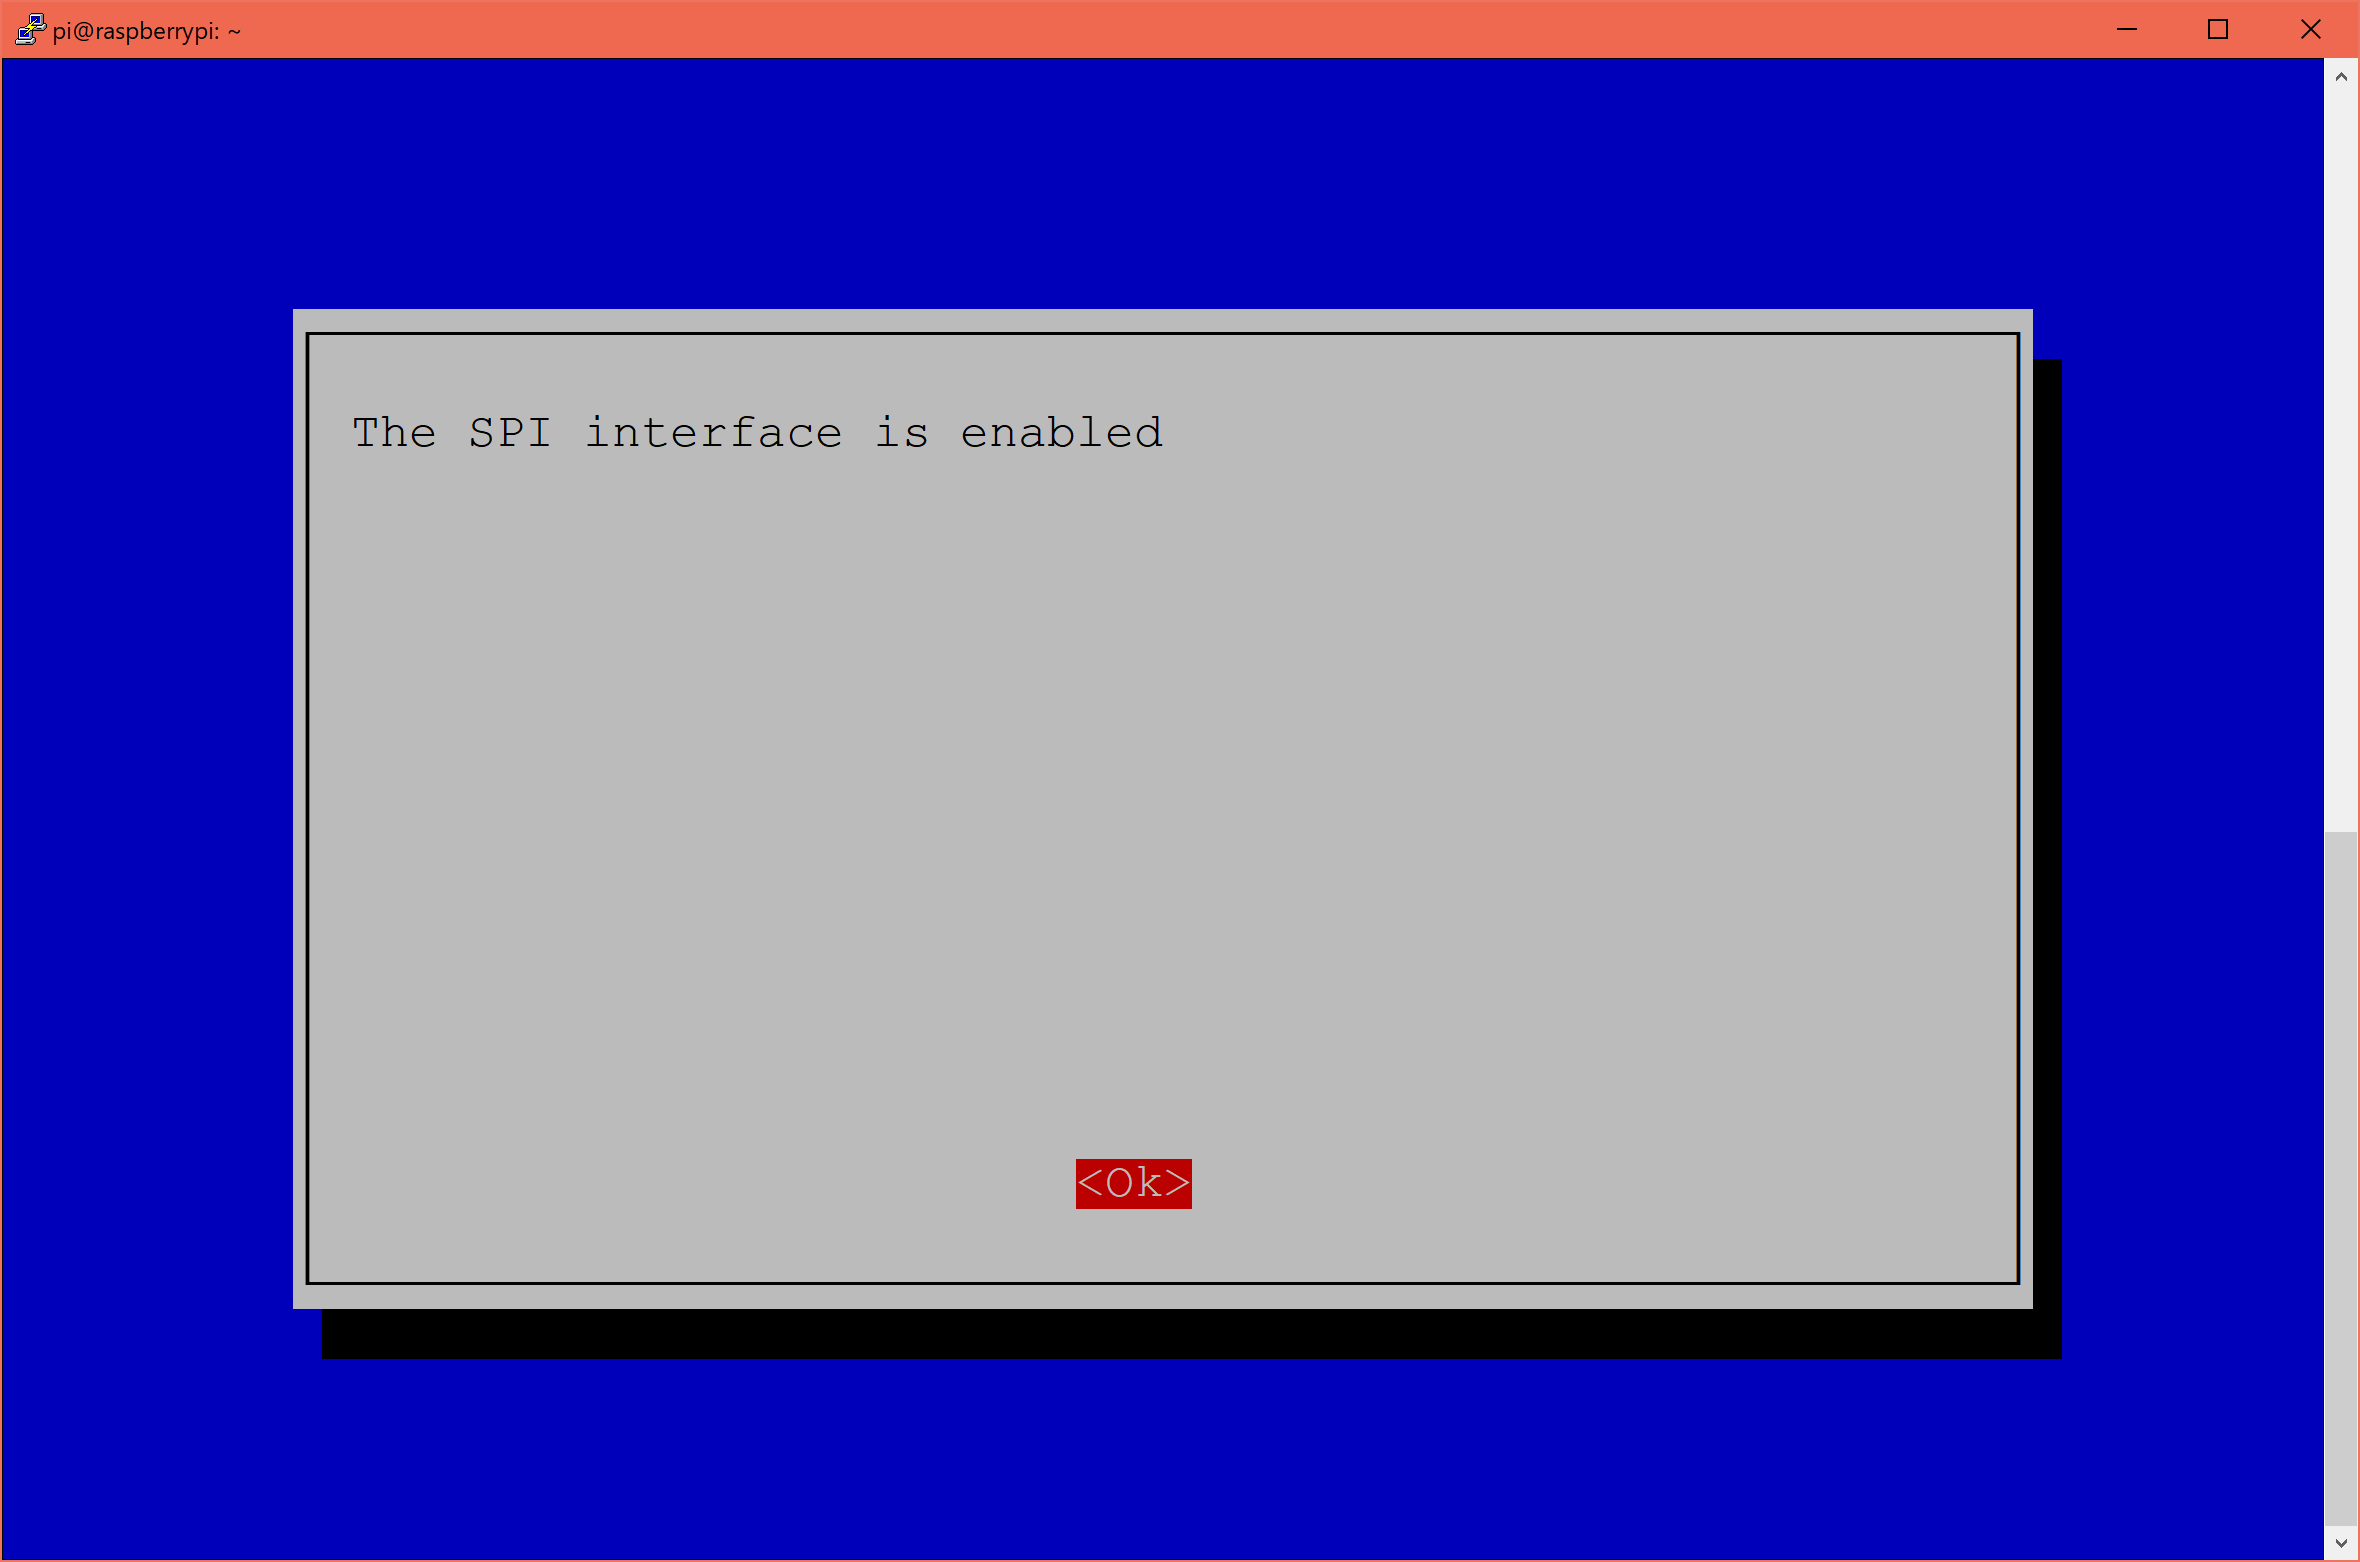
「Finish」を選択します。

Python用のSPI制御ライブラリのインストール
spidevをインストールします。
sudo apt-get update
sudo apt-get install python3-spidev
Pythonで制御
Pythonのコードを以下のようにしました。
get_temp.pyというファイル名で作成しました。
import time
import spidev
import sys

spi_ch = 0

try:
    spi = spidev.SpiDev()
    spi.open(0,spi_ch)
    spi.mode = 0x03
    spi.max_speed_hz = 1000000
    time.sleep(0.01)
    spi.xfer2([0xff, 0xff, 0xff, 0xff])

    while True:

        spi.xfer2([0x54])
        time.sleep(0.5)
        adc = spi.xfer2([0xff,0xff])
        temp = (adc[0] <> 3
        if(temp >= 4096):
                temp = temp - 8192

        print(temp / 16.0)
        time.sleep(1)

except KeyboardInterrupt:
    spi.close()
    sys.exit(0)
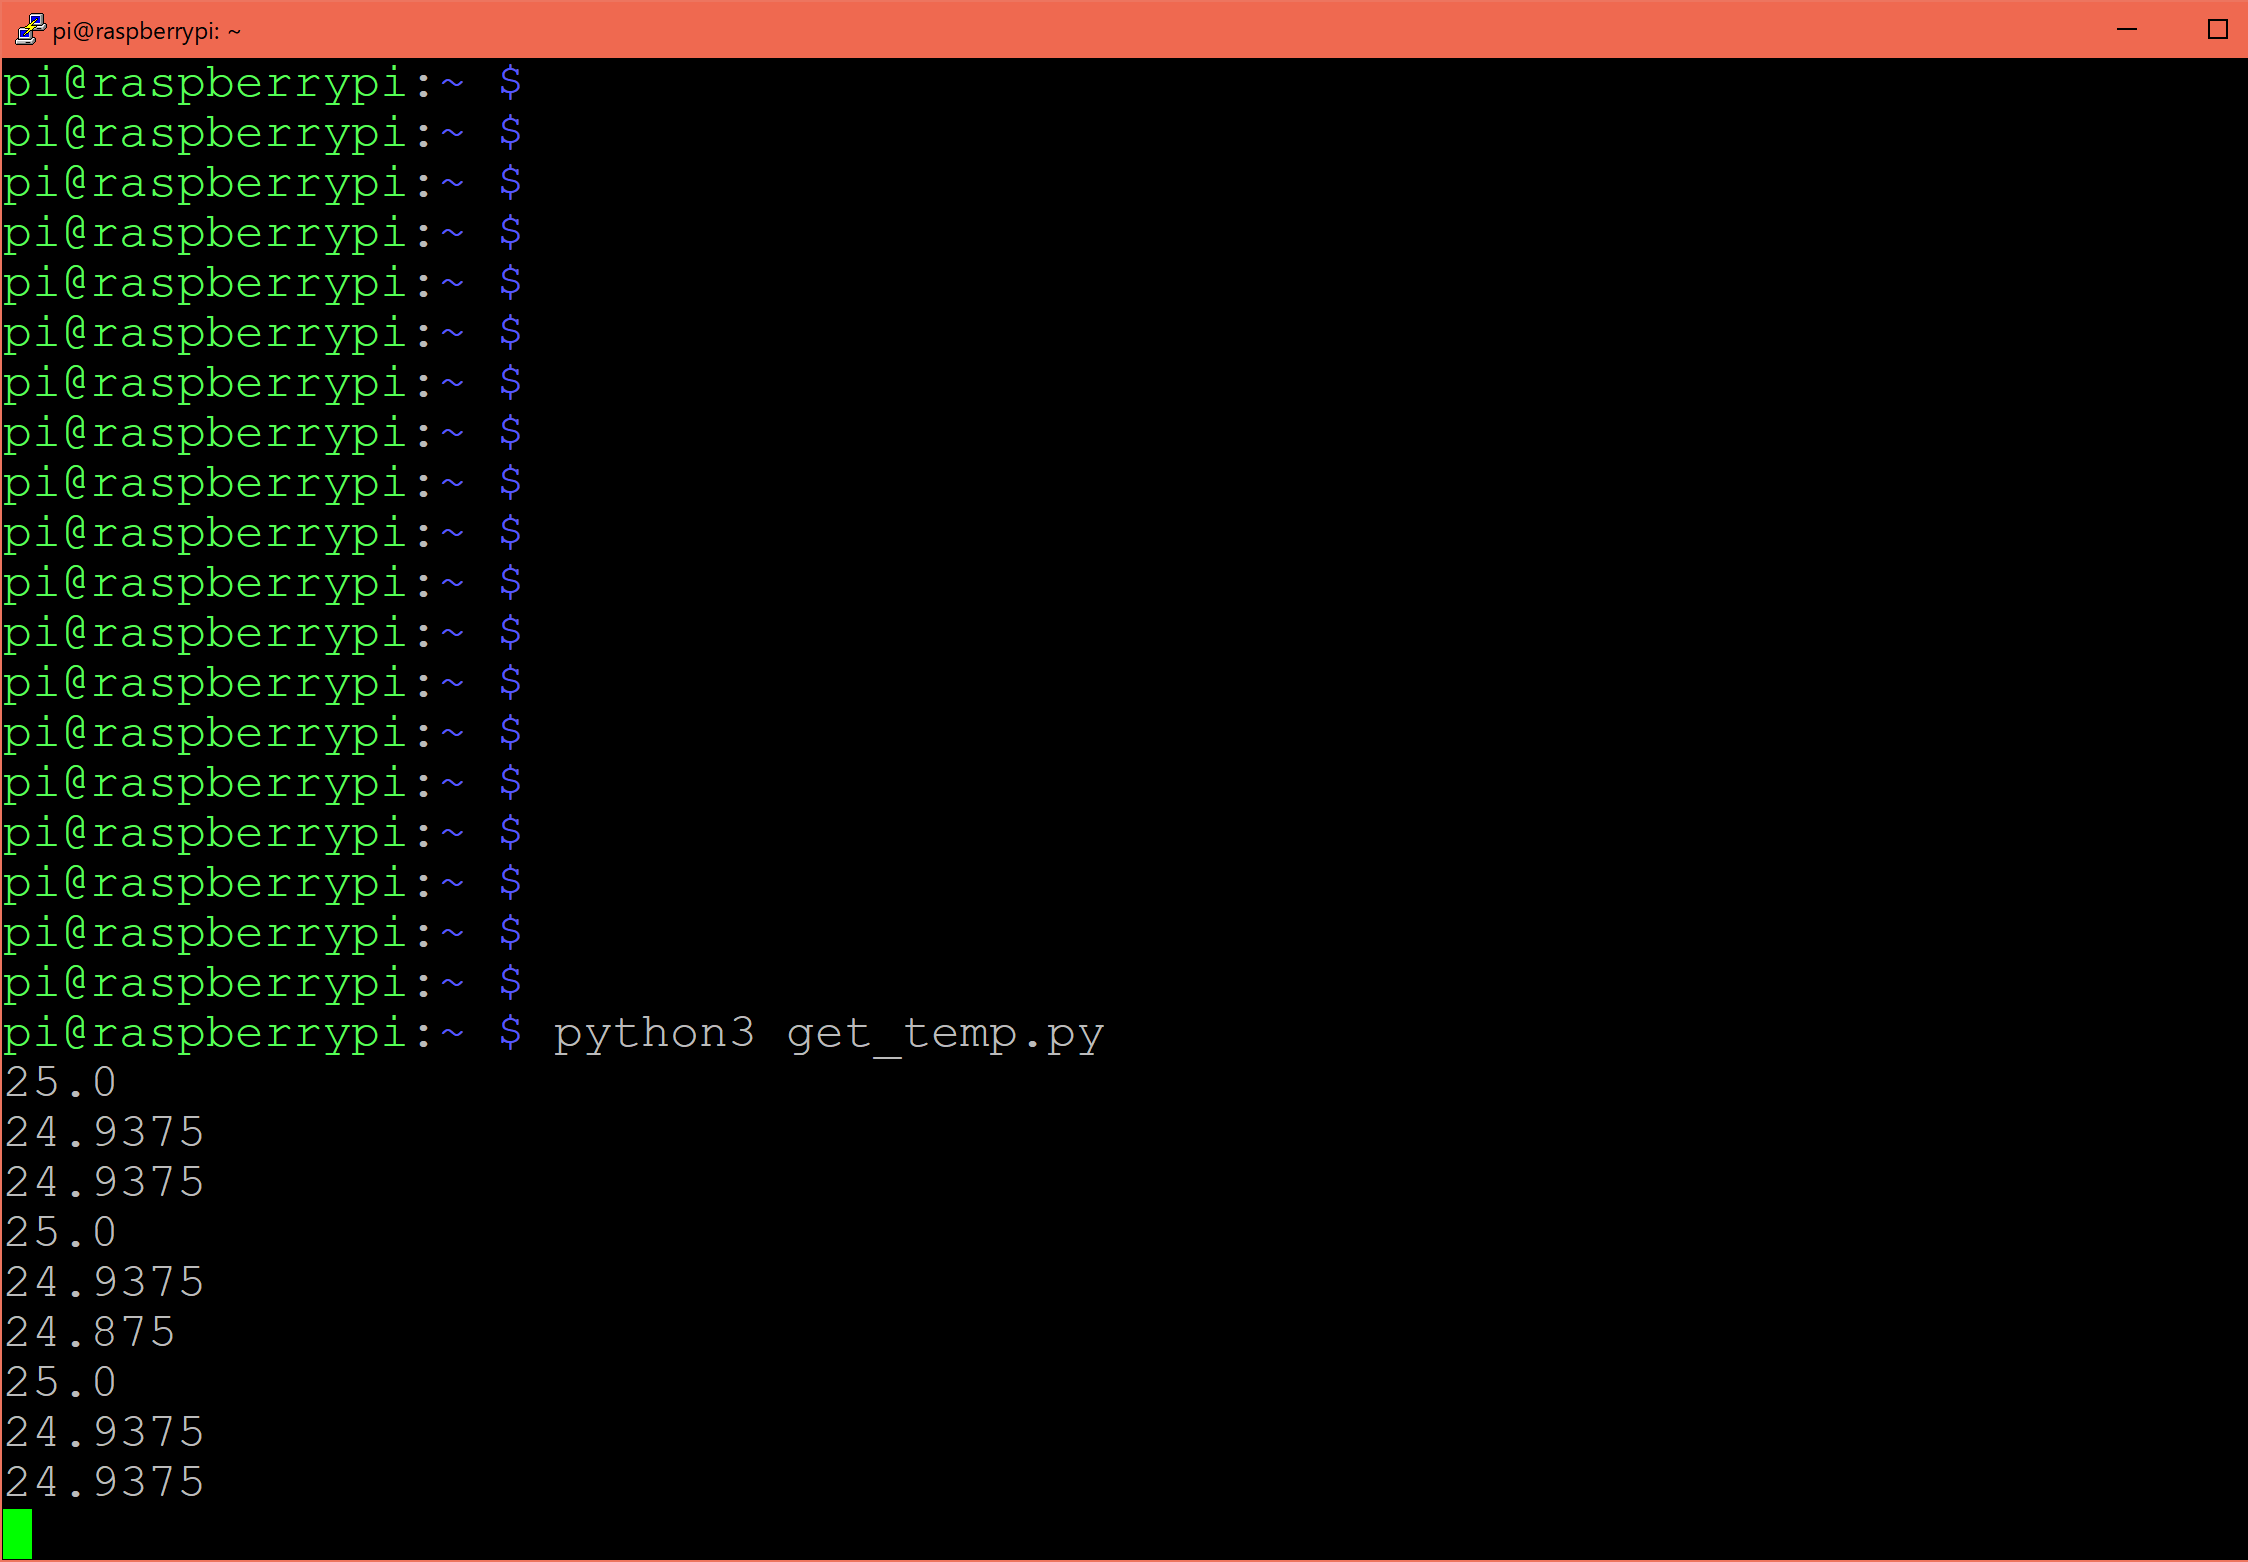
pythonを実行します。
python3 get_temp.py約1秒毎に温度が取得できました。
他にも私のブログで、Raspberry Piについて解説している記事がありますのでご覧ください。
\オススメ/
リンク
リンク
リンク


コメント