


Composerのインストール
Composerは、Laravelのパッケージの依存管理を行うことができます。
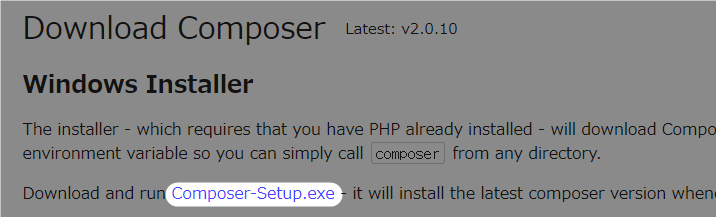
Windows向けのComposerは、インストーラがあります。
以下からダウンロードします。(v2.4.2でした)

Composer-Setup.exe をクリックしダウンロードします。
インストーラを起動します。
「Install for all users」を選択しました。
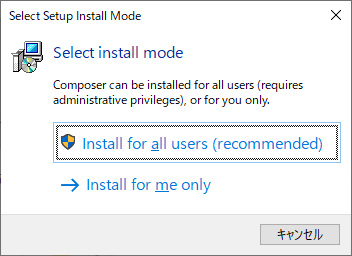
Nextをクリックします。
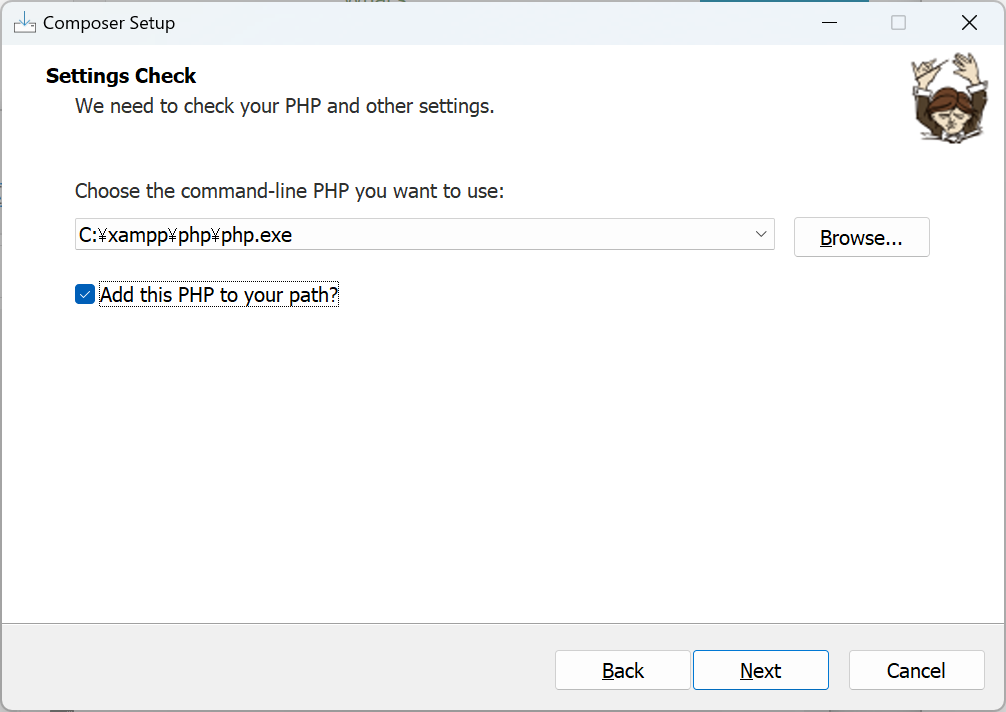
PHPのパスを指定する必要があります。
XAMPPをインストールしているため、以下のようになっていると思います。
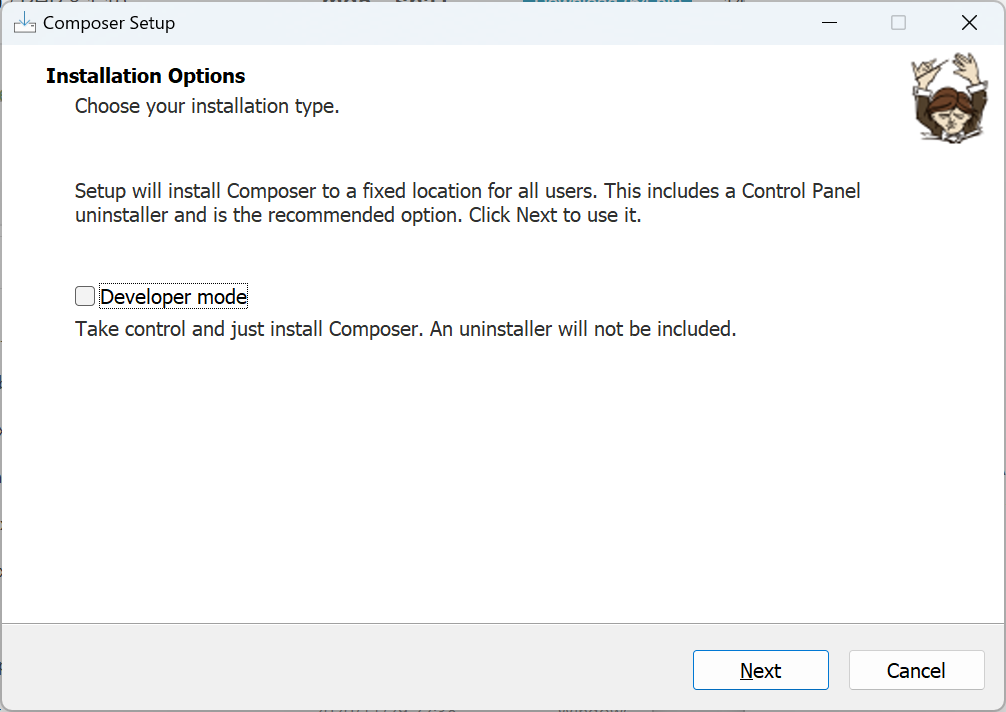
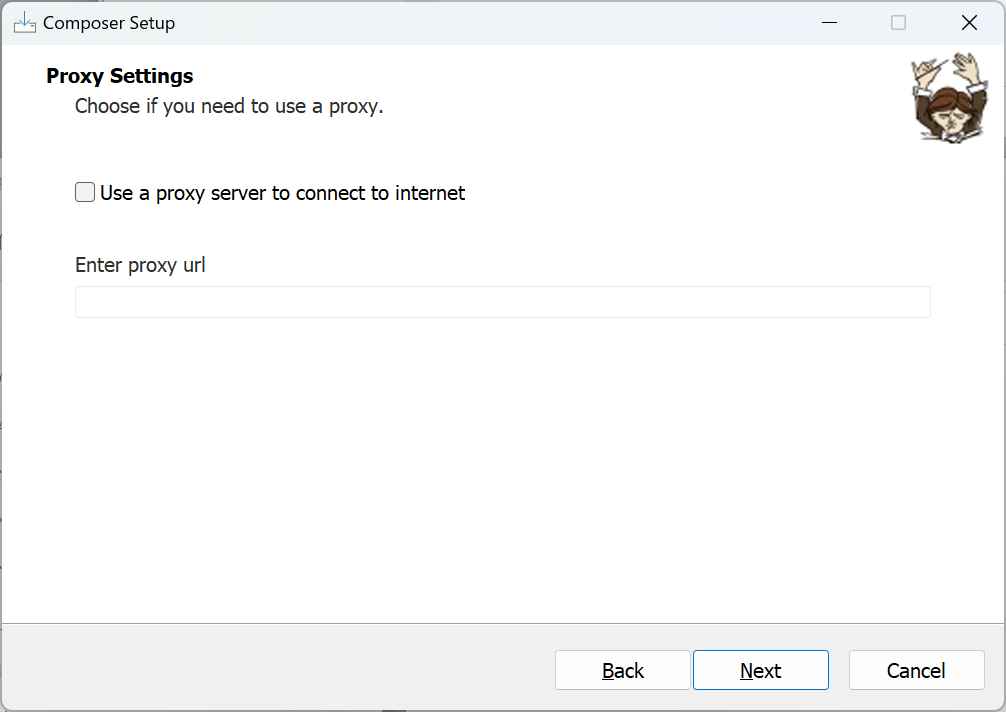
後はデフォルトのまま、そのまま進めます。
Nextをクリックし進みます。
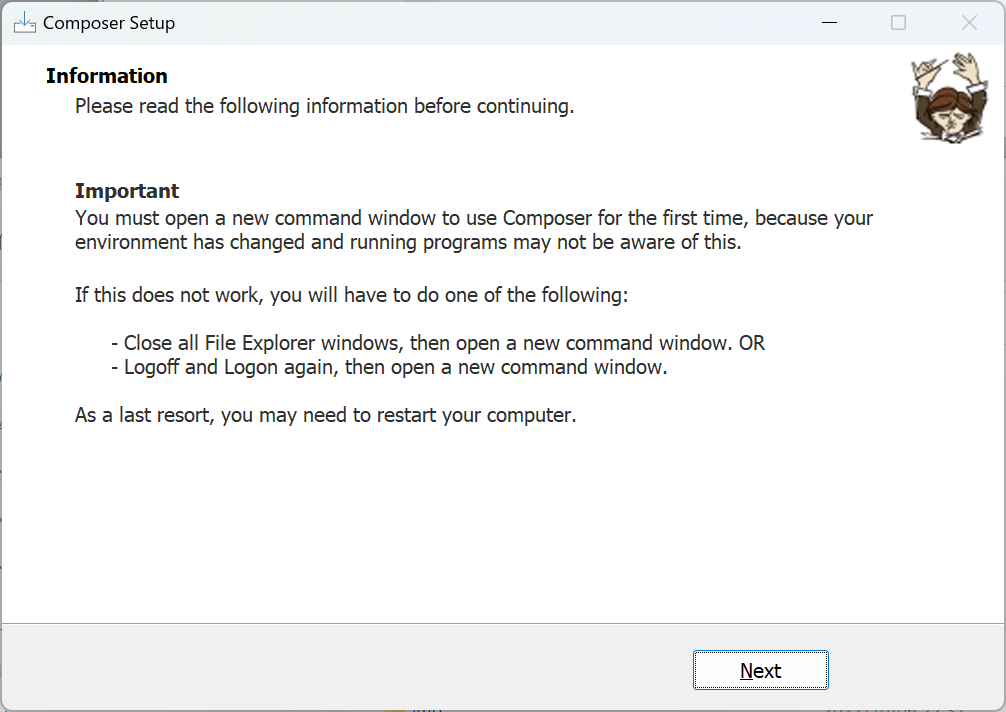
Nextをクリックし進みます。
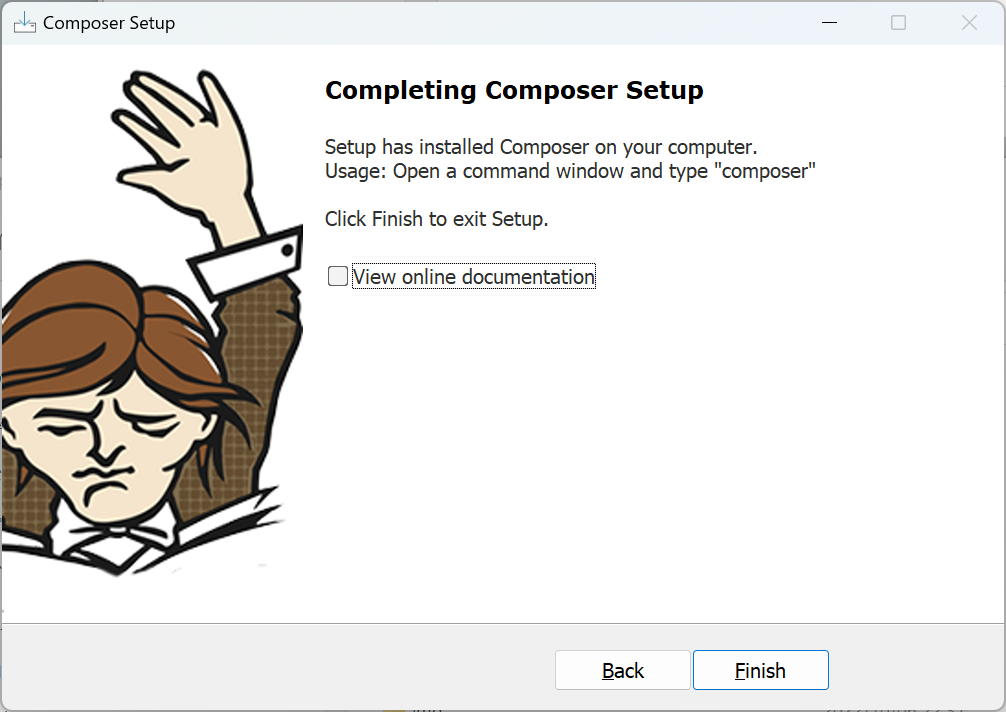
インストールが完了しました。
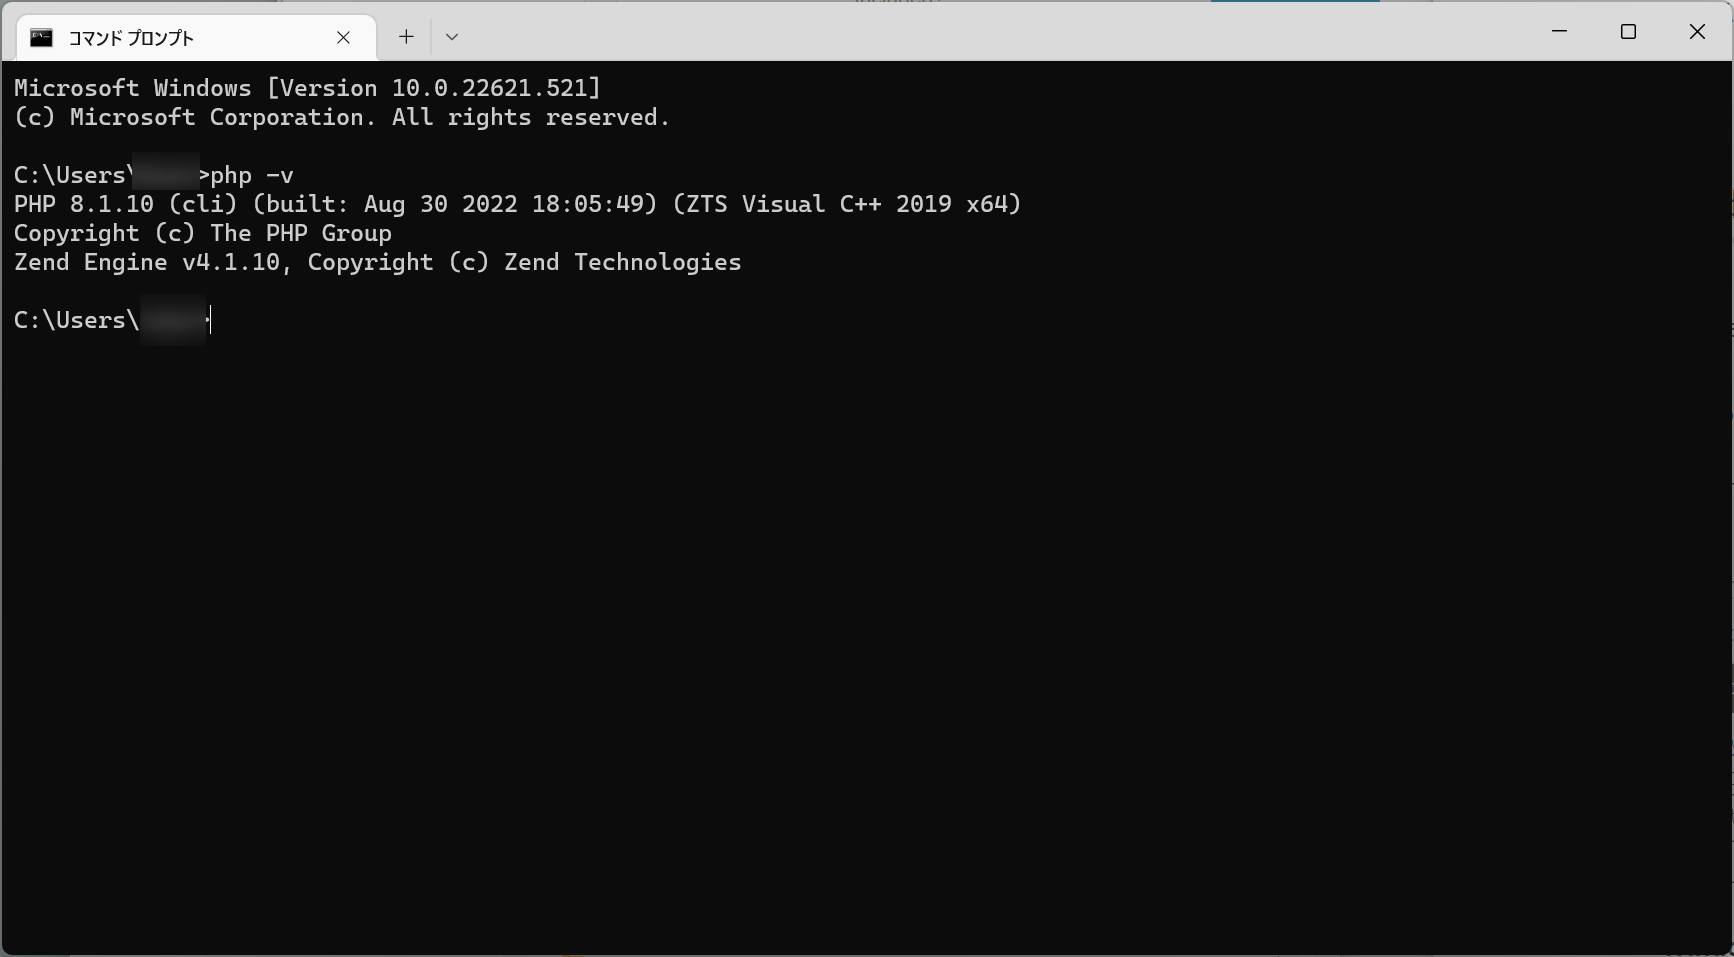
コマンドプロンプトを起動し、「composer」コマンドが使えることを確認します。
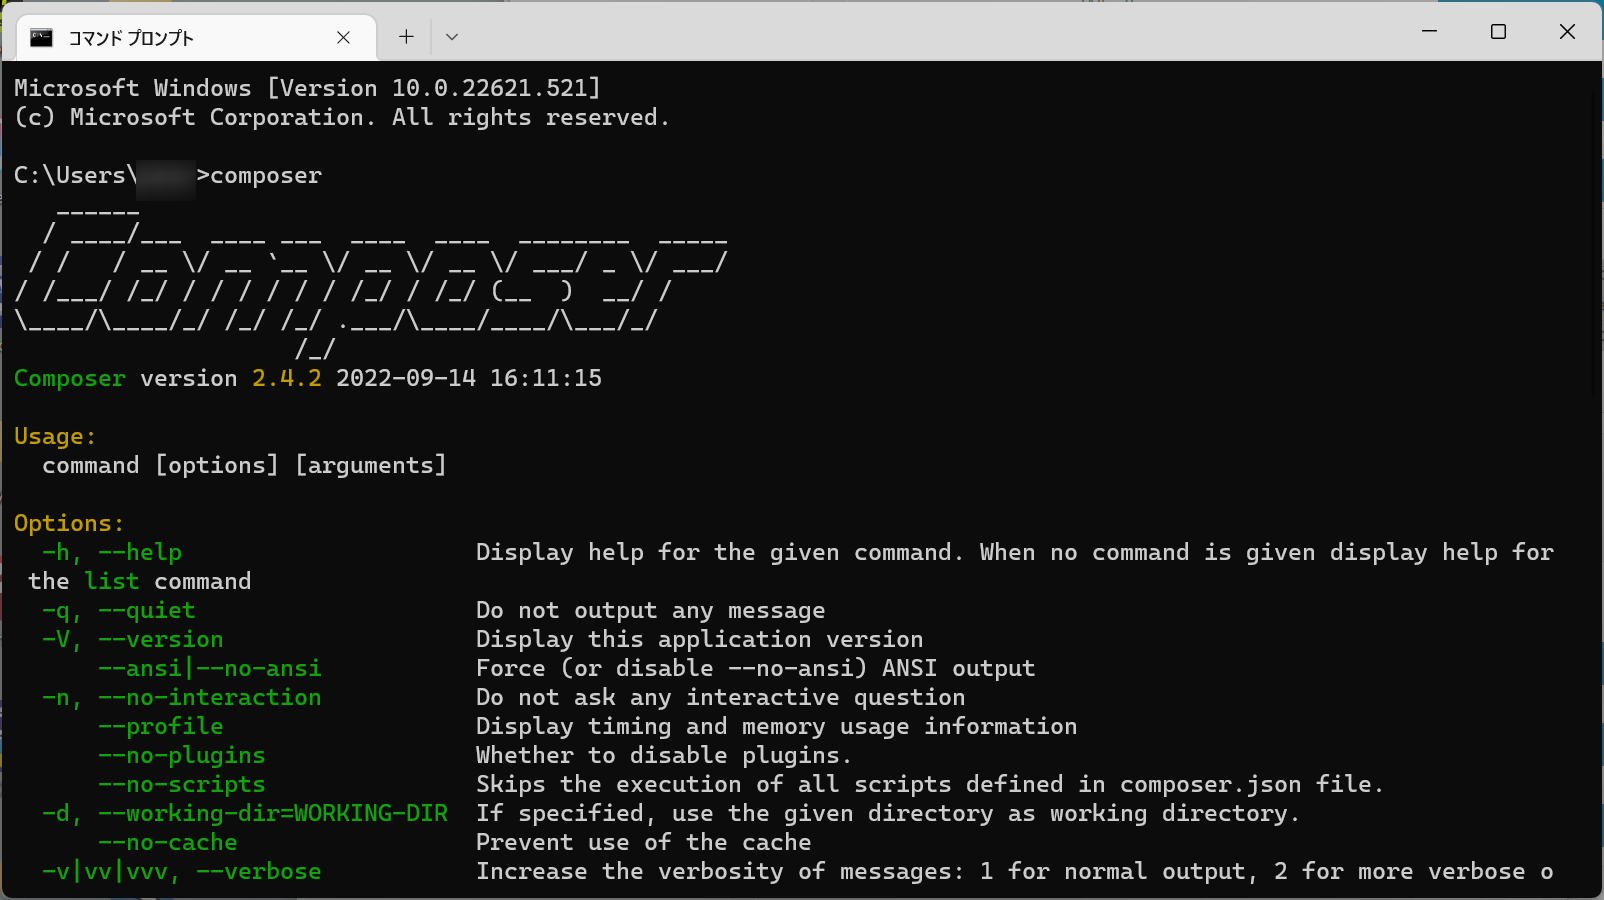
インストール途中で、PHPをパスに追加しましたので、phpコマンドも使用できます。
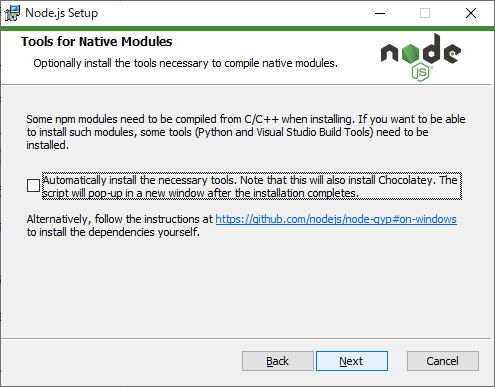
Node.jsのインストール
LaravelのVite(またはLaravel Mix)を使用するため、Node.jsをインストールします。
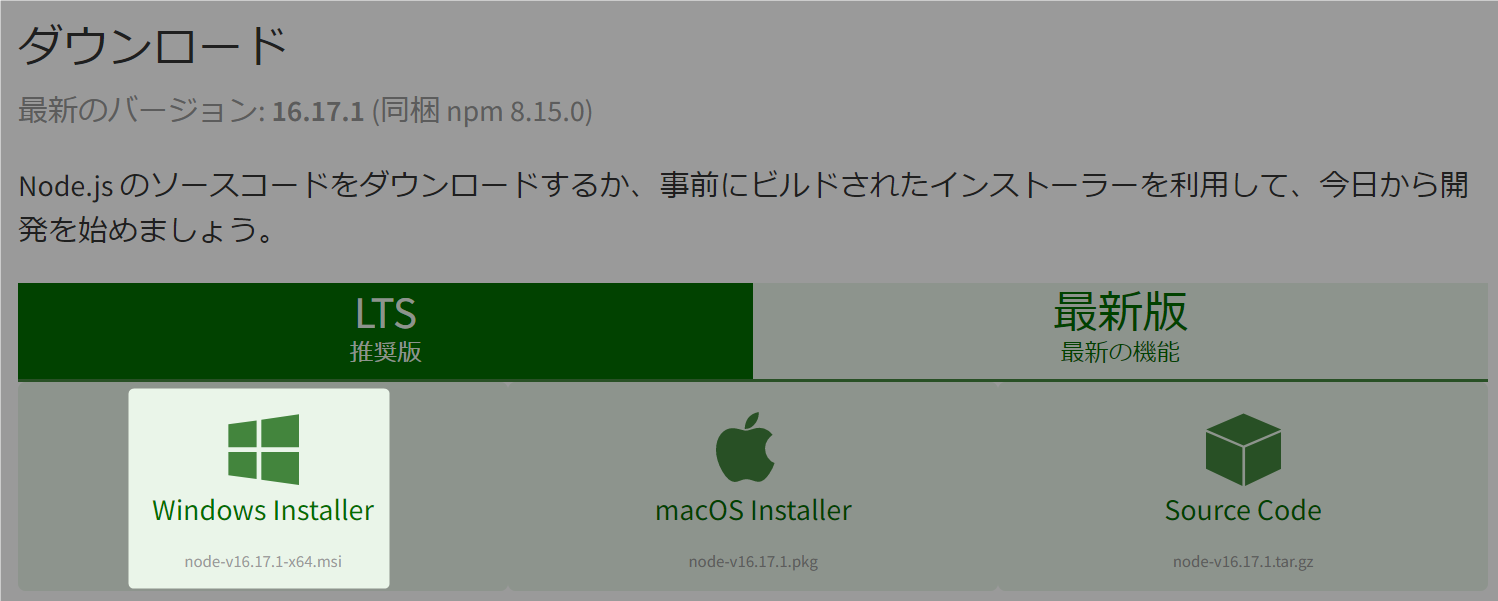
以下の公式サイトにアクセスします。

Windows Installerをダウンロードします。
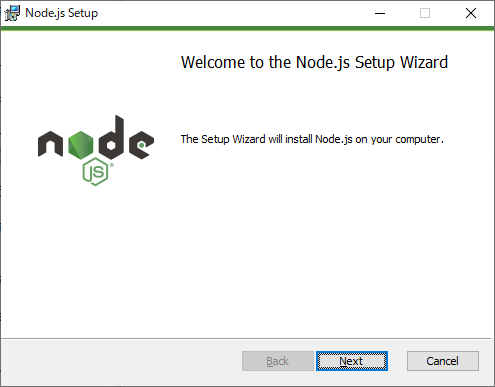
インストーラを起動します。
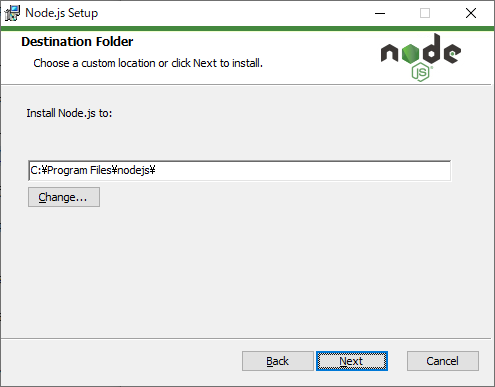
インストール先は任意です。
そのまま次へ進めました。
インストールが完了しました。
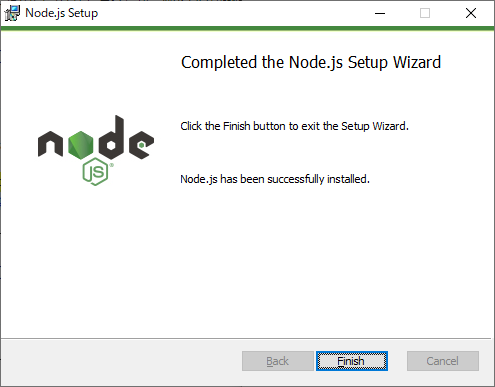
こちらもコマンドプロンプトから「node -v」とコマンドを打つと、バージョンが確認できます。
16.17.1開発環境のインストール(VSCode)
次に、開発するためのエディタをインストールします。
VS Codeのインストール方法につきましては、以下の記事にまとめました。

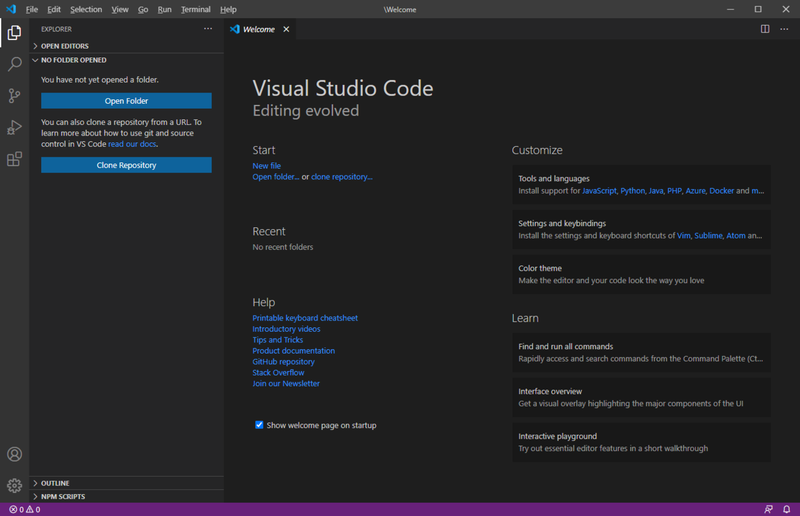
インストールが完了した後、起動してみます。
VSCodeで使用できる、Laravelのプラグインもありますので各自探してインストールしてみましょう。


引き続き次のページでは、Laravelのプロジェクトを作成していきます。


コメント