
バージョンアップ方法
Cliborのバージョンアップを行う方法です。
まずはバックアップを行いましょう。
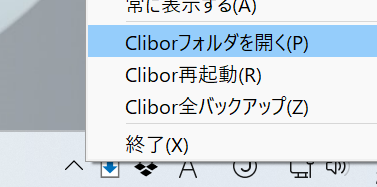
タスクトレイのCliborを右クリックし、「Clibor全バックアップ」を選択します。
保存先を選択すると、ZIPファイルが作成されます。

Cliborをインストールしているフォルダを開きます。
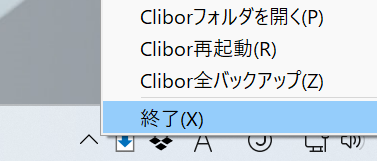
その後、Cliborは一旦終了します。
以下のページより、最新のCliborをダウンロードします。

ダウンロードしたclibor.zipを解凍します。
解凍したフォルダの中の以下のファイルをすべてコピーし、Cliborをインストールしていたフォルダへ上書きします。

Clibor.exeを起動すると、バージョンアップ時にのみ、以下の画面が表示されます。
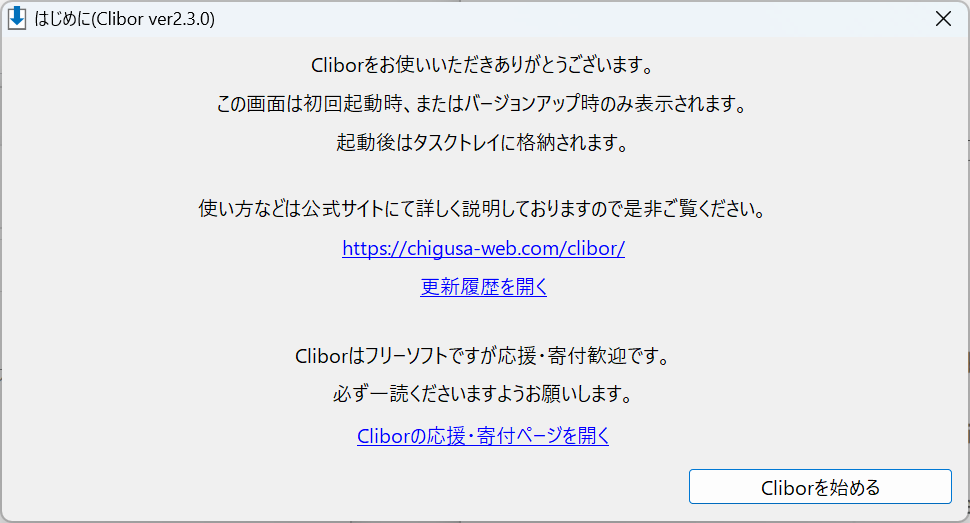
バージョンアップ作業は以上になります。