
Install
Download the DMG file or install via command line.
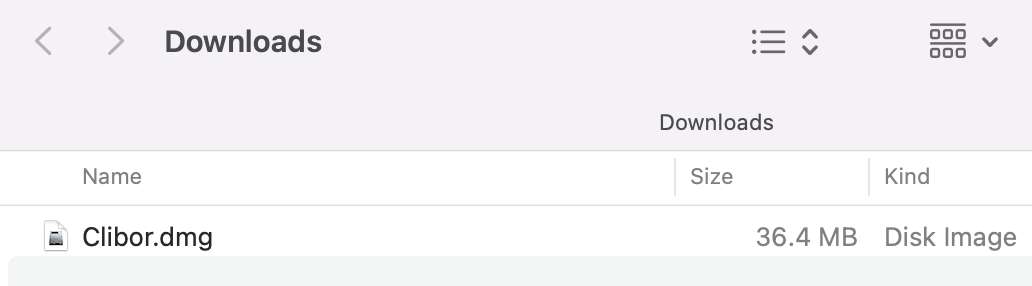
To install from a DMG file, visit the download page and get the latest version of Clibor (Clibor.dmg).

Download Clibor.dmg and double-click to open it.
A disk image icon will appear on the desktop. Double-click it to open.
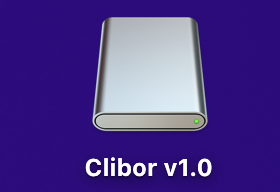
Drag and drop the Clibor icon into the Applications folder.

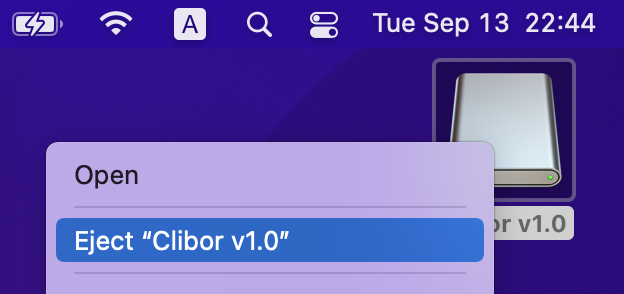
Once installed, eject the mounted image as it is no longer needed, then delete the downloaded Clibor.dmg file.
Installation is now complete.
To install via command line using Homebrew, run the following command:
$ brew install --cask cliborLaunch
Launch
Open Launchpad.
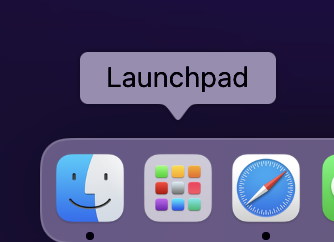
Click the Clibor icon to start the application.
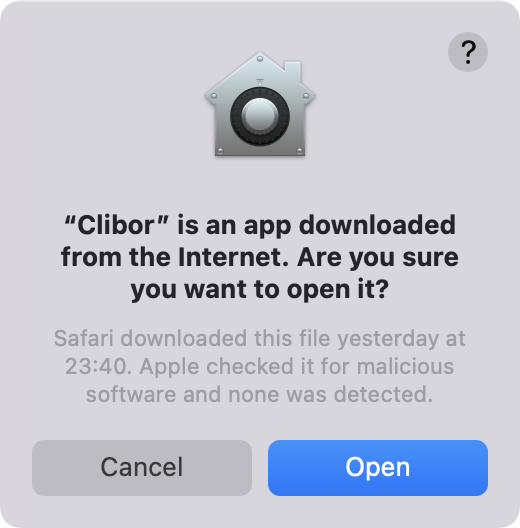
On first launch, a security dialog will appear. Click “Open” to proceed.
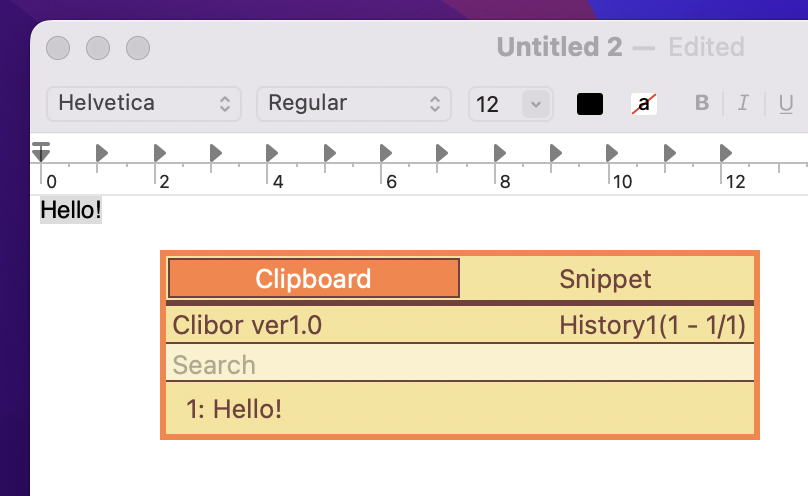
After launching, the Clibor icon will appear in the menu bar and remain active.
(Shown as the leftmost icon below.)

Accessibility
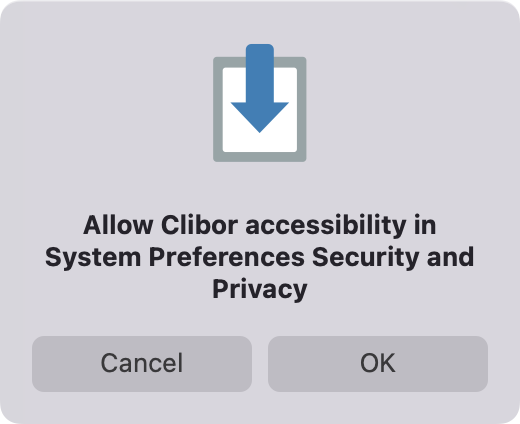
To enable Clibor’s auto-paste feature and FIFO mode, accessibility permissions must be granted.
While using Clibor, a permission request dialog may appear.
Open System Preferences on your Mac and go to Privacy & Security.
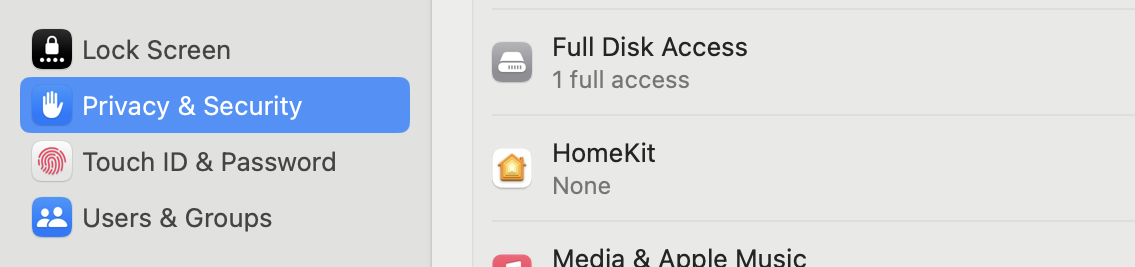
Select the Accessibility section.
Click the “+” button below the list and add Clibor from the Applications folder.
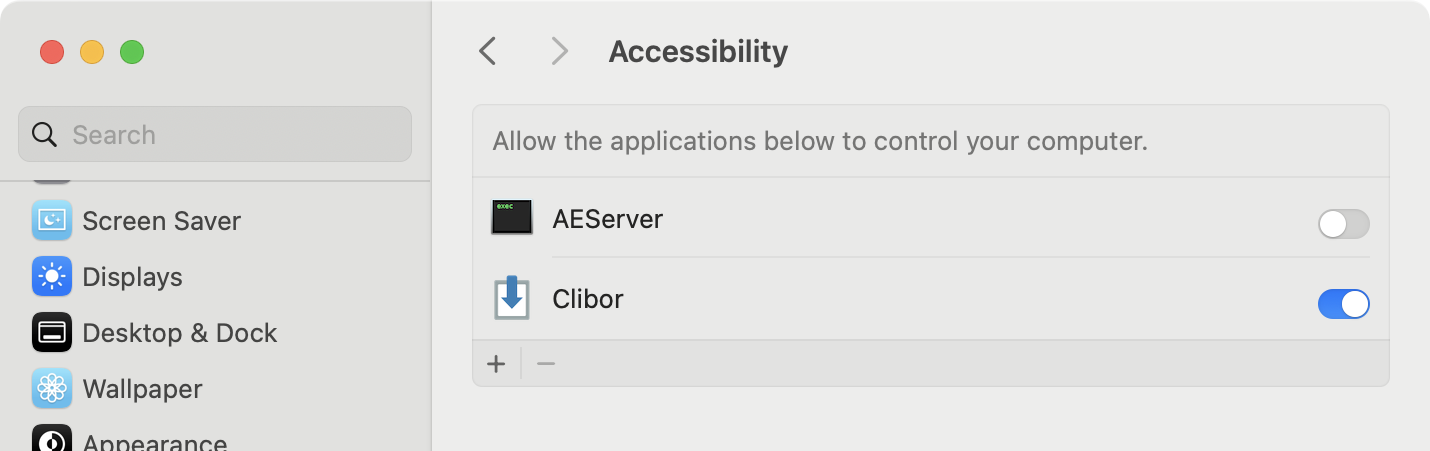
Once granted, you can select and paste Clibor history automatically.
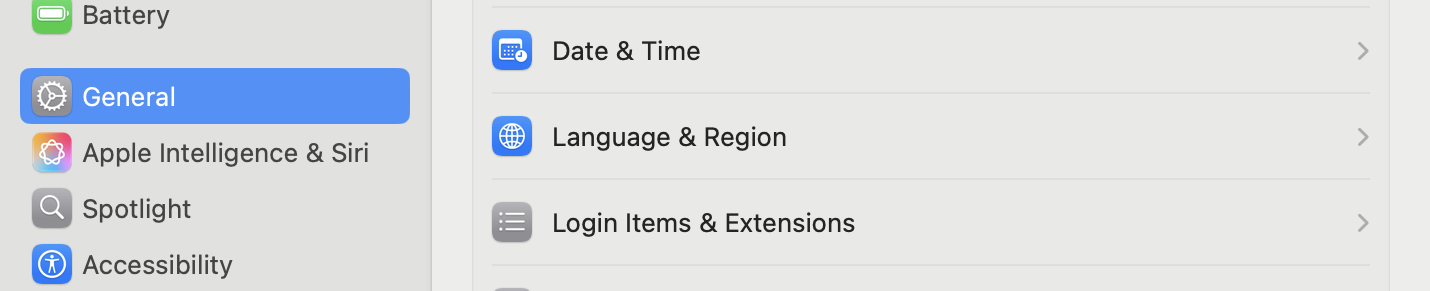
Auto Startup
Set Clibor to launch automatically at login.
Open System Preferences and go to General -> Login Items & Extensions.
Click the “+” button below the list and add Clibor from the Applications folder.
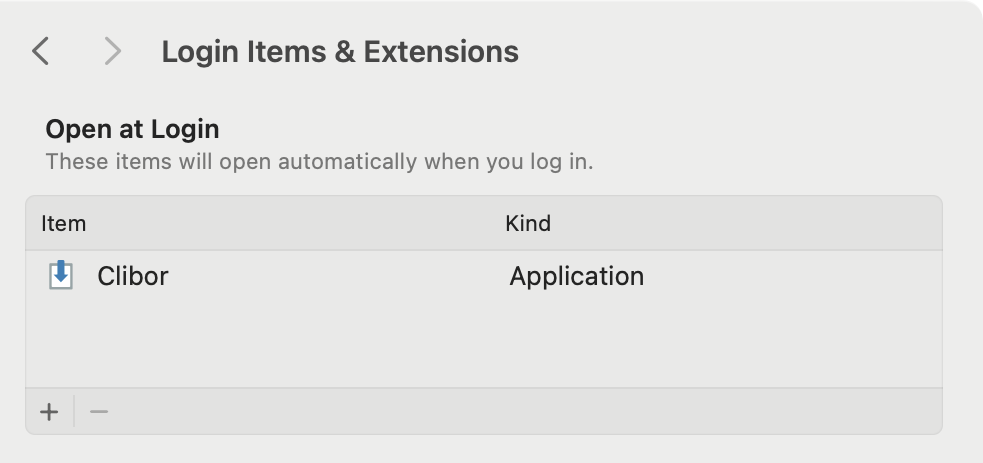
Clibor will now start automatically when you log in.
About Keychain Access
Clibor for Mac uses a database called Realm to store data.
Upon first launch, the database is encrypted with a randomly generated password.
This password is securely stored in your keychain. Do not delete it.
